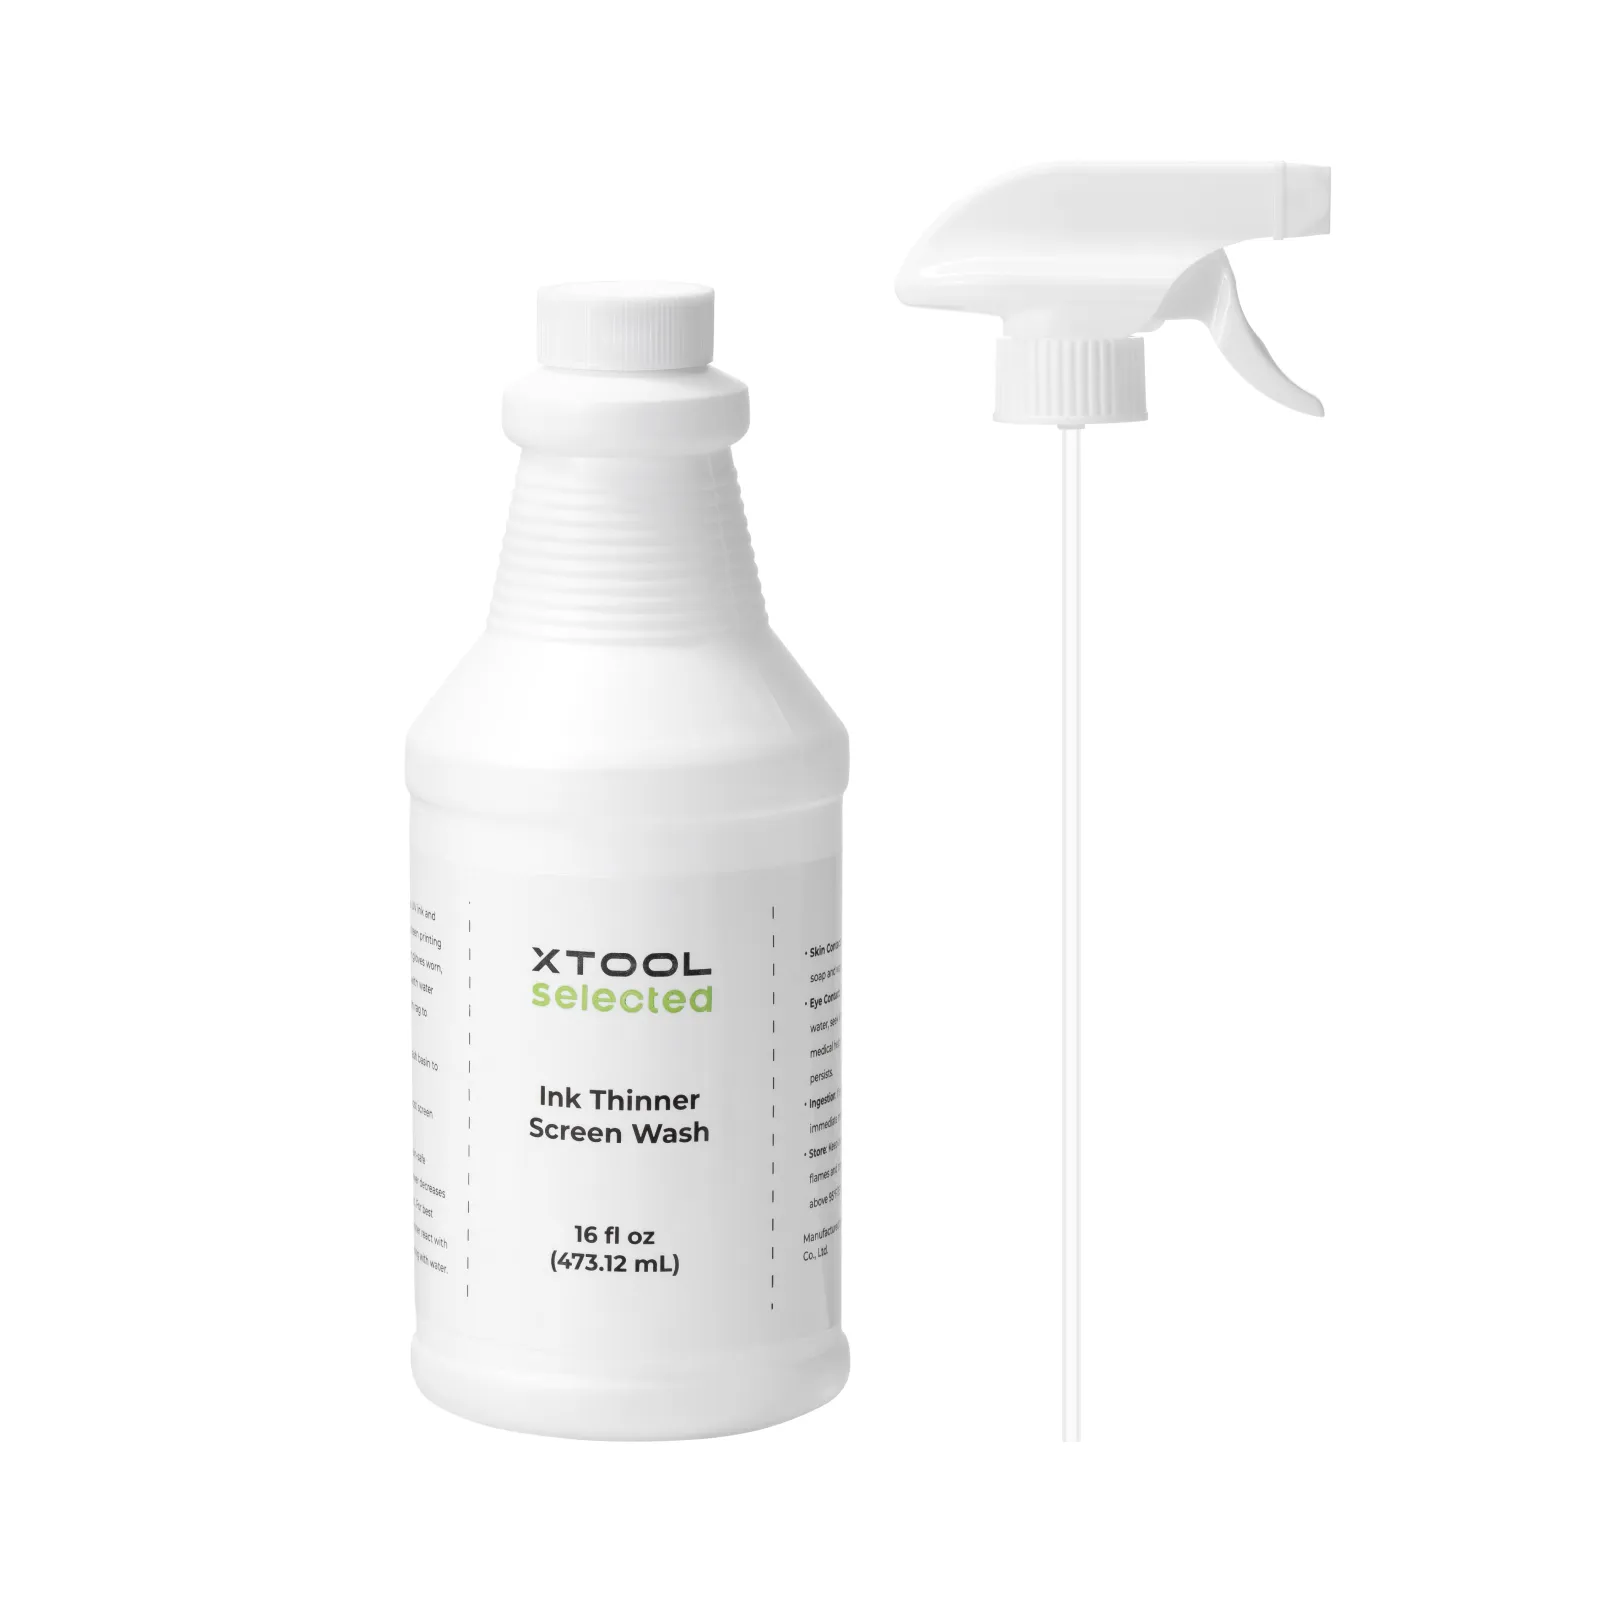
1. Materials
2. Usage Instructions
2.1 Apply the Screen Printing Ink Remover to the inked areas on the screen mesh. Wait for approximately 2 minutes to allow the ink to soften. After softening, use a soft-bristled brush or sponge to gently scrub the inked areas. Then, rinse the cleaned areas with running water. The screen must be allowed to dry completely before its next use.
3. Precautions
3.1 Use a soft-bristled brush or sponge for cleaning ink residues
Using a hard-bristled brush may damage the screen mesh. It is recommended to use a soft-bristled brush or sponge to scrub and clean the inked areas.
3.2 Allow the screen to dry before laser engraving
After cleaning, place the screen in a well-ventilated area to dry completely. Only perform laser engraving or screen printing on the cleaned areas once the screen is fully dry. This prevents water from affecting the accuracy of the laser engraving data or diluting the ink.
3.3 Wait for the ink to soften after using Screen Printing Ink Remover
After applying the Screen Printing Ink Remover, allow sufficient time for the ink to soak and soften. Only after the ink has softened should you proceed to clean or rinse it with water. This ensures that the ink is thoroughly removed.
Services & Help
Learn & Education

Copyright © 2025 xTool All Rights Reserved.