Light-shielding layer
Since transparent acrylic does not absorb the light from a diode laser machine, you need to add a light-blocking layer in order to engrave transparent acrylic with a diode laser machine. Because you are using acrylic instead of glass, the type of coating you use is more important. Paint strippers used on glass may damage acrylic, greatly wasting your time and effort.
Therefore, it is best to use a light-blocking layer that is easy to remove, such as mural paint, dry-erase markers, magic markers, sidewalk chalk paint, and watercolor paint.
In this guide, I will be using mural paint, and the steps for other types are basically the same.
No matter which shading layer you decide to use, its color is important because the color will be permanently transferred to the acrylic. Darker colors work best, while white works the worst.
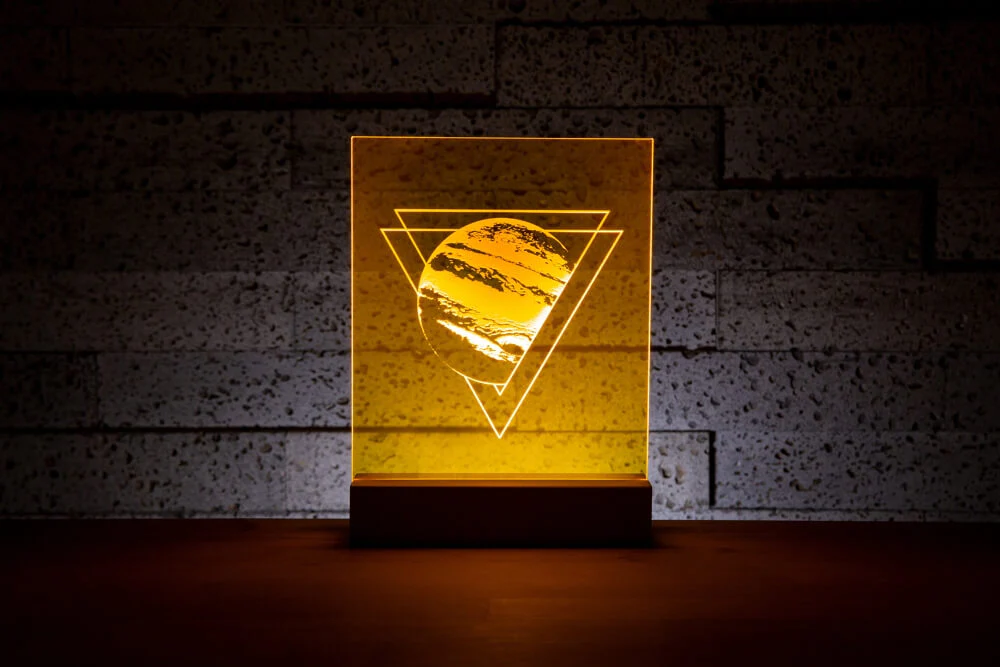
If you plan to use an LED base to display your finished piece, then the color of the light-blocking layer doesn’t matter, as the LED will, in most cases, overpower any color.
If the purpose is to fill in color, then single-sided engraving will work well. Double-sided engraving can provide more depth, making the photo clearer. The only difference between the two methods in terms of craftsmanship is that single-sided engraving only requires masking on one side.
1. Preparations Before Acrylic Engraving
1.1 Prepare Paint
The most suitable dilution ratio for mural paint is to mix it with water at 3:1, giving it good viscosity suitable for a spray gun.
Why choose a spray gun? Because some people dislike using a brush to apply a smooth and even coat of paint, and brushes can be too cumbersome. A spray gun makes the process more convenient and faster, and the paint dries quickly.
An uneven coating can lead to uneven engraving; however, if you want to create a gradient effect around the edges, you might actually need the effect of an uneven coating.
1.2 Prepare acrylic
First, tear off the protective transparent film on one side, apply the paint, and make the coating as smooth and even as possible until the acrylic becomes opaque.
If you perform double-sided engraving, you need to apply the same number of coating layers to both sides.
For single-sided engraving, once the paint is completely dry, you are done. You can check the coating effect by holding the acrylic up to the light. If you notice areas where the light passes through more compared to other sections, indicating less paint coverage, you can try to even it out. The same inspection is needed for double-sided engraving. Then, peel off the protective film from the other side and repeat the painting process on that side.
1.3 Edit Image
No matter what you are engraving on, image editing is important. The size of your image should match the size of your material, and the DPI setting of the laser engraver should correspond to your material. Editing the image can make the final engraving result more exquisite. There are many ways to achieve this, and you can choose the method you prefer.
xTool Creative Space and Lightburn both have the capability to handle algorithms and offer some tools for manipulating images. Lightburn has a broader range of features, but still does not include everything.
Here we tend to use Imag-R, a free online processor with various specialized features and other useful tools, such as background removal, setting image size, DPI, materials, etc., and you can get a good preview of how it will look.
1.4 Preparing for Carving
All preparations are complete. Place your acrylic in the laser processing area. You need to raise the acrylic slightly so that the bottom does not touch anything else. This prevents the laser from passing through the acrylic and heating the base plate, which could cause your acrylic to melt or become stained.
Acrylic Engraving Settings
Normally, you want to move the laser horizontally at medium to low power across the acrylic at high speed. For acrylic photos, you need to create a special image that can be seen from any angle without requiring a direct front reflection.
2. Start carving the acrylic
2.1 Carving
Once everything is ready, start working and wait. While waiting, observe. If you hear popping and clicking sounds, it may be due to excessive power or the nature of the acrylic material. Put on safety goggles and check the bottom plate of the laser machine under the acrylic. If you see the laser hitting the bottom plate, it means the processing is going well. If not, your power is too low for the speed you are running. After the work is complete, let the acrylic cool for a few minutes before touching it.
2.2 How to clean laser-engraved acrylic?
If you use mural paint or chalk paint, clean the work with warm water (not hot water) to remove the coating. If you used a dry-erase marker, wipe away any excess. If you used a permanent marker, you can erase it with IPA, but you may also use a dry-erase marker.
3. Method for engraving acrylic with a diode laser without coating
A method for acrylic engraving without coating: place a sheet of colored paper on the base plate and put the acrylic on top, then process using the parameters for painted surfaces. This is indeed feasible, but the final effect will not be prominent.
Services & Help
Learn & Education

Copyright © 2025 xTool All Rights Reserved.