1. Laser Engraving Leather
Laser engraving is a modern method of imprinting design patterns onto leather. In this process, a concentrated beam of light interacts with the surface of the material. The intense beam evaporates the leather in a controlled manner, creating clean, intricate, and permanent designs on the leather. The depth, darkness, and texture of the engraving can all be adjusted through the laser’s power and speed settings.
The outstanding feature of laser engraving is its precision. It can present intricate patterns, text, and images with a level of detail that is difficult to achieve with hand engraving. Since there is no contact with the material surface, the damage to the leather is reduced, and mass production is possible.
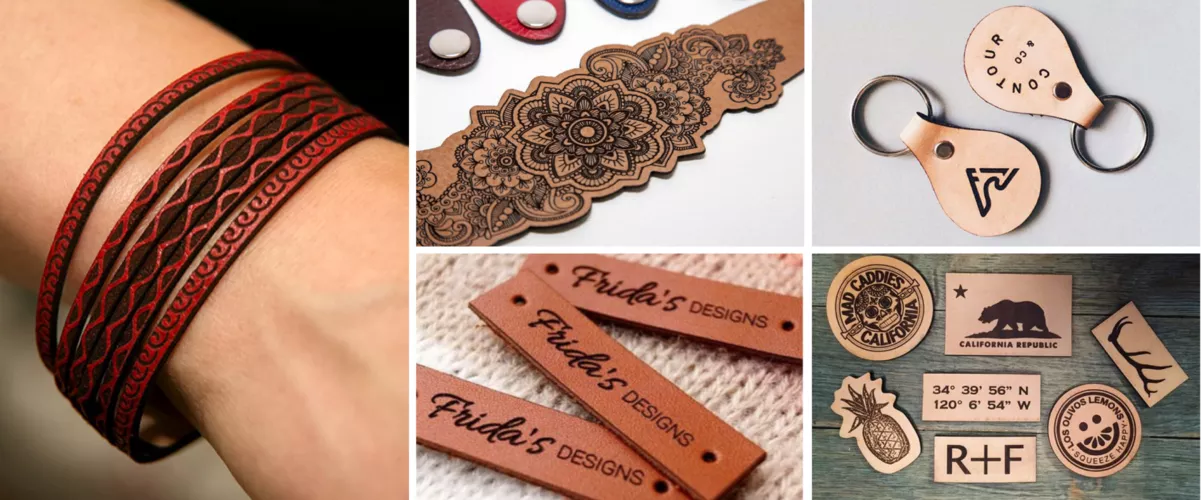
Laser engraving is perfect for small businesses or for designing leather crafts at home. Whether making a wallet or keychain with your own name, laser engraving can achieve perfect results.
1.1 Tools Required for Laser Engraving Leather
First, laser engraving leather requires preparation of three things:
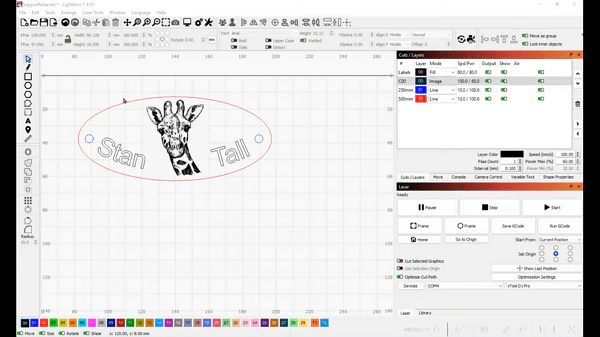
Laser engraving design / laser cutting file: This is the digital blueprint of the design you intend to engrave. It guides the laser machine on where and how to burn the leather. You can download it for free from websites or create your own design using laser design software.
Design Software: Adobe Illustrator or dedicated laser software (LightBurn, XCS) are used to create and modify laser engraving designs. They allow users to adjust parameters before engraving to achieve optimal results.
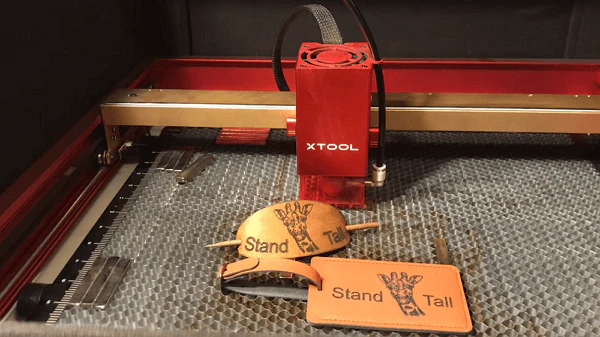
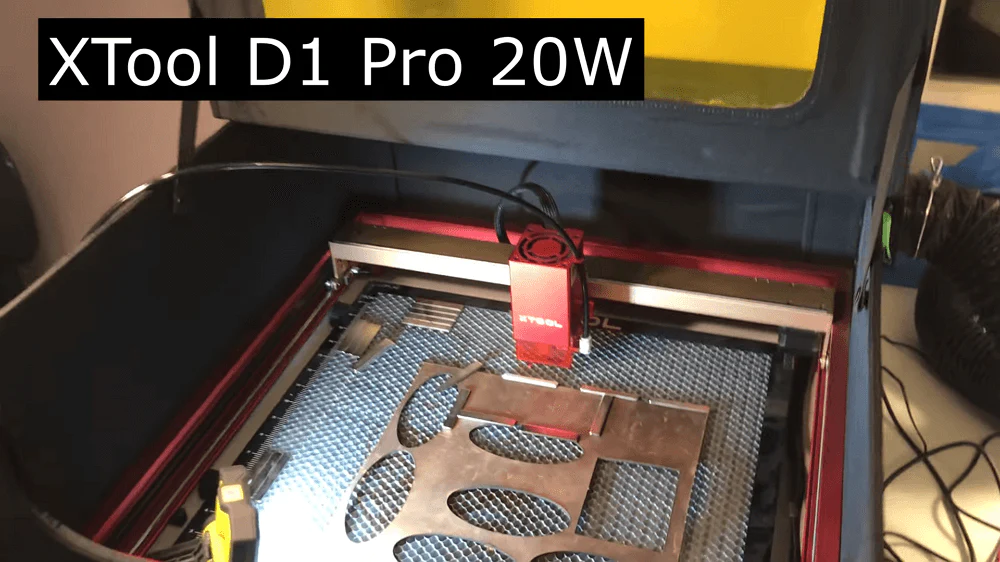
Laser Engraving Machine: The core tool responsible for the engraving process. It emits lasers and performs laser cutting to engrave designs onto leather. Powerful CO2 laser devices, such as the xTool P2, or intelligent diode laser machines like the xTool M1 or D1 Pro, are perfect choices for use.
1.2 Laser Engraving Program
There are various laser engravers available on the market. The engraving processes are mostly similar, but the quality and results may vary. Here’s how to engrave leather using the xTool D1 Pro laser engraver:
Design Creation: First, create or select a design. Use design software to make a new design or modify an existing one to meet your requirements. Alternatively, you can download it for free from the internet. Load this file into the laser engraving machine software, such as Lightburn.
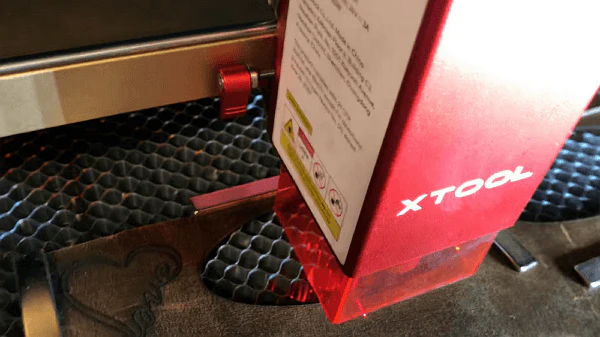
Machine Setup: Before starting, make sure the laser engraver is calibrated and properly set up. For example, when using the xTool D1 Pro, you can focus the Laser Module by adjusting the fixed-focus lever on the left side of the Laser Module.
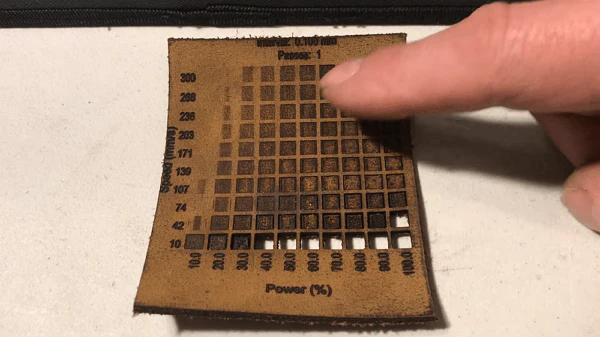
Trial Run: It is recommended to test on a piece of scrap leather. This ensures that the parameter settings are correct and that the design is engraved as expected. You may have seen such test pieces; they provide a precise visual idea of the power and speed parameters.
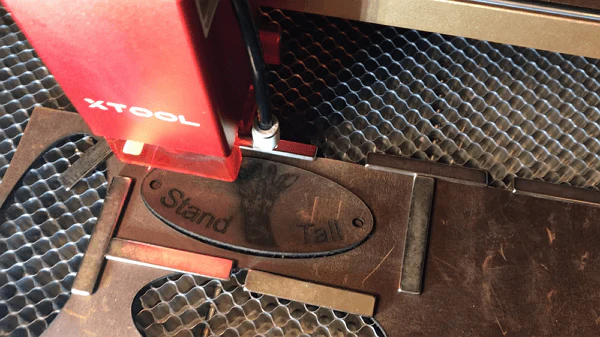
Insert the leather into the machine: Place the leather piece or ornament precisely under the laser. To ensure the leather does not move, you can use the xTool riser base with a honeycomb panel. Then place small magnets on the leather to hold it in place.
Engraving: Set the optimal parameters based on the results of the test run. Start the engraving process, allowing the machine to deploy the laser cutting file and engrave the design onto the leather.
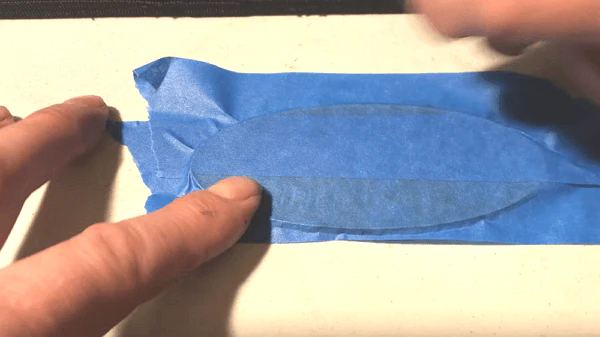
Post-engraving cleaning: After engraving, there may be some residue or soot marks on the leather. One technique is to press adhesive tape firmly onto the machine-engraved leather, then peel it off, repeating the process until you achieve clean, original leather.