1. Materials Required for Thermal Transfer Vinyl
Before you start using heat transfer vinyl, you need to make sure you have all the necessary materials and tools. Here are the materials you will need:
Heat Transfer Vinyl: This is the primary material you use to create your designs. There are different types of heat transfer vinyl, such as smooth, flocked, glitter, metallic, holographic, etc. You can choose the type of vinyl that best suits your project.
Vinyl Cutter: This device can cut your heat transfer vinyl or iron-on vinyl into the pieces you want. You can use any vinyl cutter that works with heat transfer vinyl, such as the xTool M1. You will also need a software program to create or upload your design and send it to the cutter, which can be the software provided with the machine or any other compatible software.
Cutting Mat: When cutting, a Cutting Mat can protect your work surface and help extend the life of the blade.
Cleaning Tool: This tool will help you remove excess heat transfer vinyl material from your design after cutting with a vinyl cutter. You need to carefully peel away the unwanted parts from the carrier sheet (the transparent sheet that protects the HTV), leaving only your design.
Iron or Heat Press: This device applies heat and pressure to your heat transfer vinyl design, transferring it onto your fabric. You can use a regular household iron or a heat press; the heat press is recommended for professional projects requiring a high standard, as it ensures better durability and quality for HTV designs. However, as long as you use sufficient heat and pressure, a household iron can also work well for small or amateur projects.
Cover Sheet: This is a sheet that protects your heat transfer vinyl design from coming into direct contact with the iron or heat press. You can use any thin, heat-resistant paper, such as parchment paper or a thin cloth. The cover sheet should be placed over the heat transfer vinyl design before applying heat and pressure.
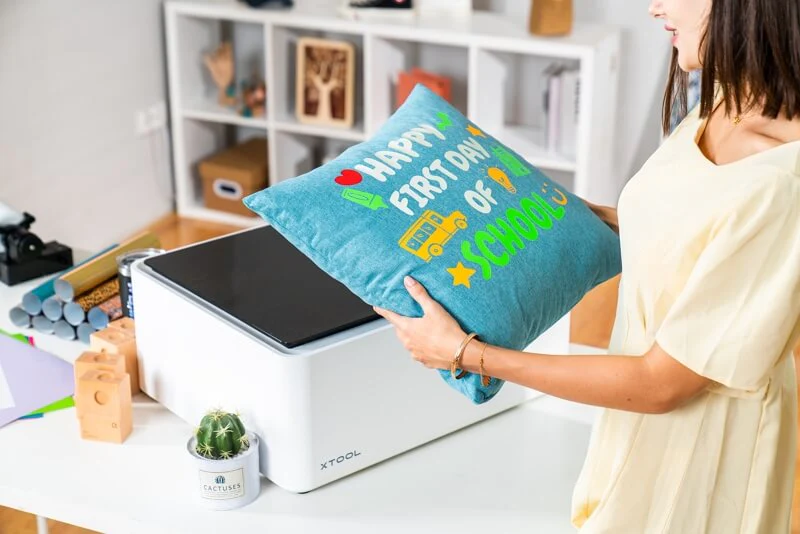
Materials for transfer: This can be any fabric you want to customize with your HTV design, such as T-shirts, tote bags, pillowcases, etc.
These are the basic materials and tools required for heat transfer vinyl projects. However, you may also need some additional tools, such as:
Scissors: You may need scissors to cut the heat transfer material into smaller pieces or shapes before using the vinyl cutter, helping you save material and avoid waste.
Ruler or measuring tape: You may need a ruler or measuring tape to measure the fabric and heat transfer vinyl material, and to ensure they are properly aligned, helping you achieve better results.
Pen or marker: You may need a pen or marker to mark the position of the design on the fabric, helping you position it correctly and avoid distortion.
2. How to use xTool M1 to transfer heat transfer vinyl
Next, we will show you how to use heat transfer vinyl with the xTool M1 vinyl cutter to customize a canvas bag. You can also follow the same steps for other items or materials.
Step 1: Prepare the design
The first step in using heat transfer vinyl is to create or upload your design file in the software program that controls the vinyl cutter. For the xTool M1, you can use the free and easy-to-use xTool Creative Space (XCS) software.
For this project, we will design a butterfly pattern. xTool M1 supports importing images in common vector and bitmap formats, including SVG, DXF, PNG, JPG, and BMP. You can use any of these formats to create or upload your design. However, for vinyl cutting (Blade cut), the design format should be vector (SVG).
If you don't know how to design files yourself, you can also purchase them online, and there are many websites that offer free SVG graphics.
Step 2: Cut your design
The next step is to use a vinyl cutter to cut your design. For the xTool M1, you need to connect the machine to your computer or mobile device via Wi-Fi or USB. You will also need to assemble the blade head and insert it into the machine.
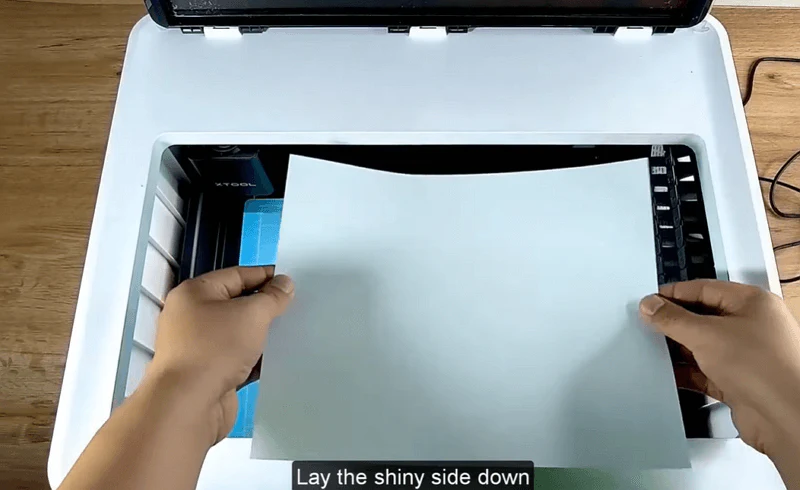
Before starting the cutting design, you need to prepare the heat transfer material. Place the heat transfer vinyl (HTV) material on the Cutting Mat with the shiny side facing down. The shiny side is the carrier, which protects your HTV material and helps you transfer it onto the fabric later. You also need to ensure your HTV material lies smooth and flat on the Cutting Mat, without any wrinkles or bubbles.
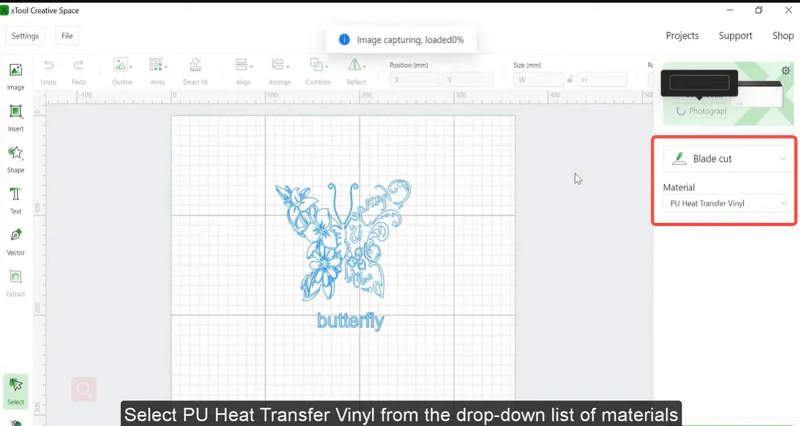
Then, you need to load the design file into the software and scale it as needed. Next, select the “Blade cut” mode and choose “Heat Transfer Vinyl” from the material selection. The machine will automatically detect the type and thickness of the HTV material and adjust the settings accordingly.
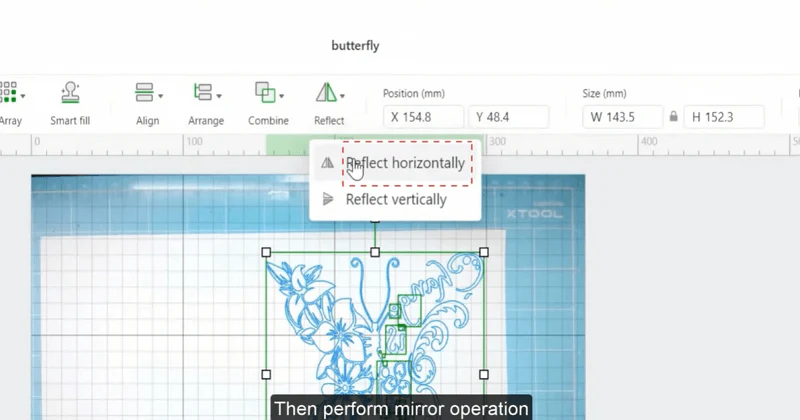
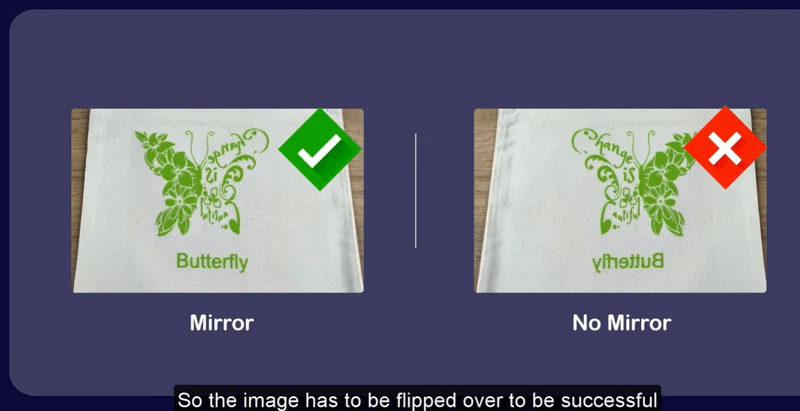
Next, you need to reflect your design horizontally in the software. This is because you are cutting the design on the back side of the HTV material and want it to appear correctly on the fabric.
Afterwards, perform border tracing to ensure the positioning of the design. Then click the start button to begin the cutting work. Now, you just need to wait for the process to complete.
Step 3: Clear the design
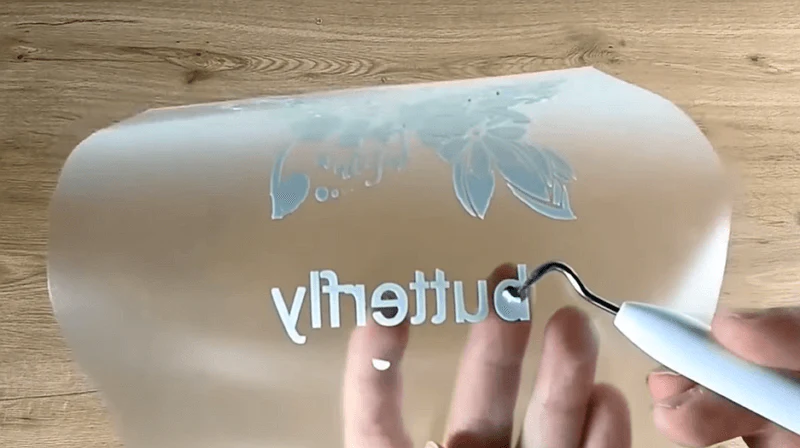
After cutting is complete, you can start by peeling off one corner of the HTV material from the carrier sheet, then gently pull it. You can also use tweezers to lift small pieces or details that are difficult to peel by hand, taking care not to damage or remove the parts of the design you want to keep. You need to remove all excess HTV material from the design, leaving only your design on the carrier sheet.
Step 4: Transfer Your Design
The fourth step is to transfer your design onto the fabric using heat and pressure. For this project, we need to use heat transfer vinyl on a canvas bag. You can use any fabric that can withstand high temperatures, such as cotton, polyester, nylon, rayon, and so on.
Before starting the transfer design, you need to preheat the iron or Heat Press in advance according to the specific fabric and type of heat transfer. You also need to preheat the fabric for a few seconds to remove wrinkles or moisture. Then, you can place a cover sheet over the fabric to protect it from direct contact with the iron or Heat Press.
Next, you need to place the heat transfer vinyl design pattern on top of the fabric for transfer. Make sure the carrier sheet is facing up and that your design is properly aligned with the fabric.
Then, depending on the specific fabric and type of heat transfer, you need to apply heat and pressure to the heat transfer vinyl using an iron or a heat press for a certain period of time.
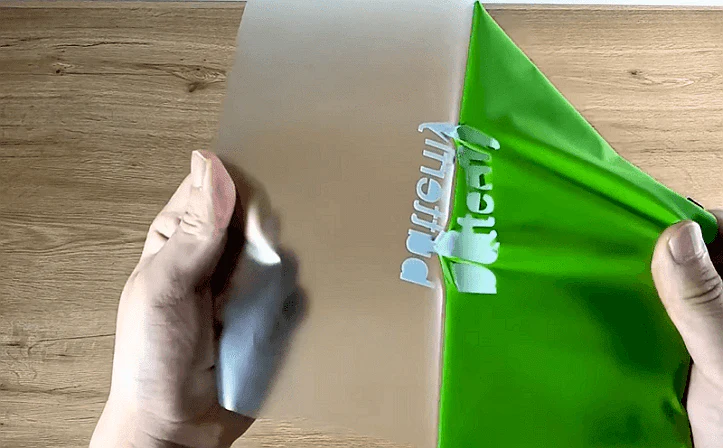
After the pressing is finished, you need to remove the iron or heat press from the heat transfer vinyl, let it cool for a few seconds, and then carefully peel off the carrier sheet. Some types of HTV require a hot peel, which means you need to peel off the carrier sheet while it is still warm. Other types of HTV require a cold peel, which means you need to wait until the carrier sheet has completely cooled before peeling it off.
If you have correctly followed the above steps, you have successfully transferred the heat transfer vinyl design pattern onto the fabric. Congratulations! You have just customized a canvas bag using a vinyl cutter and heat transfer vinyl.
3. Conclusion
The world of cutting heat transfer vinyl with a vinyl cutter is full of creativity and opportunities. This tutorial is designed to provide you with the essential knowledge, from understanding the benefits of heat transfer vinyl and gathering the necessary materials, to inspiring your imagination with vinyl design patterns. Our vinyl cutter is intended to be your reliable partner on this journey, making each project more efficient and enjoyable. We hope the content of this tutorial will successfully assist you.
Services & Help
Learn & Education

Copyright © 2025 xTool All Rights Reserved.