How to Save Custom Materials and Parameters
Materials and parameter settings are linked together. There are two ways to add materials and parameters:
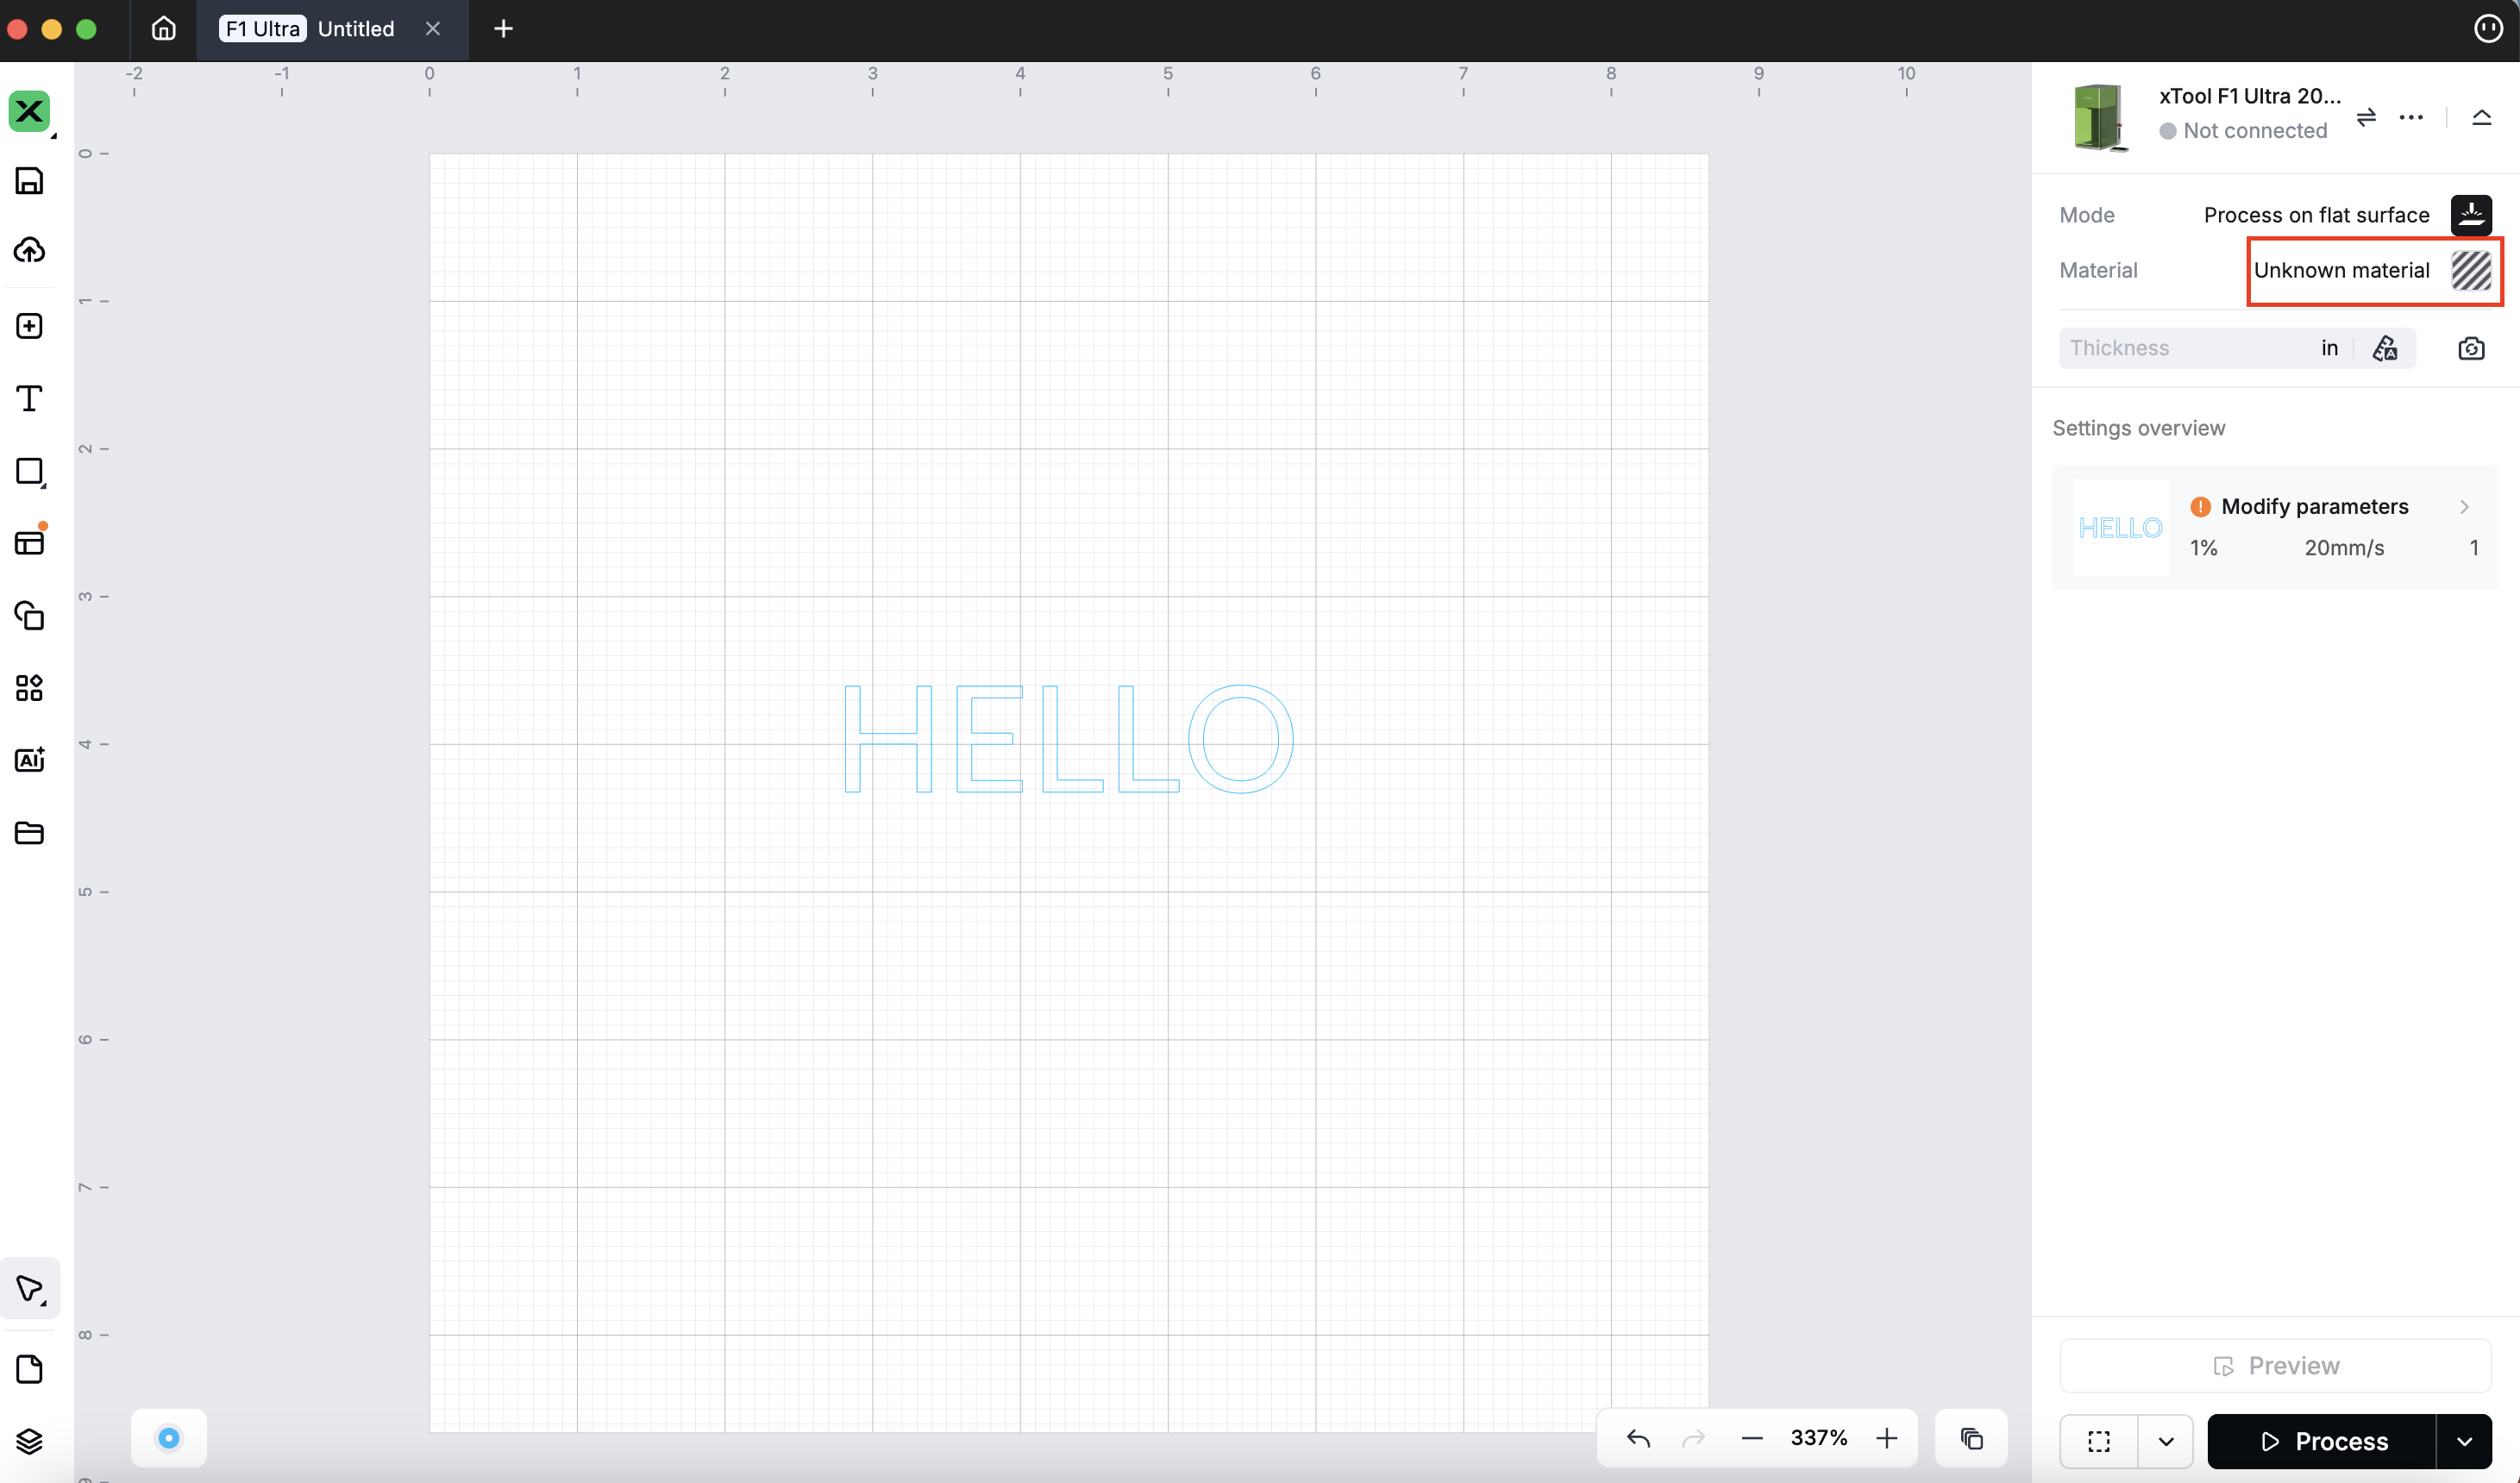
Method 1: Save Materials and Parameter Settings through the Material Selection Popup
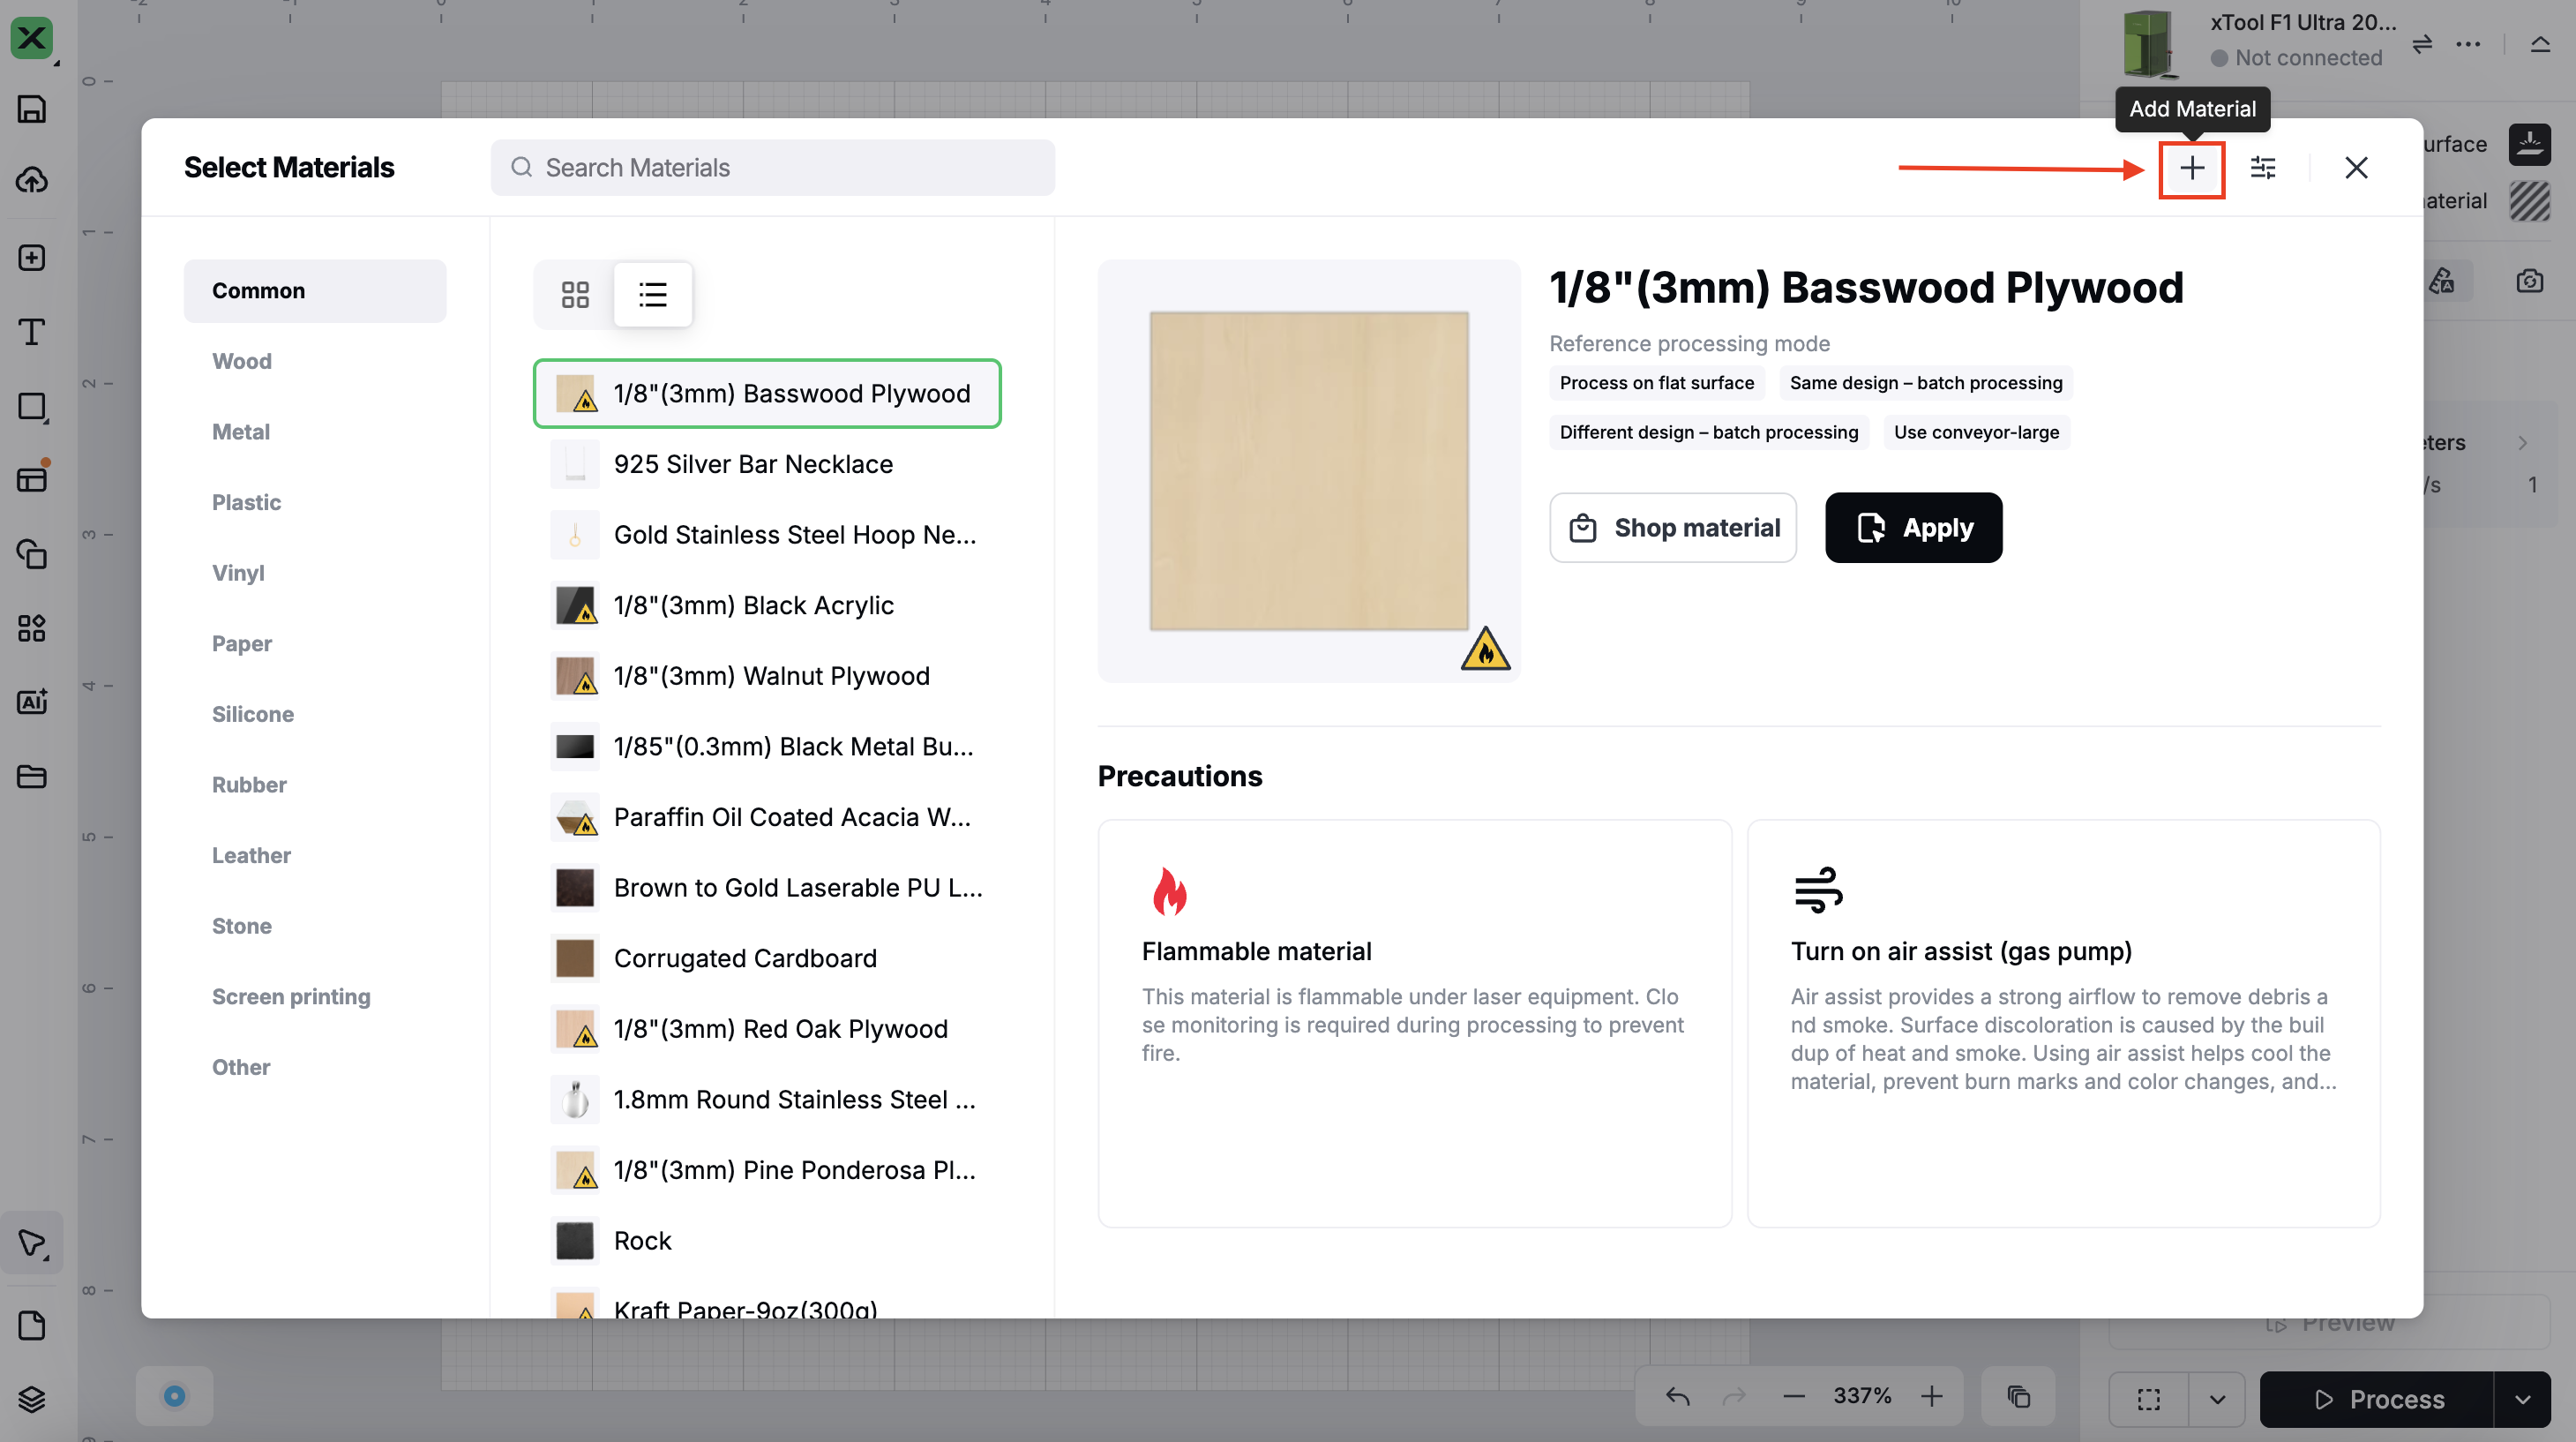
- Click the Select Material entry to open the material selection popup.
- In the material selection popup, click the “Add Material” entry. If you are not logged in, you will need to log in before adding material. The added material will be bound to the currently logged-in account. After logging out, the added material will no longer appear in the common list.
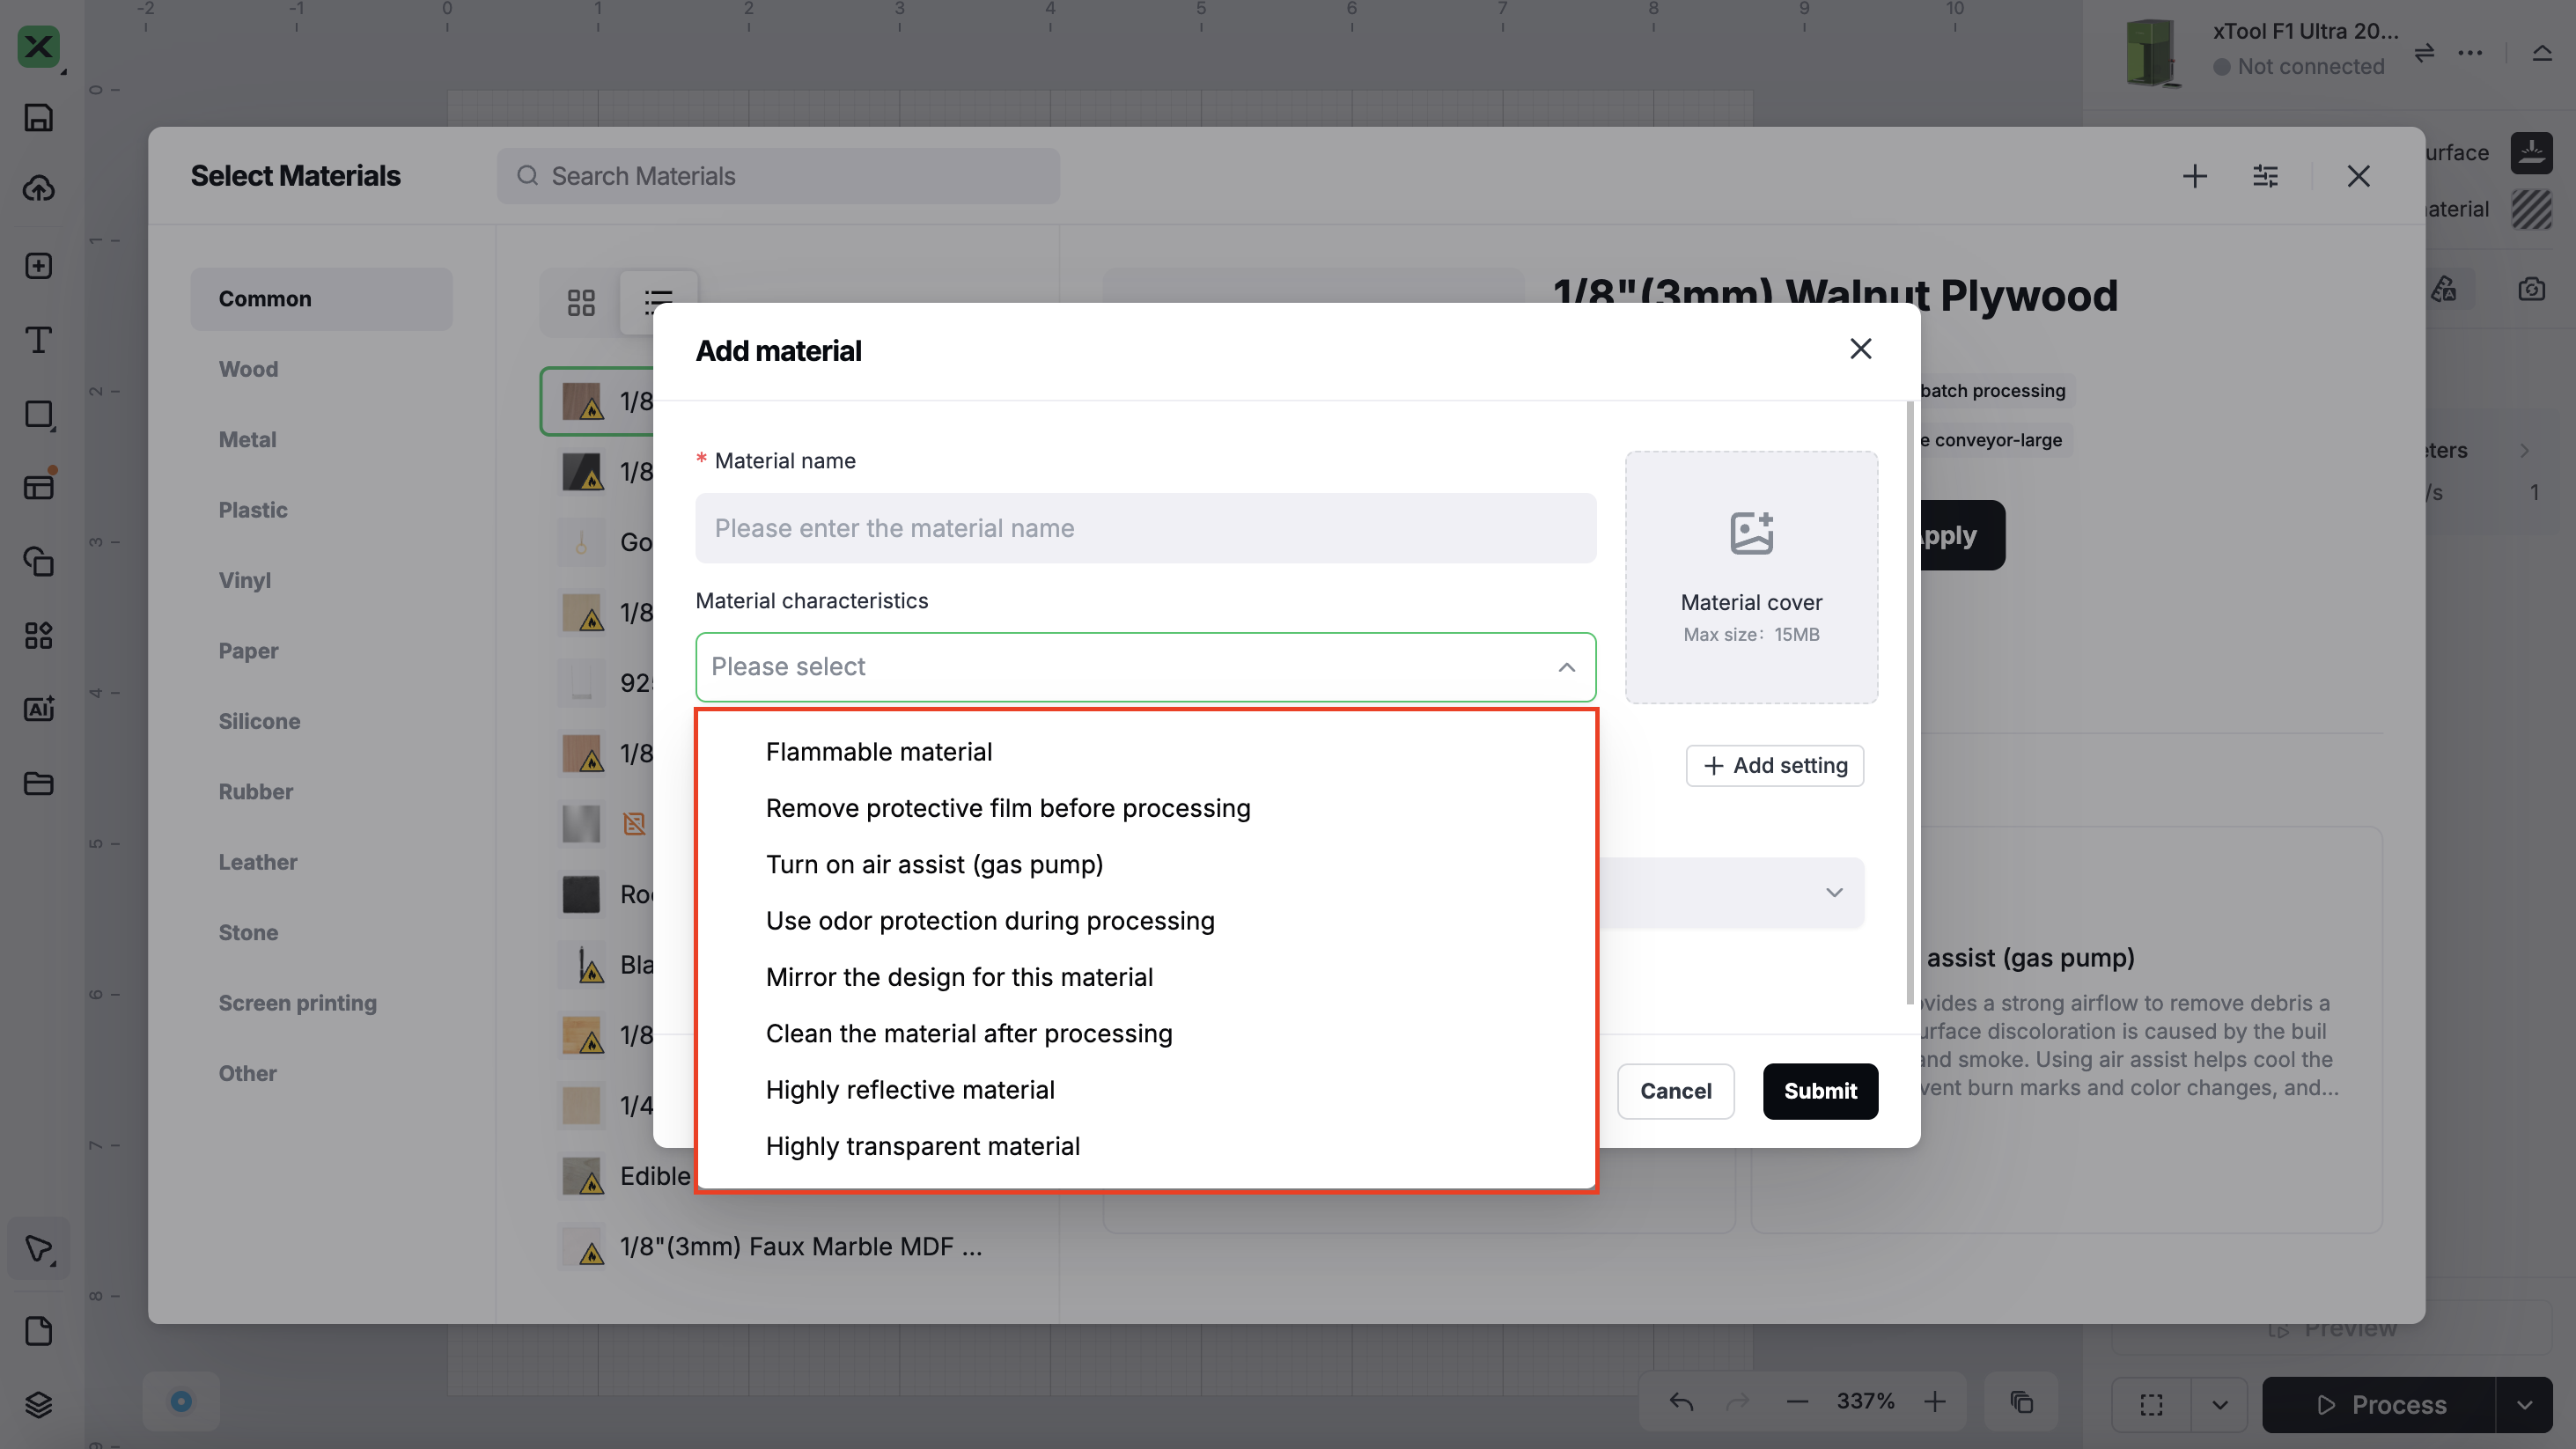
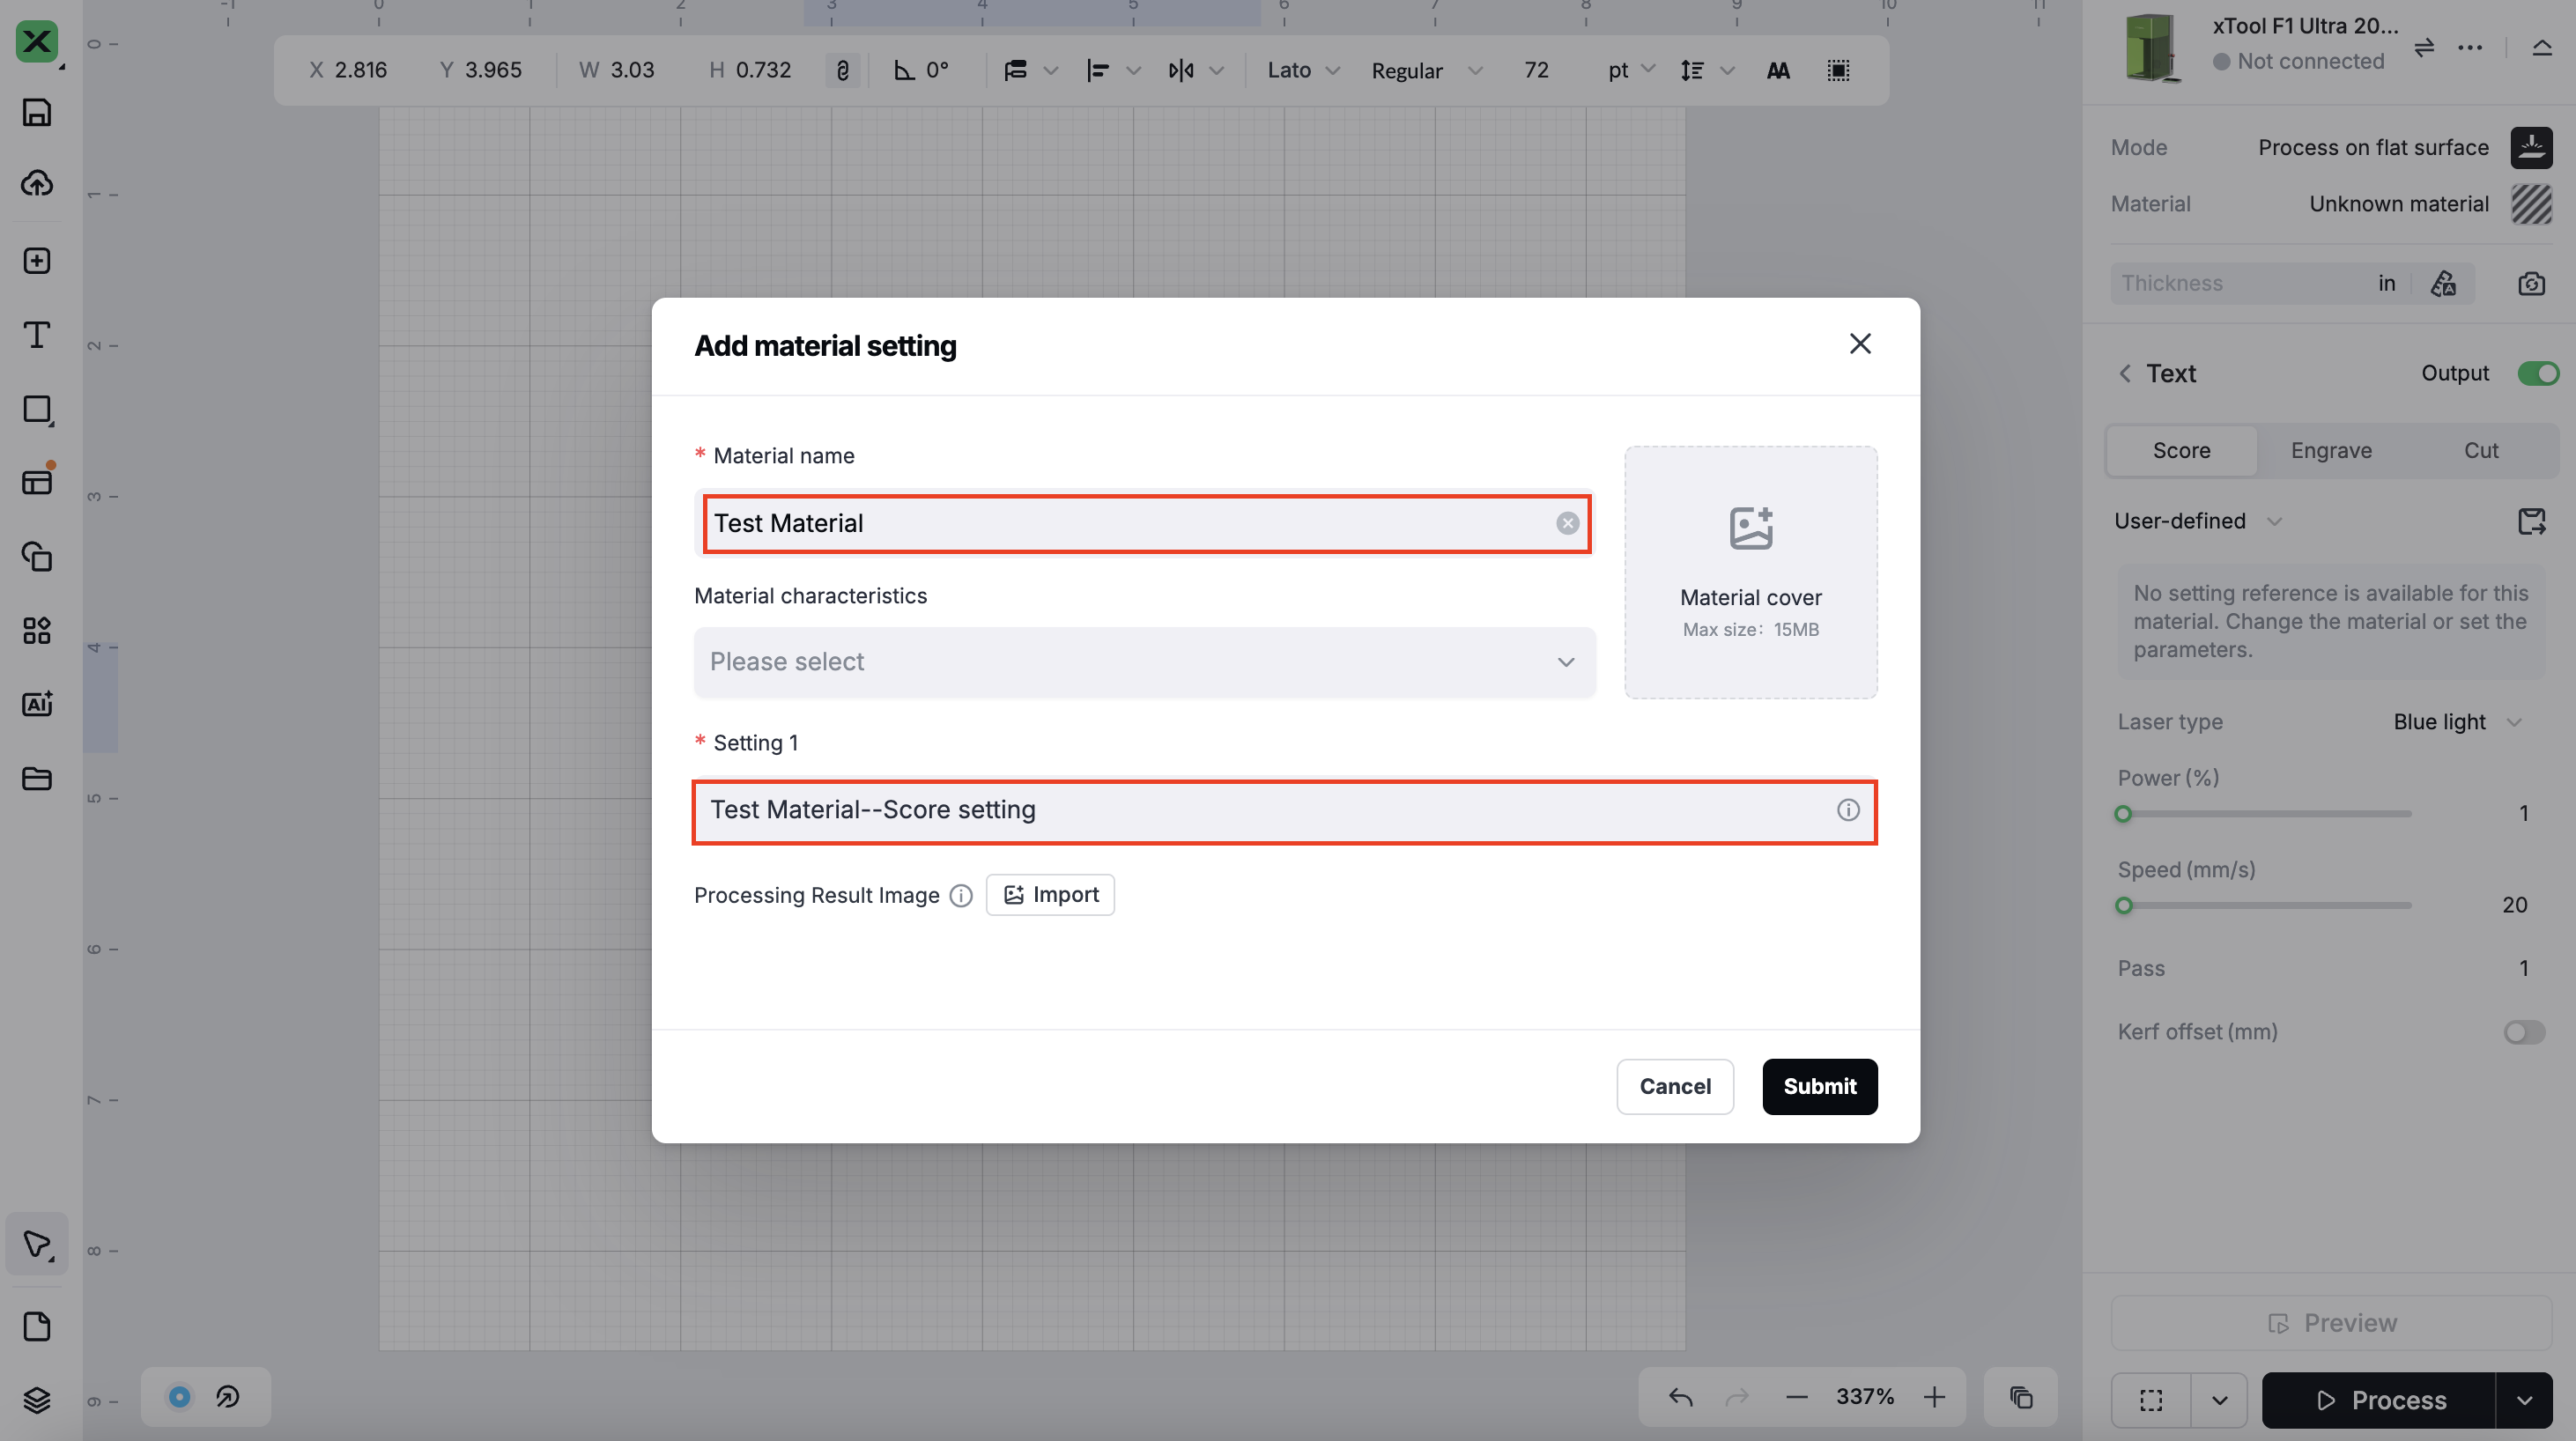
- Enter Material Information
- After logging in successfully, you need to enter the material name and upload a cover image for the material. This helps you better distinguish the materials you’ve saved.
- Material name and cover image: You can quickly enter the material name and select a cover image by using keywords, or you can enter them manually.


- Material Characteristics: For saved materials, you can select multiple characteristics based on the material’s properties. When using the material, reminders will be shown according to the selected characteristics. Saved materials will also be displayed in the “Material Characteristics” section, just like the officially recommended materials.
- Parameter Settings for Materials
The parameter settings for materials can be associated in two ways: via local project files or cloud project files.
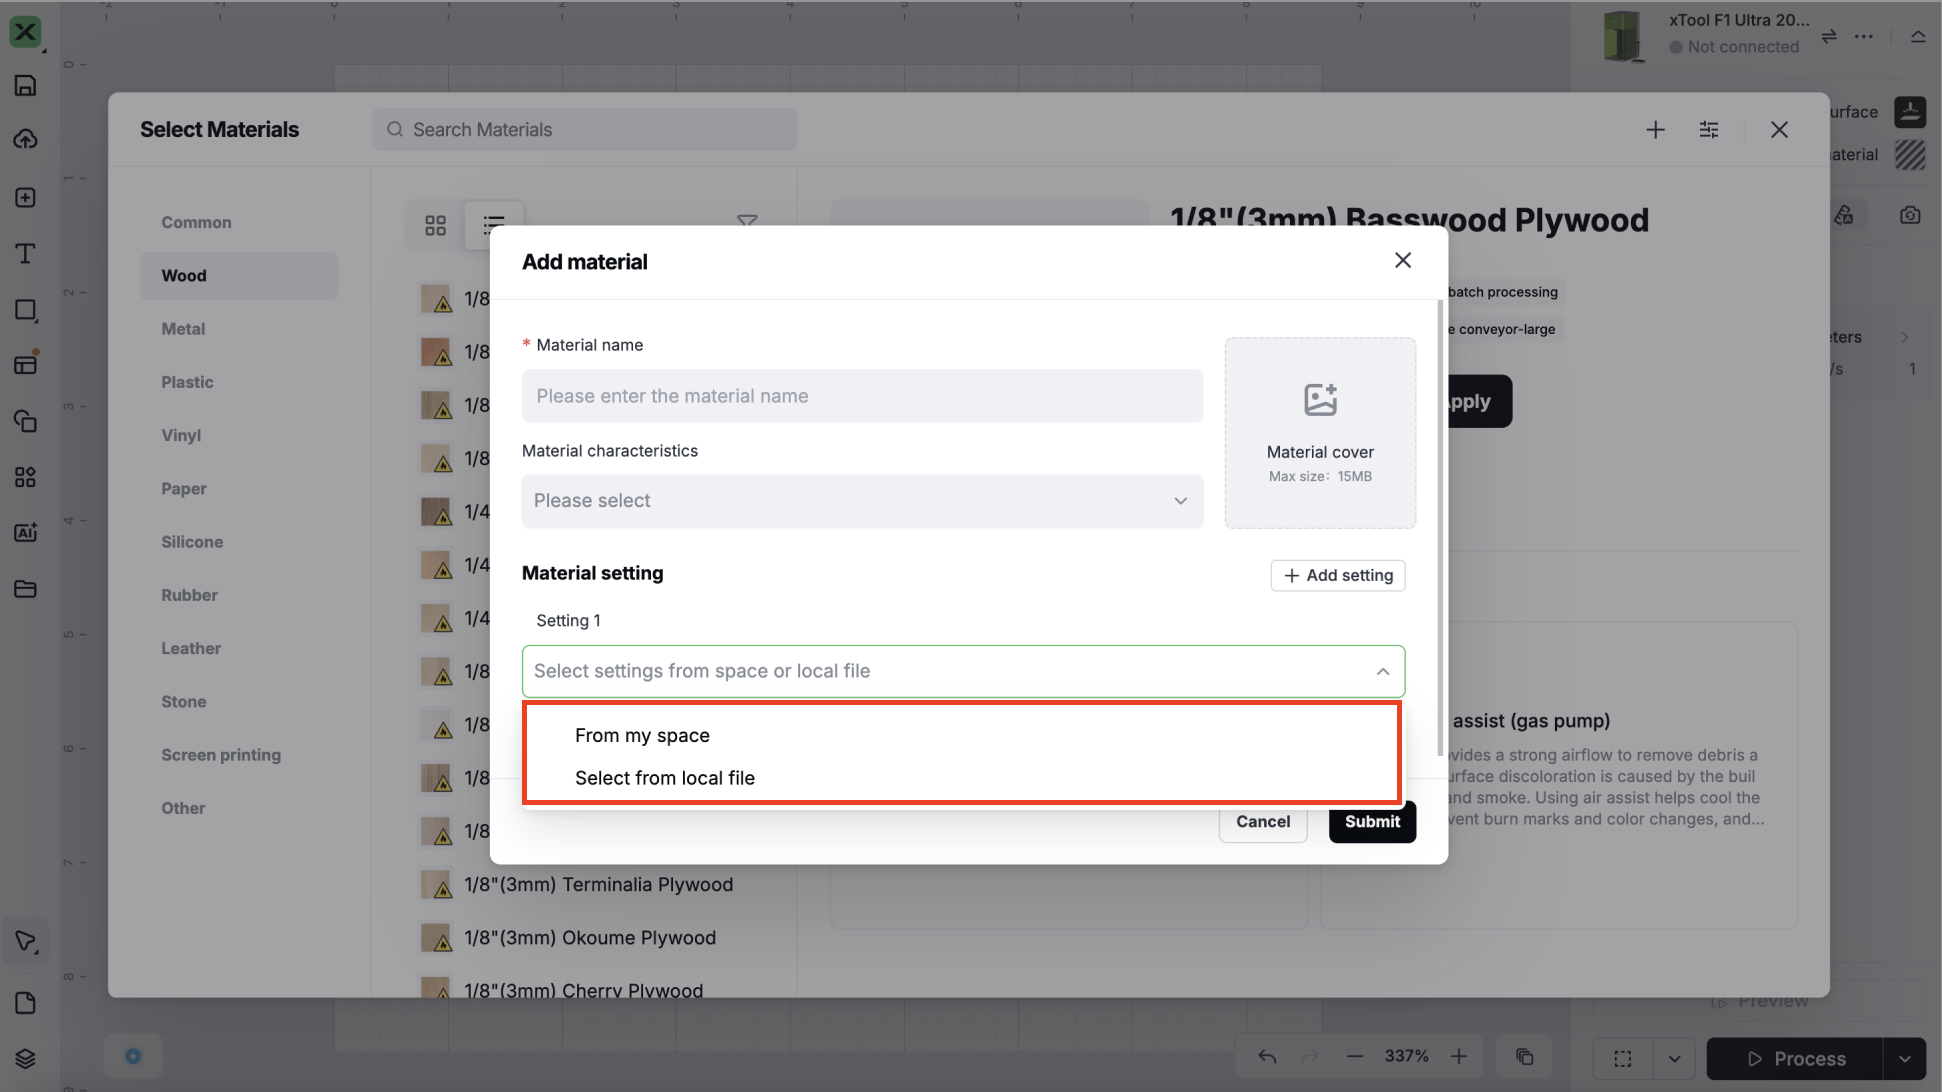
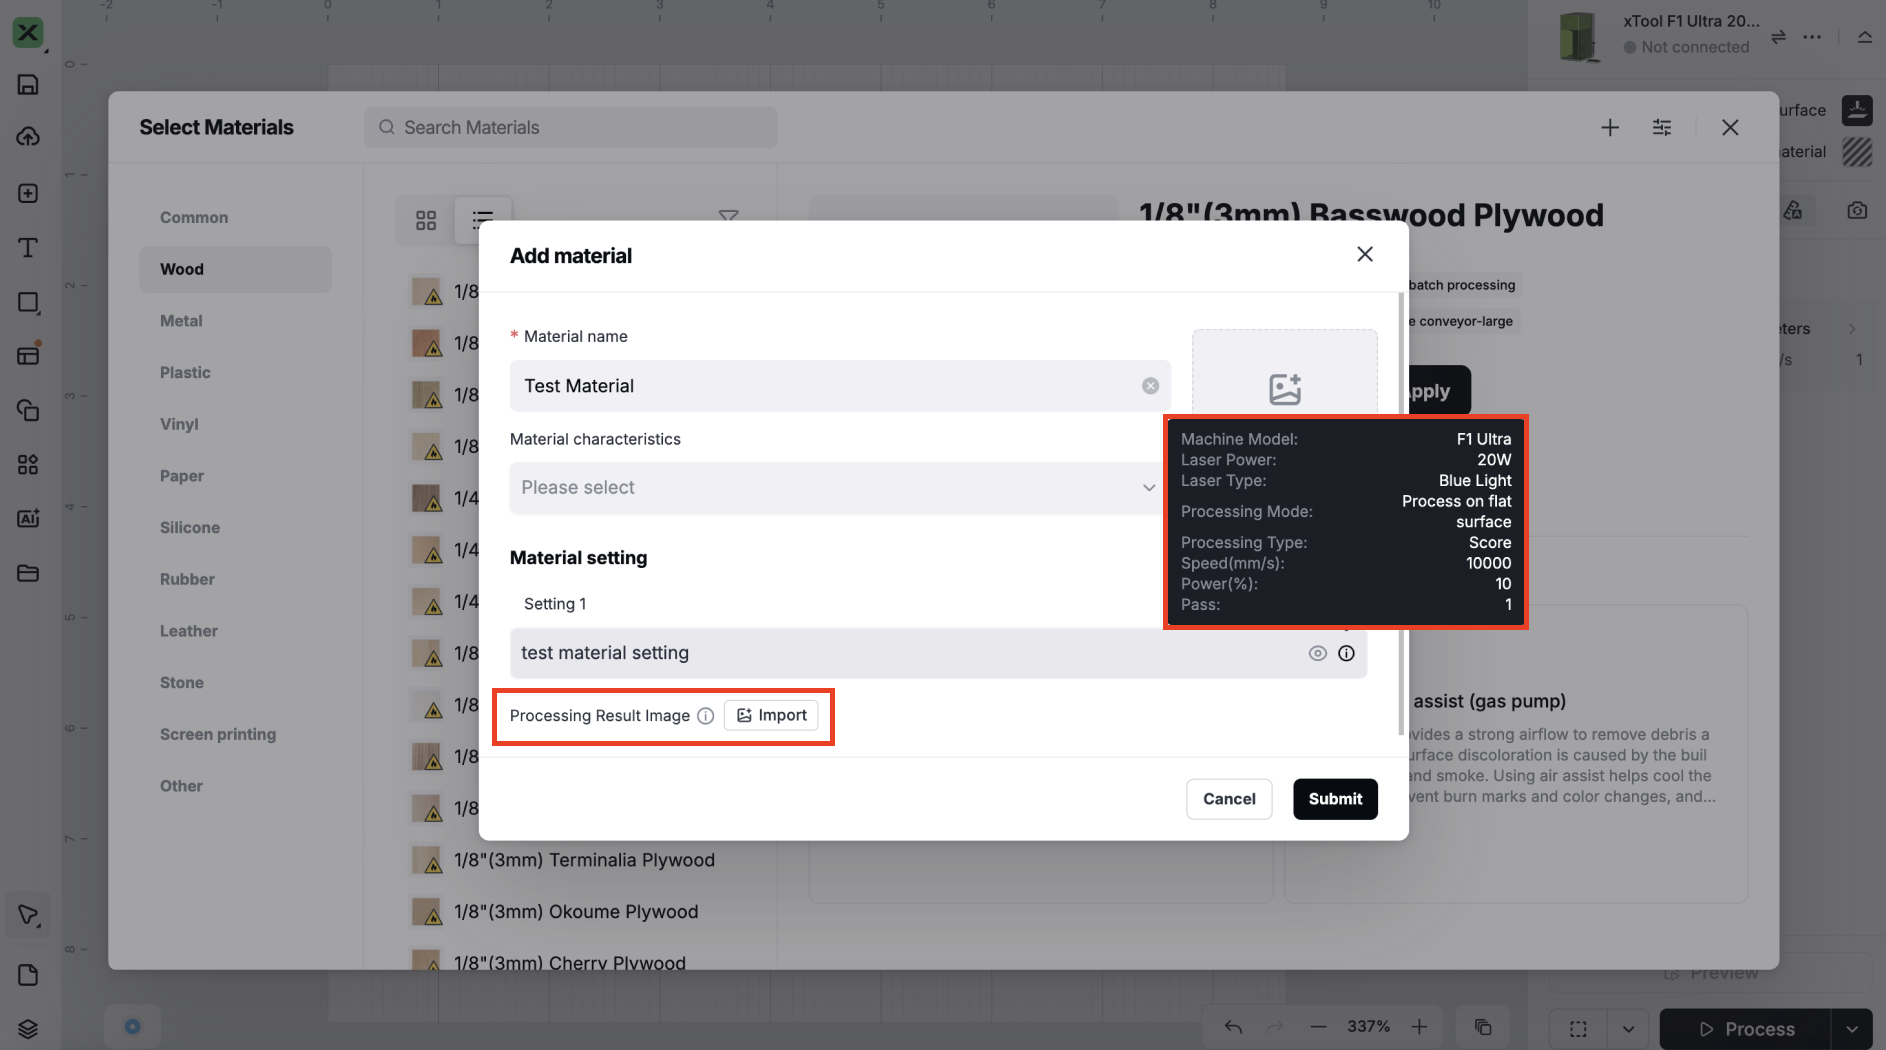
Local Project File: Select an XCS/Studio file from your computer to upload. After the upload is successful, the file will be automatically parsed. From the parsed settings, you can choose the processing settings for the current material to associate. Once confirmed, you can view the associated settings and assign a name to the parameter preset. You can also upload a corresponding processing result image for the current settings, making it easier to preview the effect when using the preset.
Cloud Project File: Select a file from the cloud project list to upload. After the upload is successful, the file will be automatically parsed. From the parsed settings, you can choose the processing settings for the current material to associate. Once confirmed, you can view the associated settings and assign a name to the parameter preset. You can also upload a corresponding processing result image for the current settings, making it easier to preview the effect when using the preset.

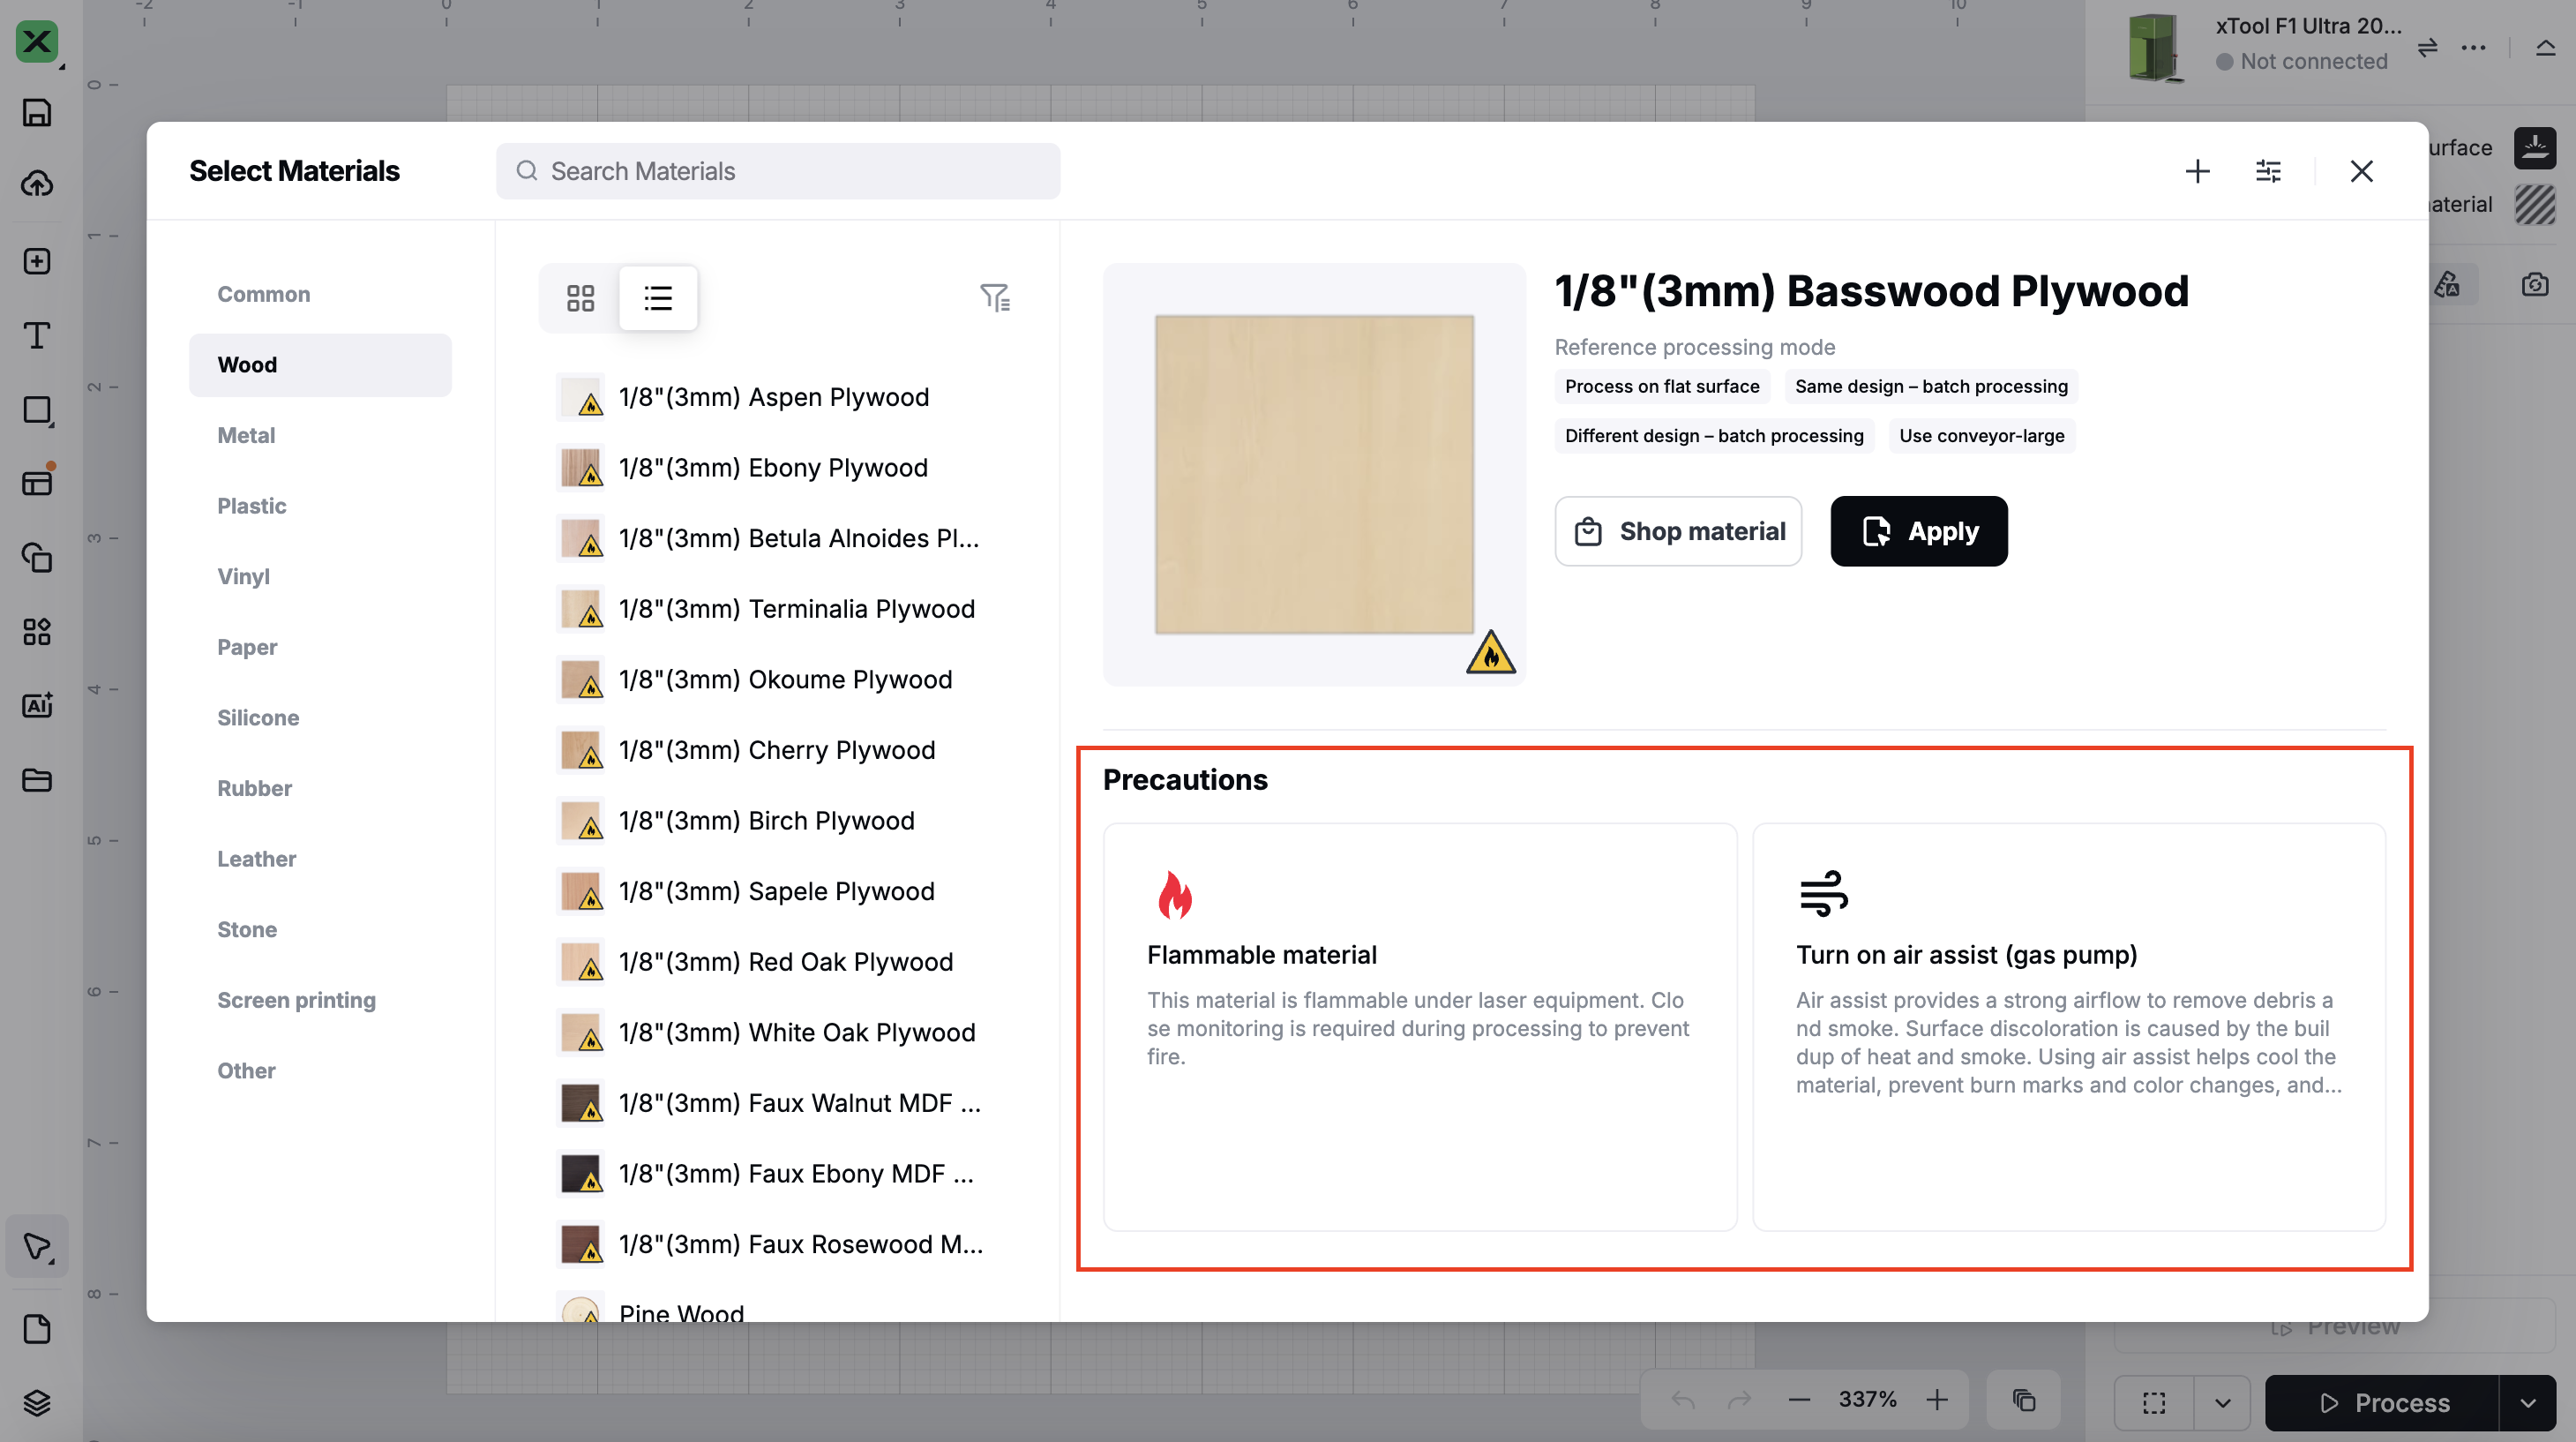
- Save and Apply
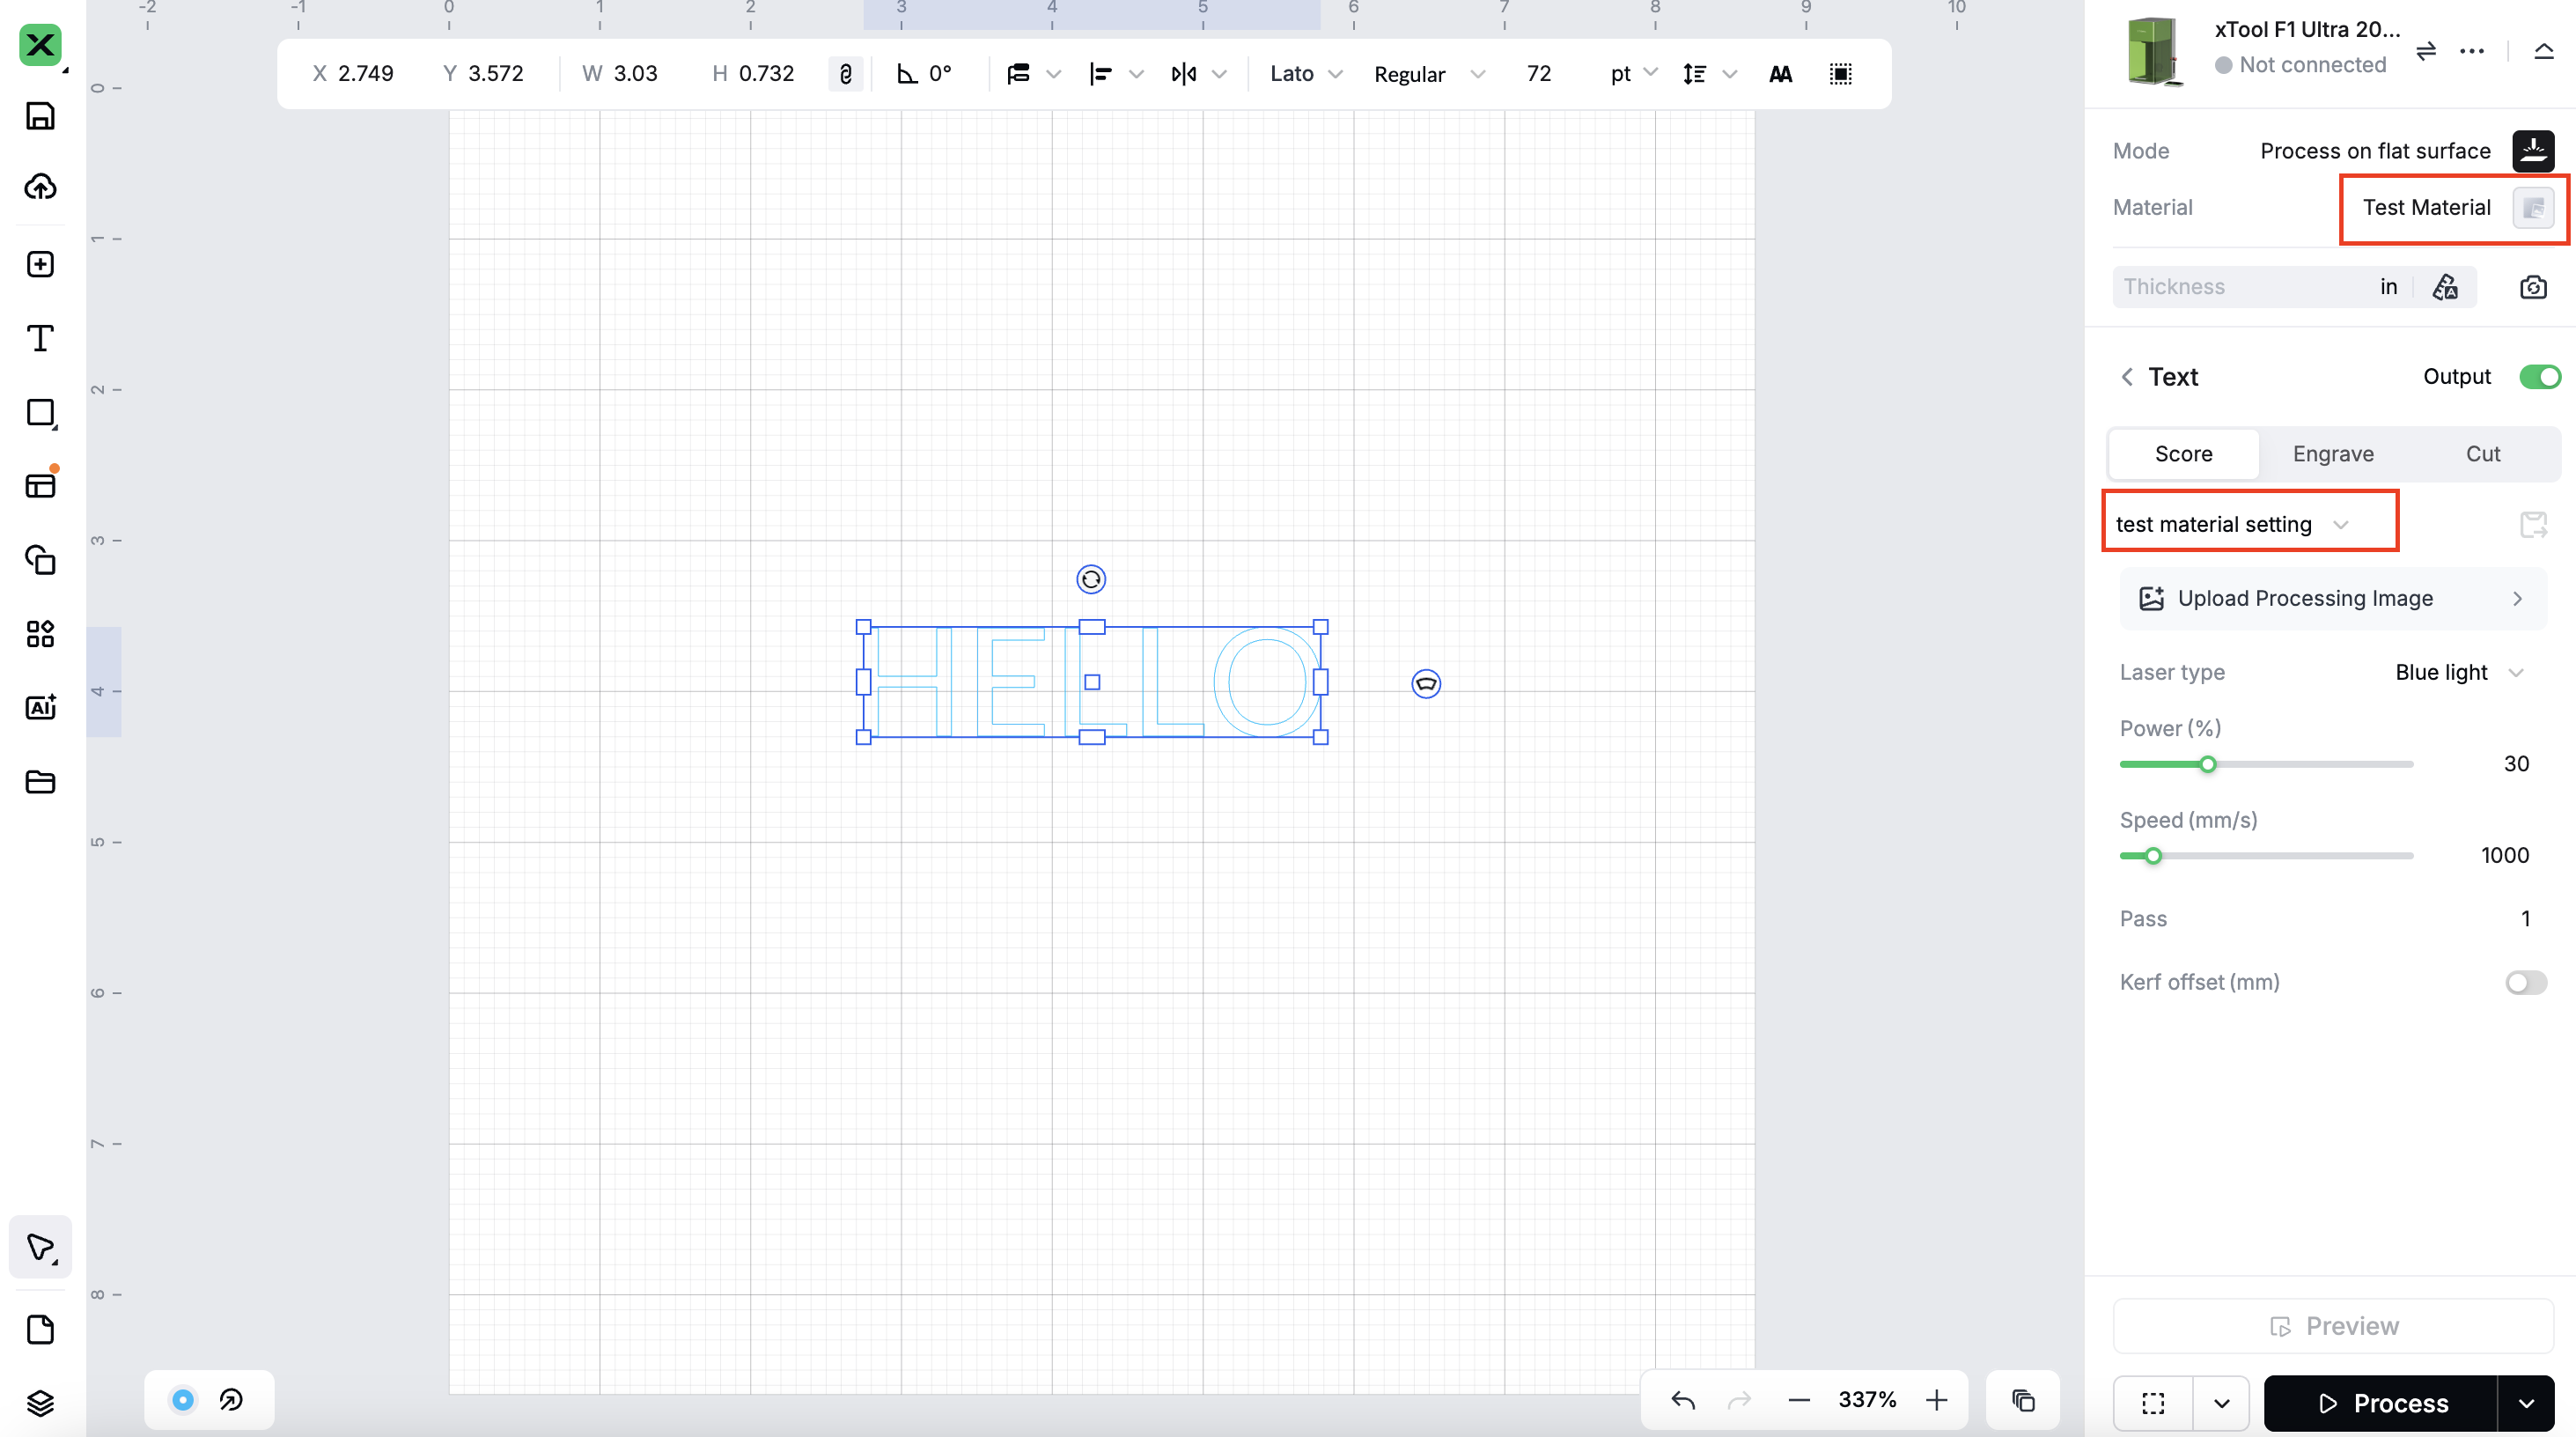
- Saved materials will appear at the top of the Frequently Used list, and you can also view the material characteristics associated when the material was added.
- When applying a material, the parameter settings will be displayed according to the parsed processing mode and processing type.

Method 2: Save Materials and Parameter Settings under 'Unknown Material' via the Parameter Panel
- When saving parameter settings under 'Unknown Material', you need to enter both the name of the parameter preset and the material name in order to create the material and save the parameter settings.

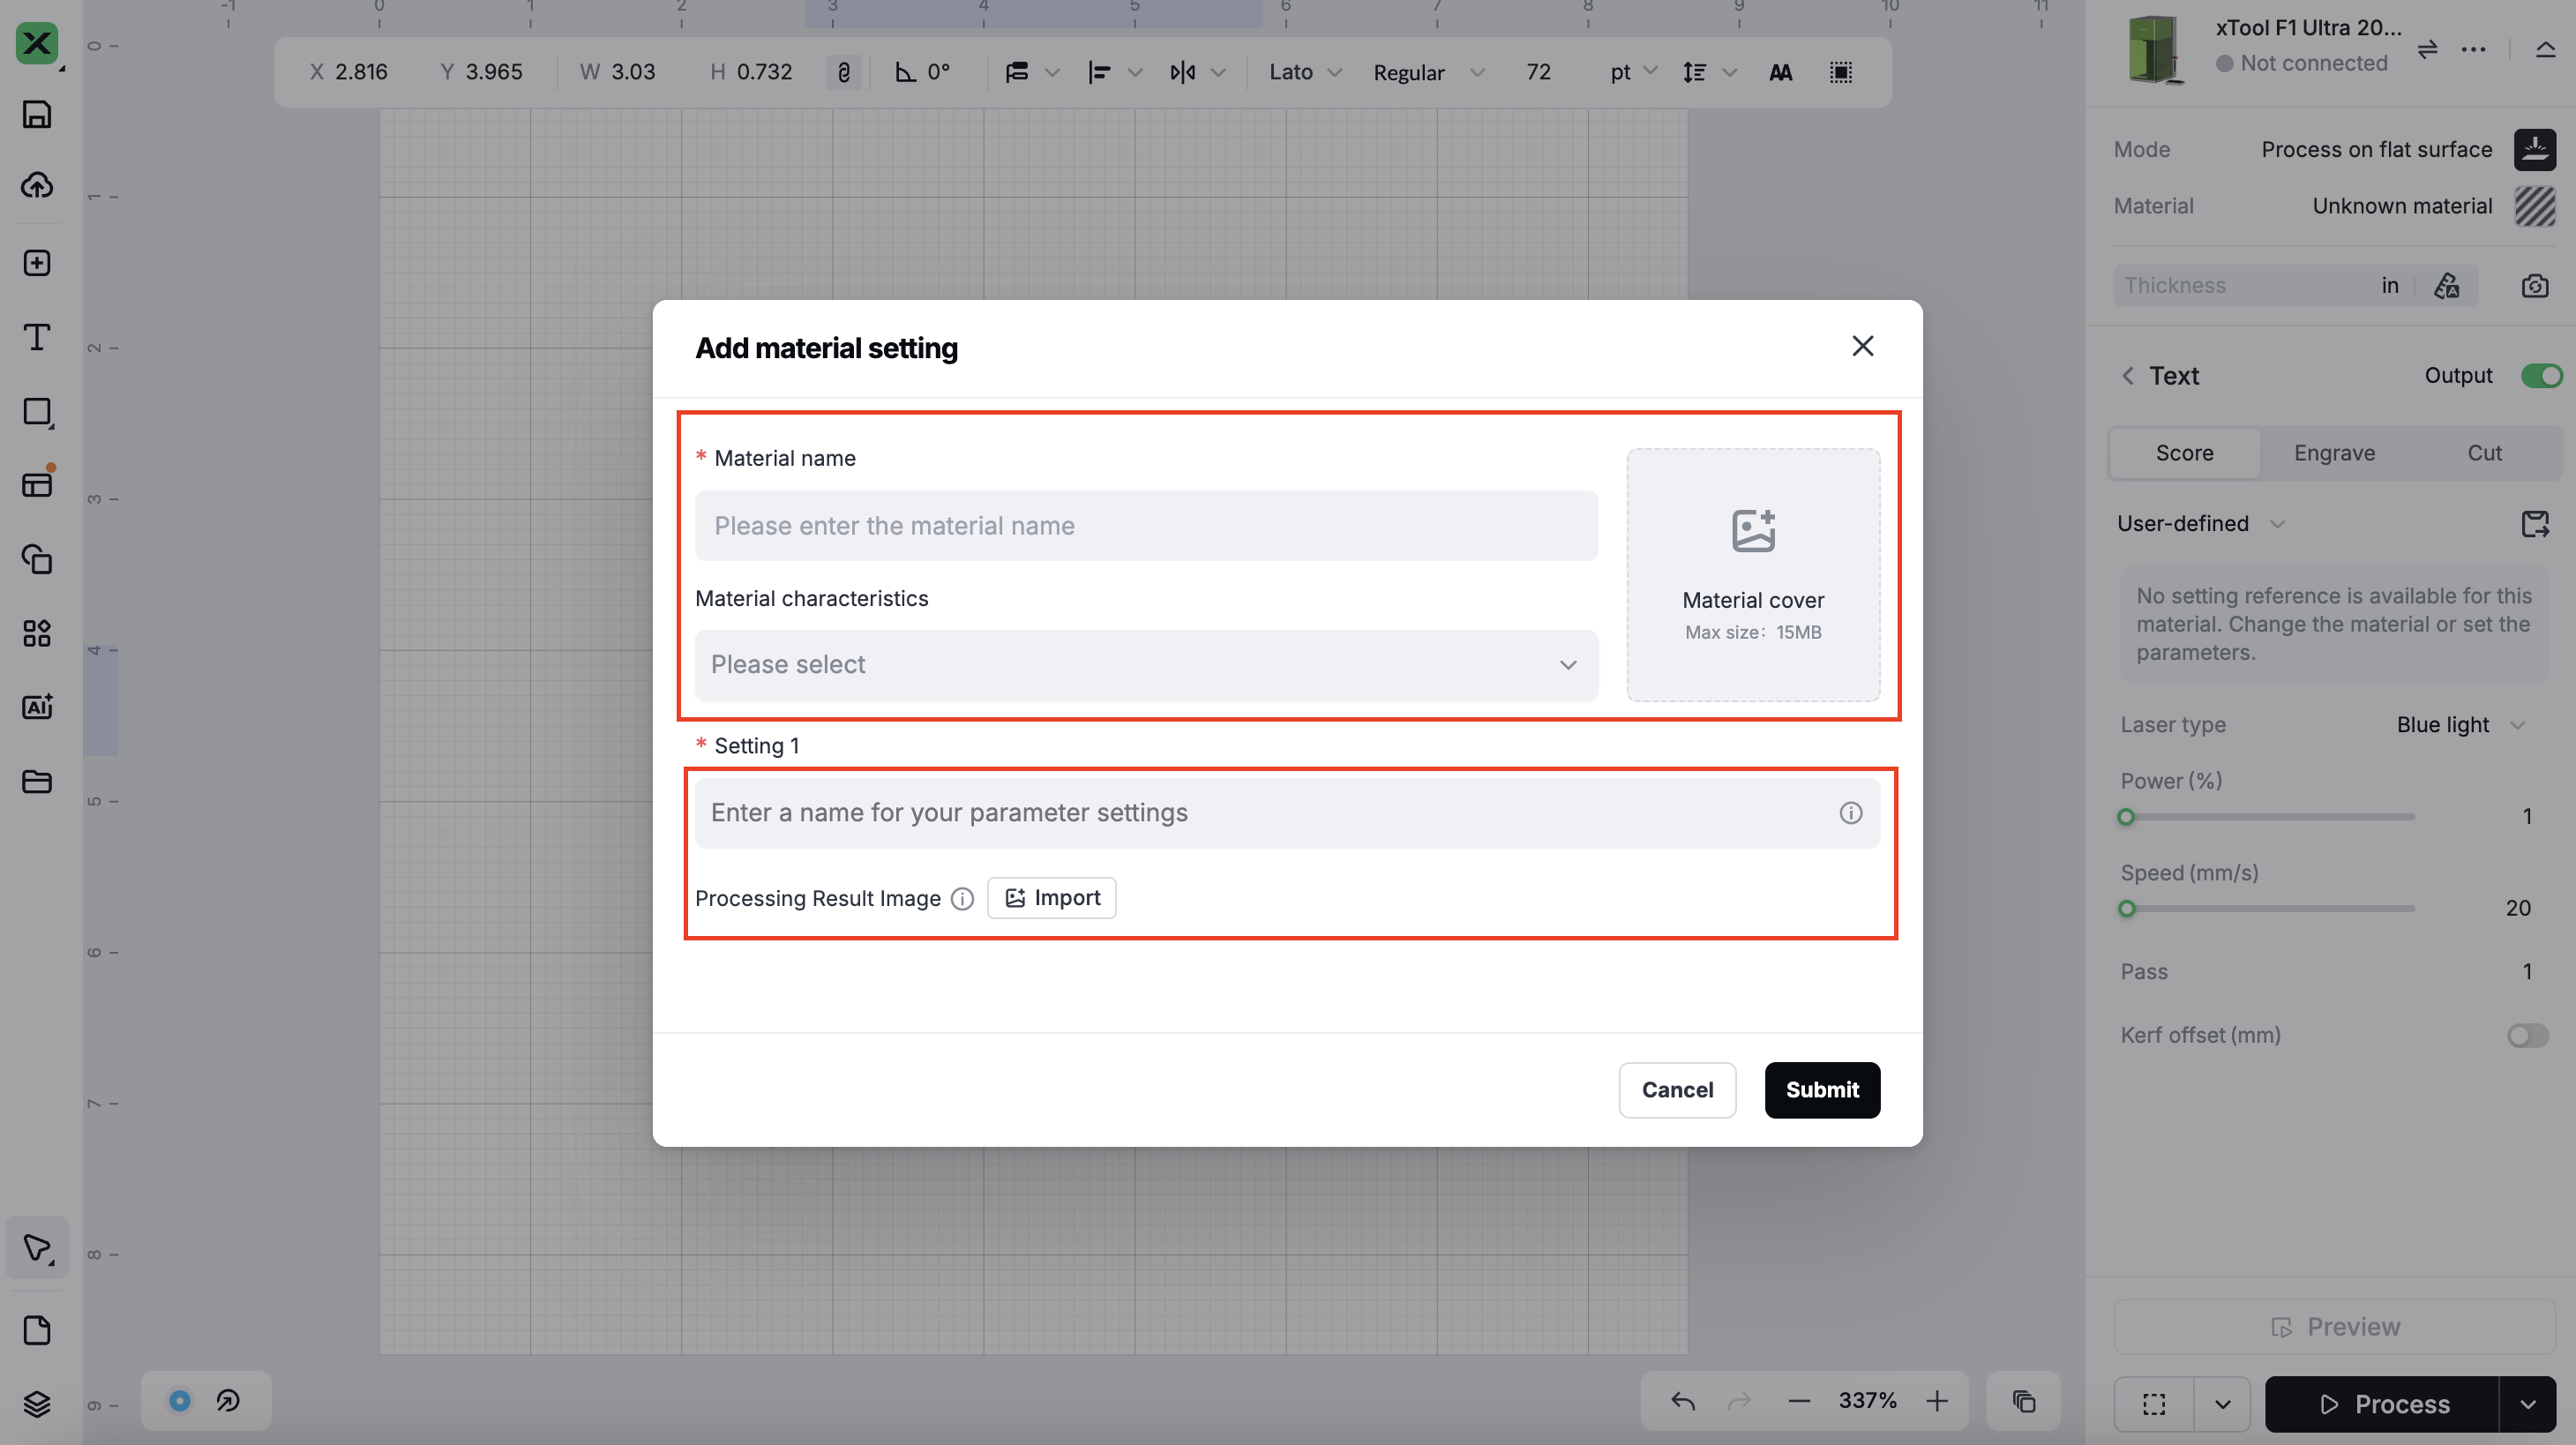
- The saved material and parameter settings will take effect immediately and be applied.

Recommended version: xTool Studio 1.0 or above.
Services & Help
Learn & Education

Copyright © 2025 xTool All Rights Reserved.