Function description
To enhance user experience, xTool MetalFab introduces advanced laser engraving capabilities. With xTool Studio, you can use your xTool MetalFab CNC Cutter to score or engrave objects on materials. For tasks requiring both engraving and cutting, the Combined Processing mode is your go-to, which helps to streamline your workflow.
Combined processing refers to multi-task processing including cutting and engraving, which requires manual adjustment between these tasks.
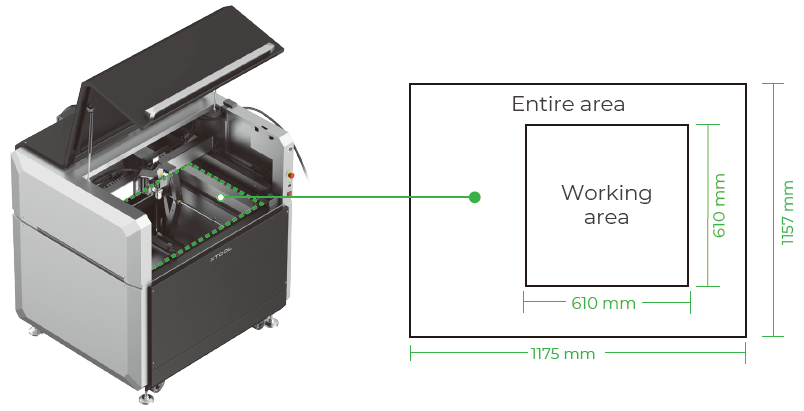
Caution: Materials to be processed shall not have a surface inclination greater than 8 degrees.
Flat material
Curved material (inclination ≤ 8°)
Instructions
Step 1: Select processing mode and material
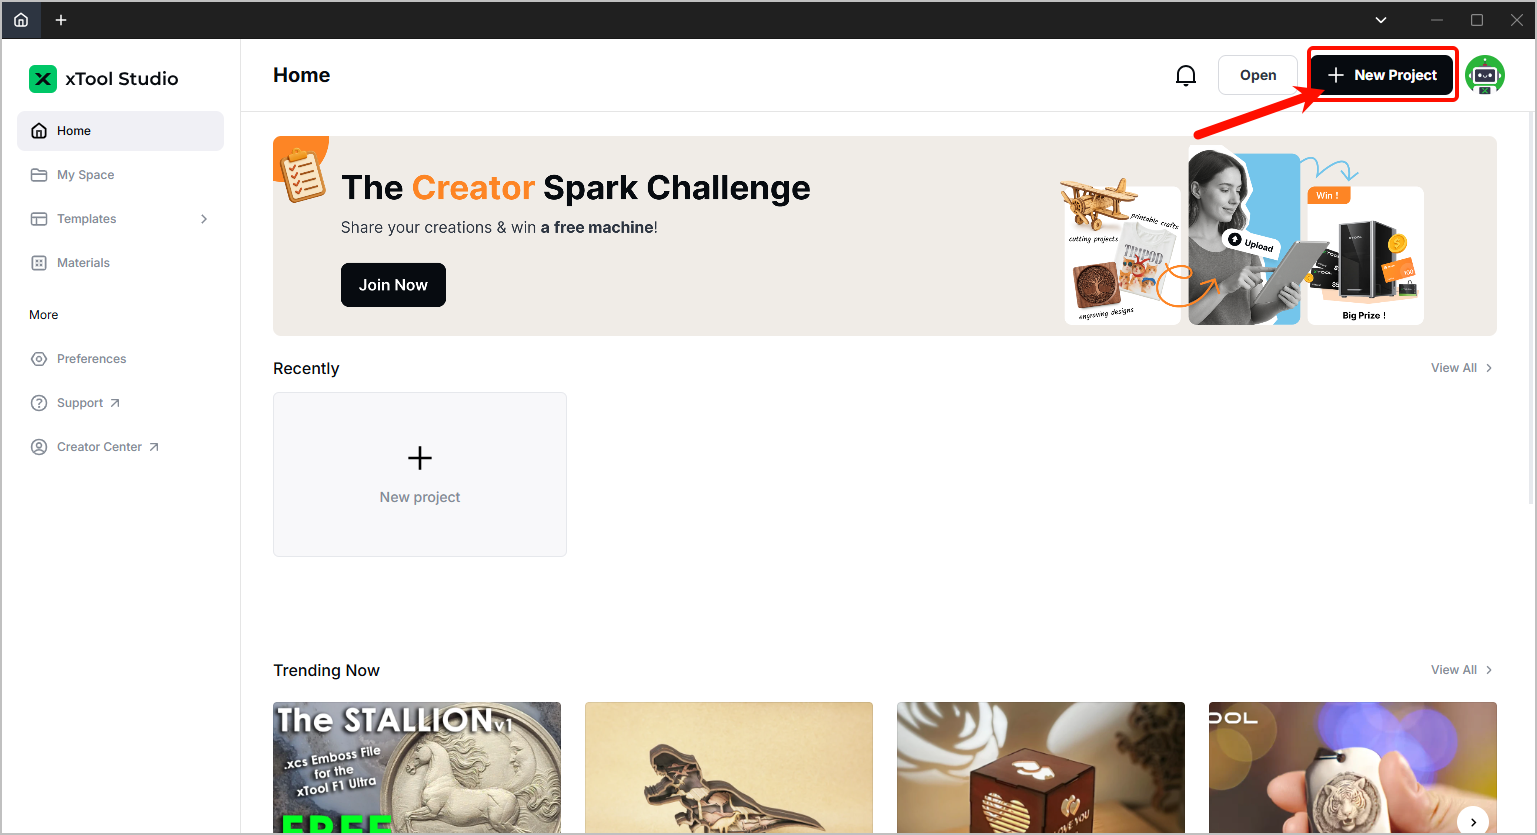
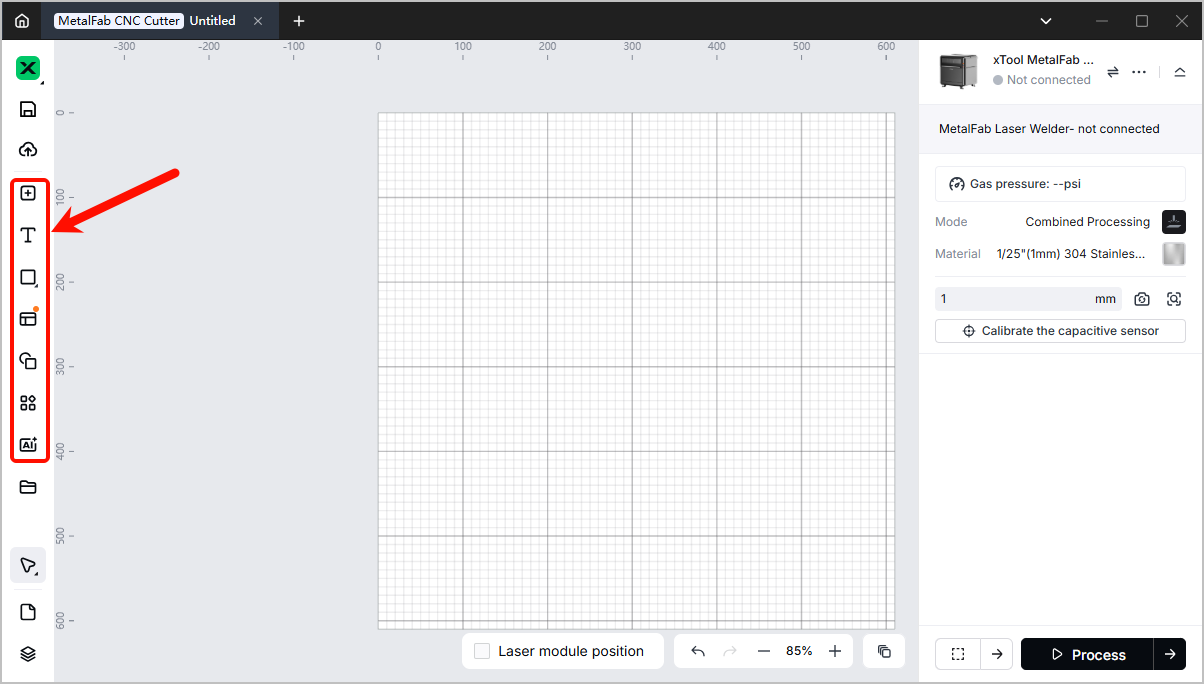
- Open xTool Studio and click +New Project in the top right corner.
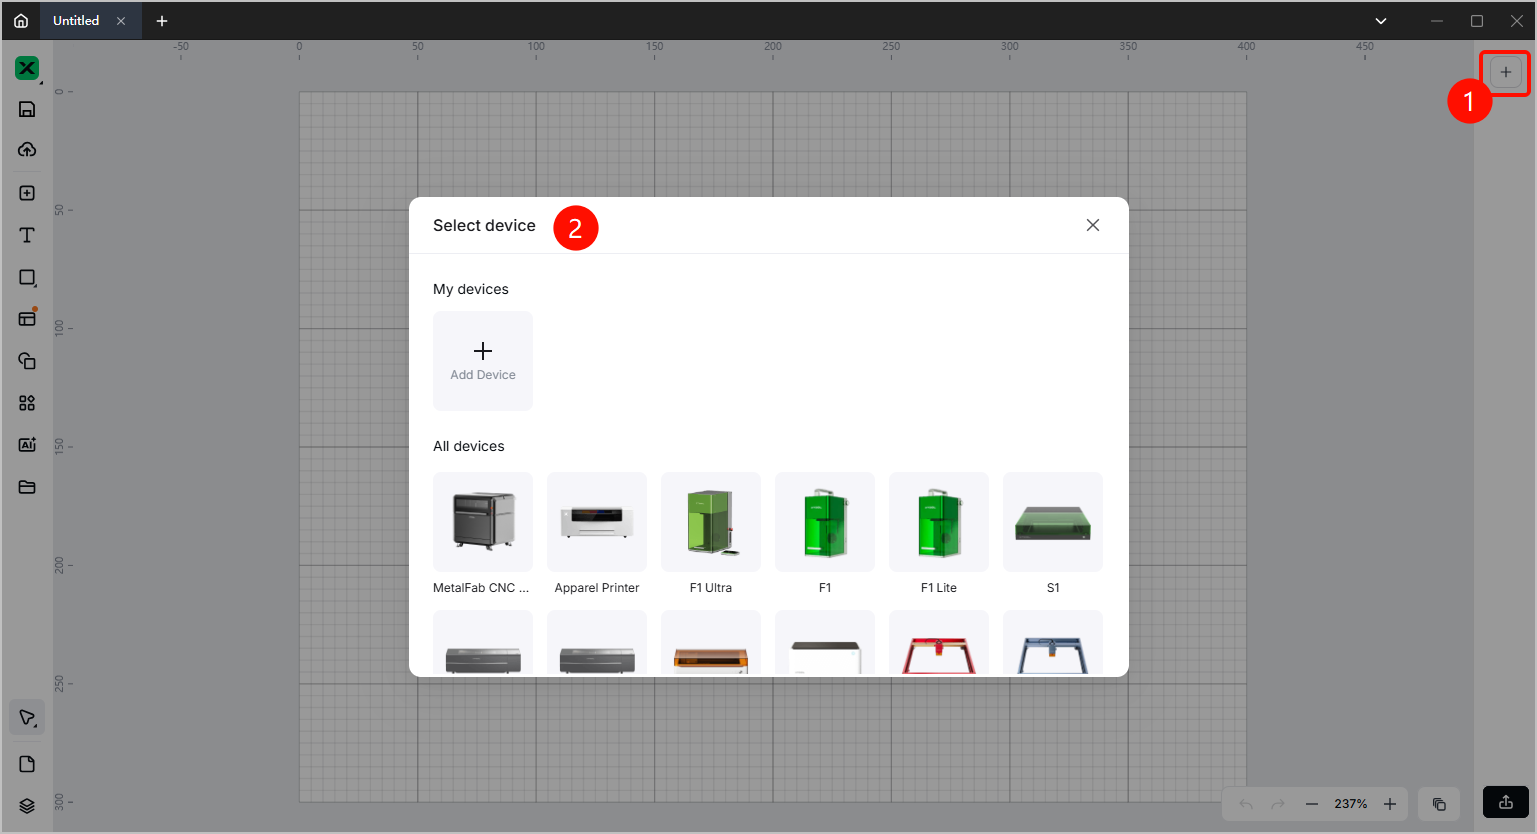
- Click + in the right panel and connect your xTool MetalFab CNC Cutter.
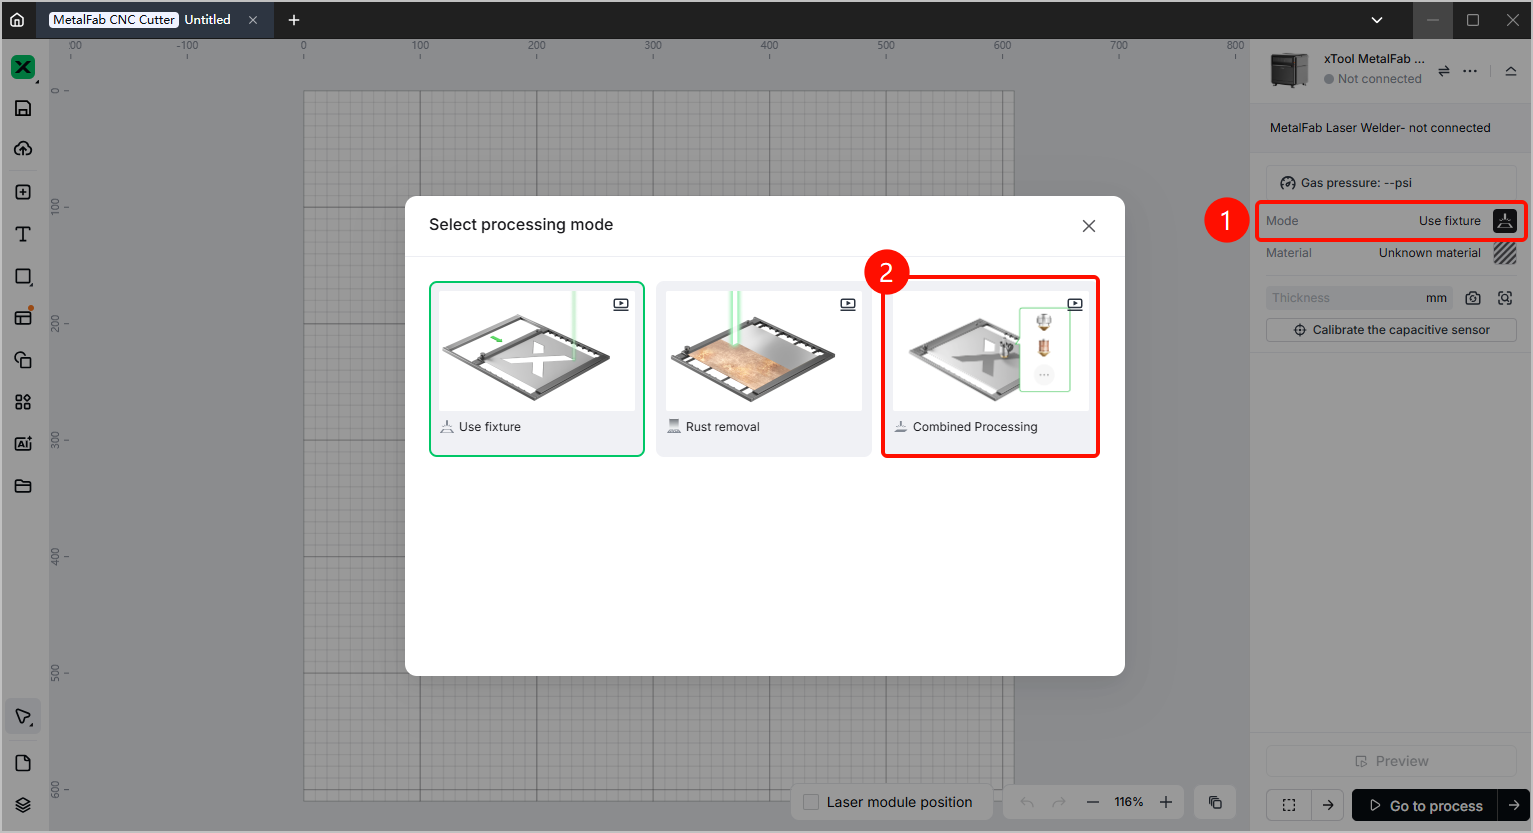
- Click the processing mode in the right panel and click Combined Processing in the dialog box.
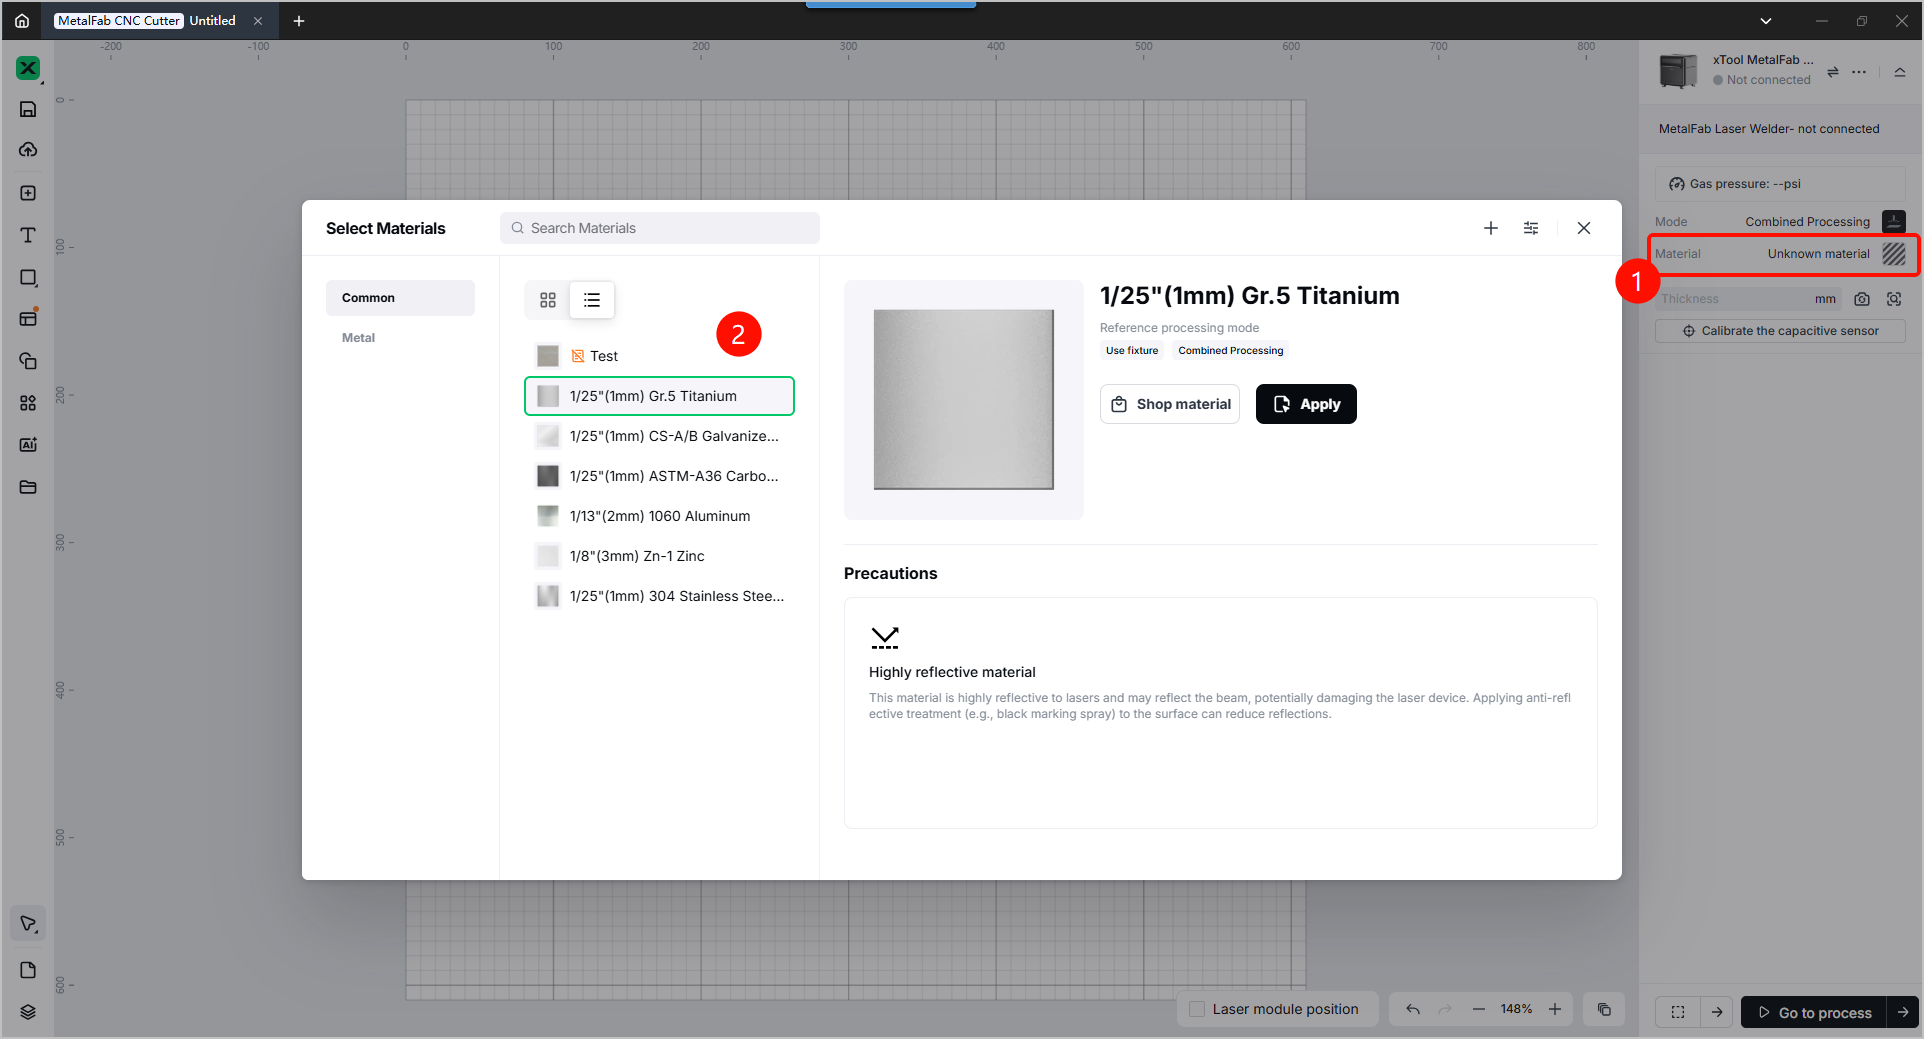
- Click the processing material in the right panel and select your target material in the dialog box.
Note: If you need to cut the material, please select the correct material thickness.
Step 2: Calibrate your xTool MetalFab CNC Cutter
- Ensure that the welding head is equipped with the 2 mm cutting nozzle.
Note: The Combined processing mode does not support the telescopic cutting nozzle (SaveGas™ nozzle).
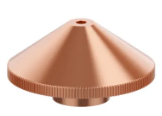
✔ 2 mm cutting nozzle
❌ Telescopic cutting nozzle (SaveGas™ nozzle)
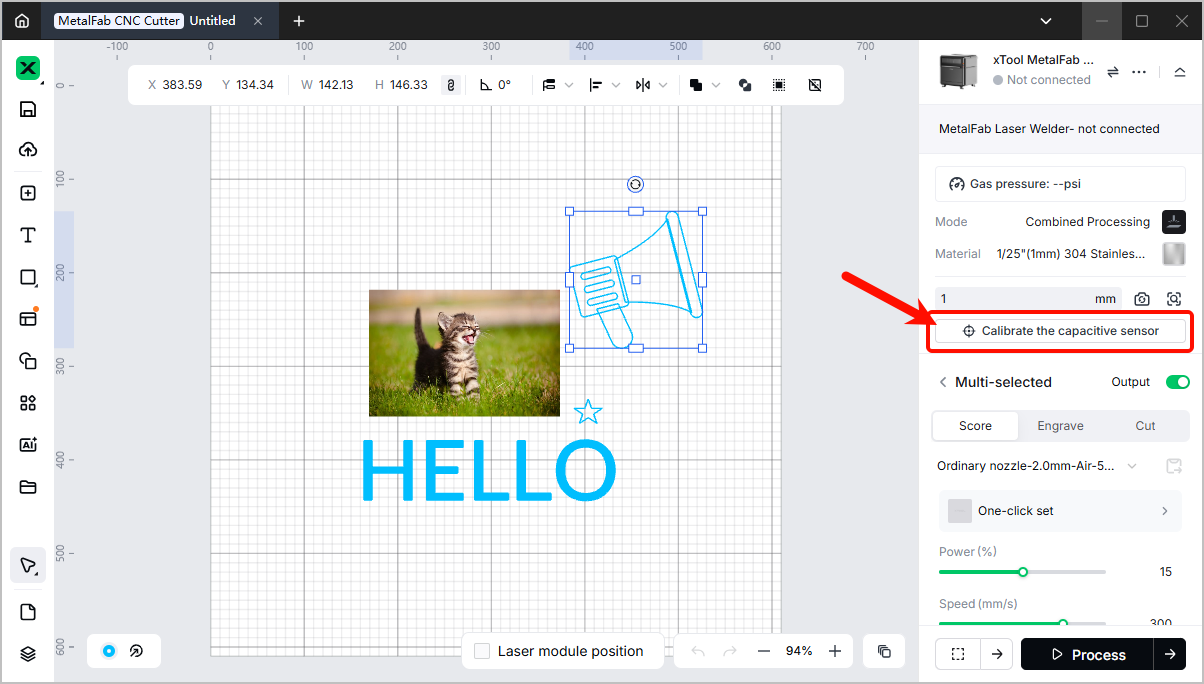
- Place the material (like stainless steel or plated metal) onto the wokring area.
Note: Highly-reflected materials such as gold, silver, bronze, or aluminum are not supported by the calibration function in xTool Studio.
- Click Calibrate the capacitive sensor. The background will be refreshed automatically.
Wait until a green crosshair appears, and then click the center of the object to be processed to start calibration.
Note:
- Capacitive sensor calibration is the key to processing stability and optimal results.
- If the calibration has not been performed before focus calibration or processing, a pop-up message will remind you of completing this step first.
Step 3: Configure processing parameters
- Add your desired object to the canvas from the left panel. You may create text, vectors, or import images.
- Choose the processing type in the right panel. The processing types include Score, Engrave, and Cut.
Note: The only processing type for bitmap objects is Engrave.
- Configure the processing parameters for objects to be processed.
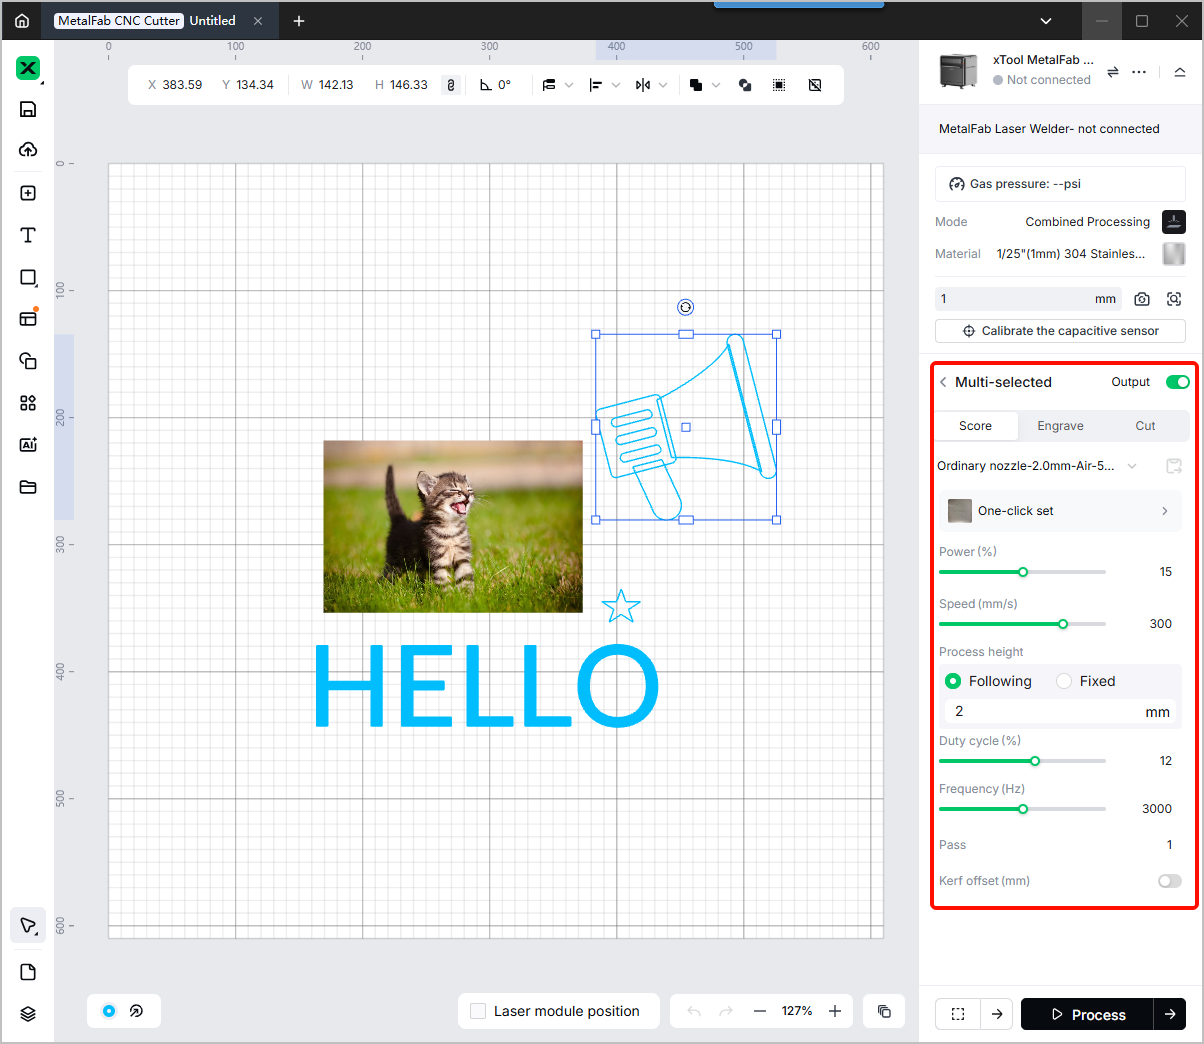
- If you've selected a certain processing material in xTool Studio, recommended parameter settings will be provided automatically.
- If you've selected self-defined material, you may need to manually configure the parameters:
- Regular parameters: power, speed, pass, and lines per cm. For engraving scenario, the power is defaulted to 10% and speed 100 mm/s.
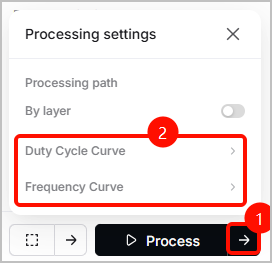
- Advanced parameters (optional):
- You may set Duty cycle and Frequency as needed. These two parameters help to avoid overburning when processing complex objects on the material.
- By clicking the arrow icon near Process, you may adjust the curve of Duty cycle and Frequency to achieve better results.
- Configure the processing height. Process height is defaulted to Following in the Combined processing mode.
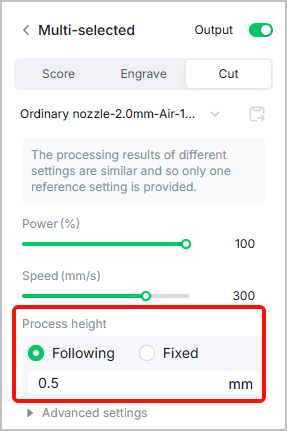
- Following (default): The nozzle is automatically adjusted to maintain certain distance from the material, adapting to uneven surfaces. This mode is recommended for metal processing.
- Fixed (not recommended): The nozzle is set to a certain distance from the material. The mode is suitable for flat and non-deformable materials. To avoid poor processing results, select this mode only when necessary.
Following (default)
Fixed (not recommended)
Step 4: Check before processing
- Click Process in the lower right corner.
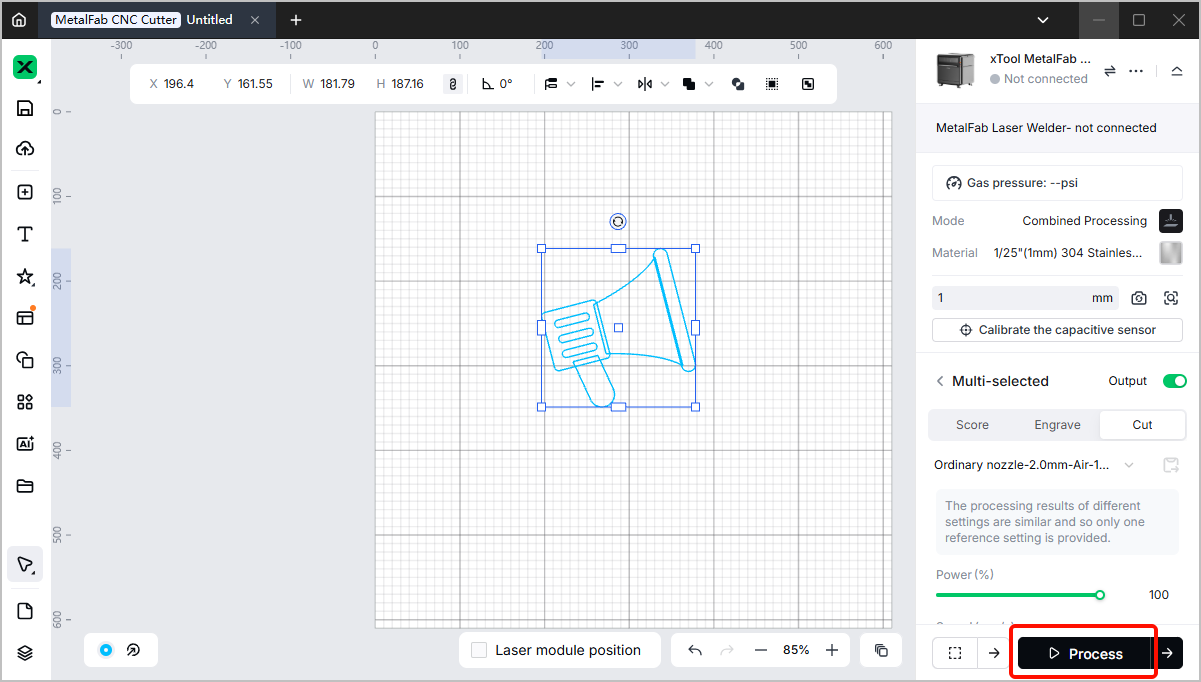
- Click View path preview to preview the processing path.
The processing path is automatically set by following the sorting rules: scoring > non-bitmap engraving > bitmap engraving > cutting.
This setting minimizes the risk of material displacement.
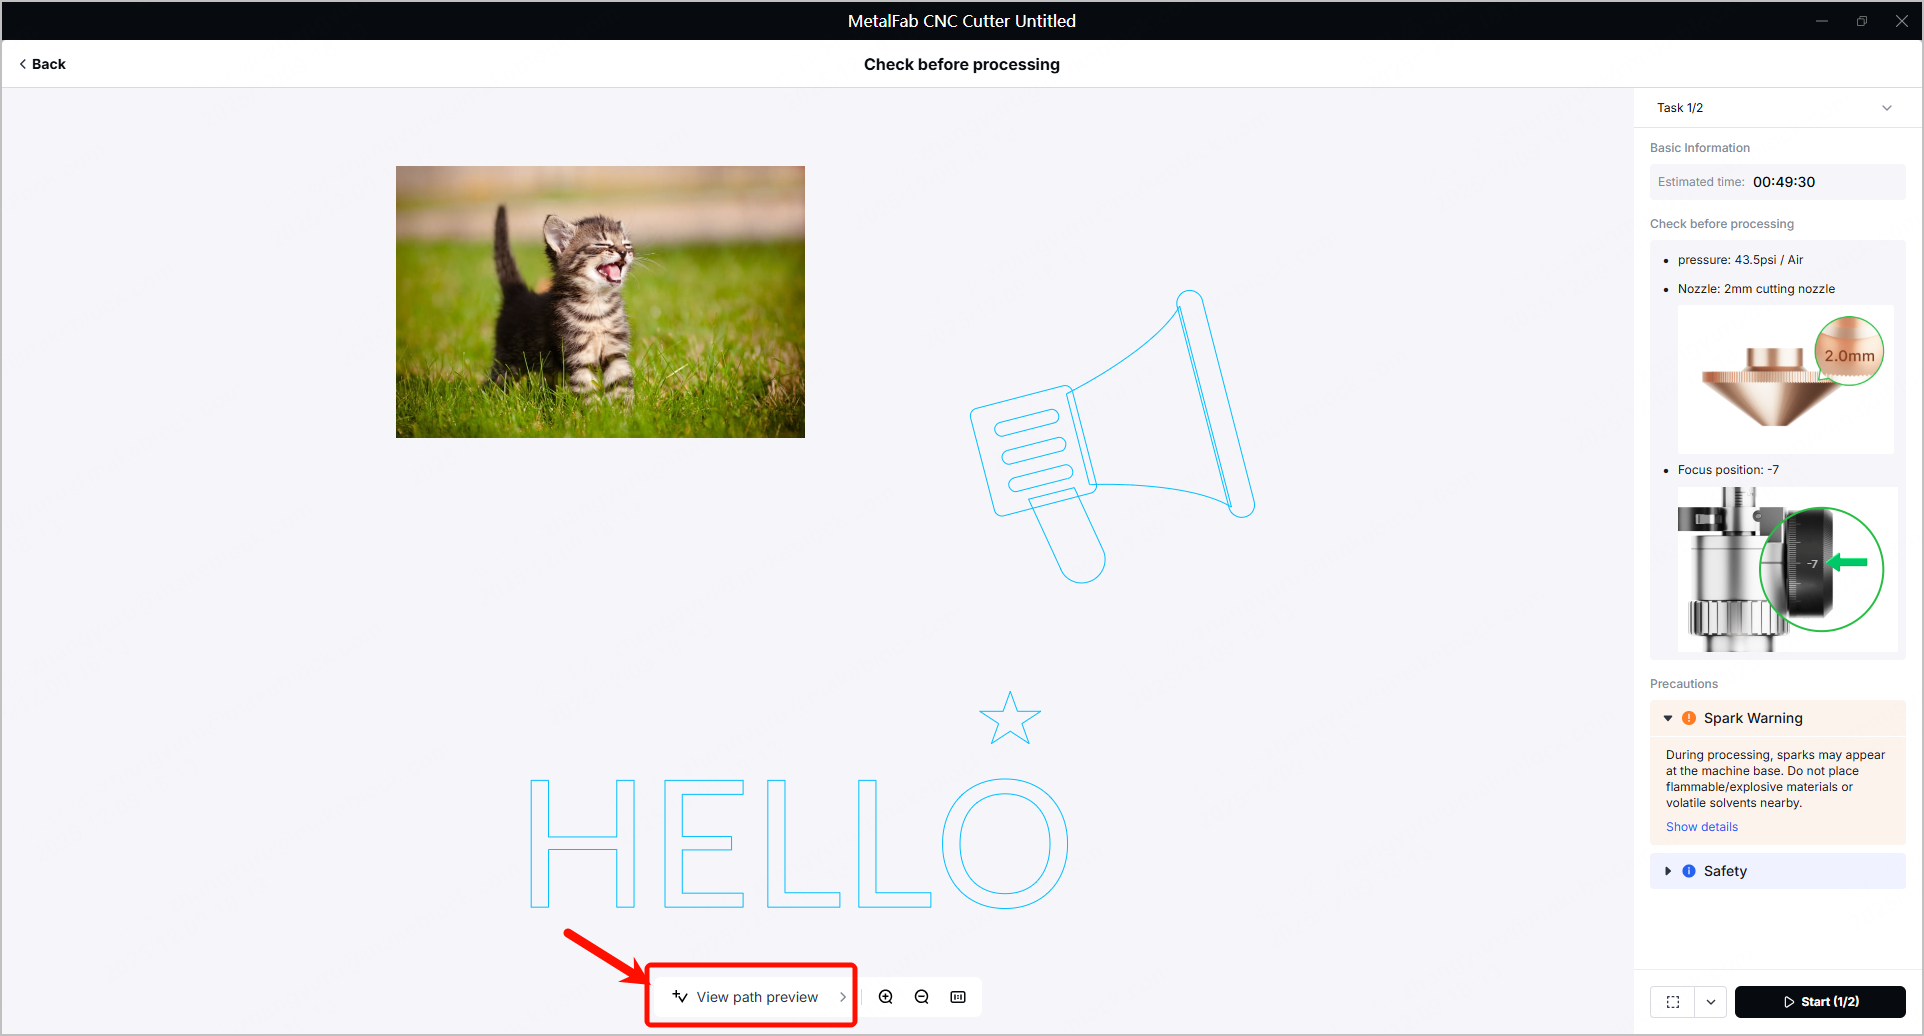
- Check the precautions and values shown in the right panel, including gas pressure, gas type, nozzle, and focus position.
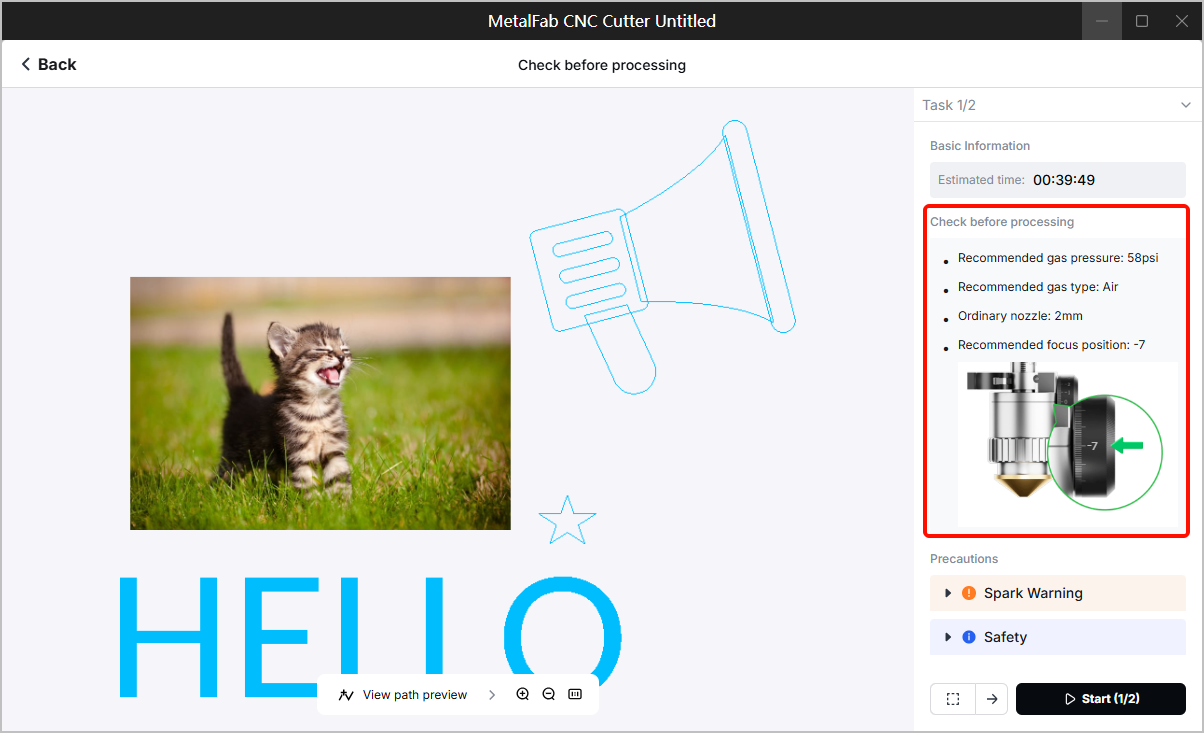
For gas pressure:
- The actual gas pressure is detected and shown in the right panel.
- If the gas pressure is lower than the recommended value, xTool Studio will highlight the actual gas pressure in orange to remind you of poor processing results and gas pressure adjustment.
- If the gas pressure is 0, xTool Studio will highlight the actual gas pressure in red and prevent the machine from processing. Only when you connect the appropriate gas cylinder to the machine and adjust the gas pressure to the recommended value, will the processing be started.
Gas pressure lower than recommended value | Gas pressure zero |
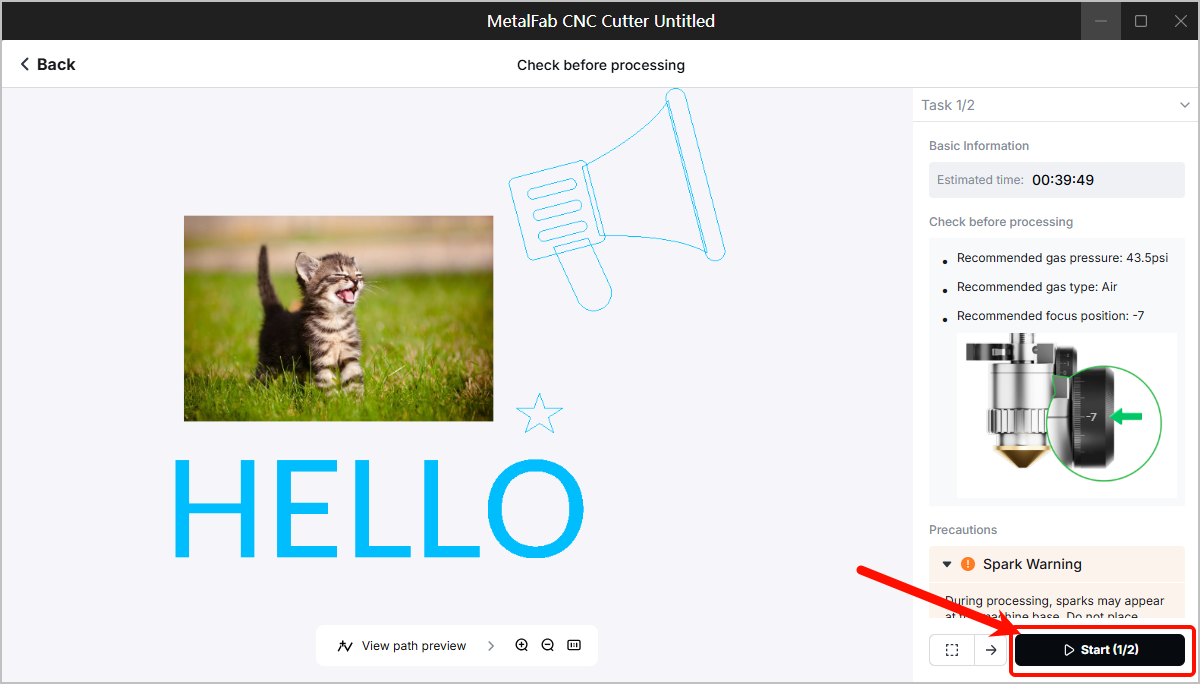
Step 5: Start processing
- Click Start in the lower right corner. The machine starts processing according to the preset order and parameters.
- After engraving materials, please make adjustments to the knob scale of the cutting tip and gas pressure to continue the cutting tasks.
Engraving | Cutting | Relevant tutorial | |
|---|---|---|---|
Knob scale of the cutting tip | -7 | 0 to -5 | |
Gas pressure | 300 kPa | 1200 kPa | Refer to the user manual of the gas cylinder or gas generators you use |
Services & Help
Learn & Education

Copyright © 2025 xTool All Rights Reserved.