This content is tailored for the operation of xTool Appreal Printer & xTool OS1 Automatic Shaker Oven Machine with xTool Heat Press Series products or equivalent third-party heat press devices.
Overview
This guide helps you achieve optimal heat-press results—whether using xTool Heat Press Series or a compatible third-party heat press device—after printing and curing large PET film graphics via xTool Apparel Printer and OS1 Shaker Oven. It addresses:
- Creased Graphics: The final pressed design appears wrinkled or creased, even when the garment itself is smooth.
- Peeling After Washing: The design peels away from the fabric, especially after being washed, indicating poor adhesion.
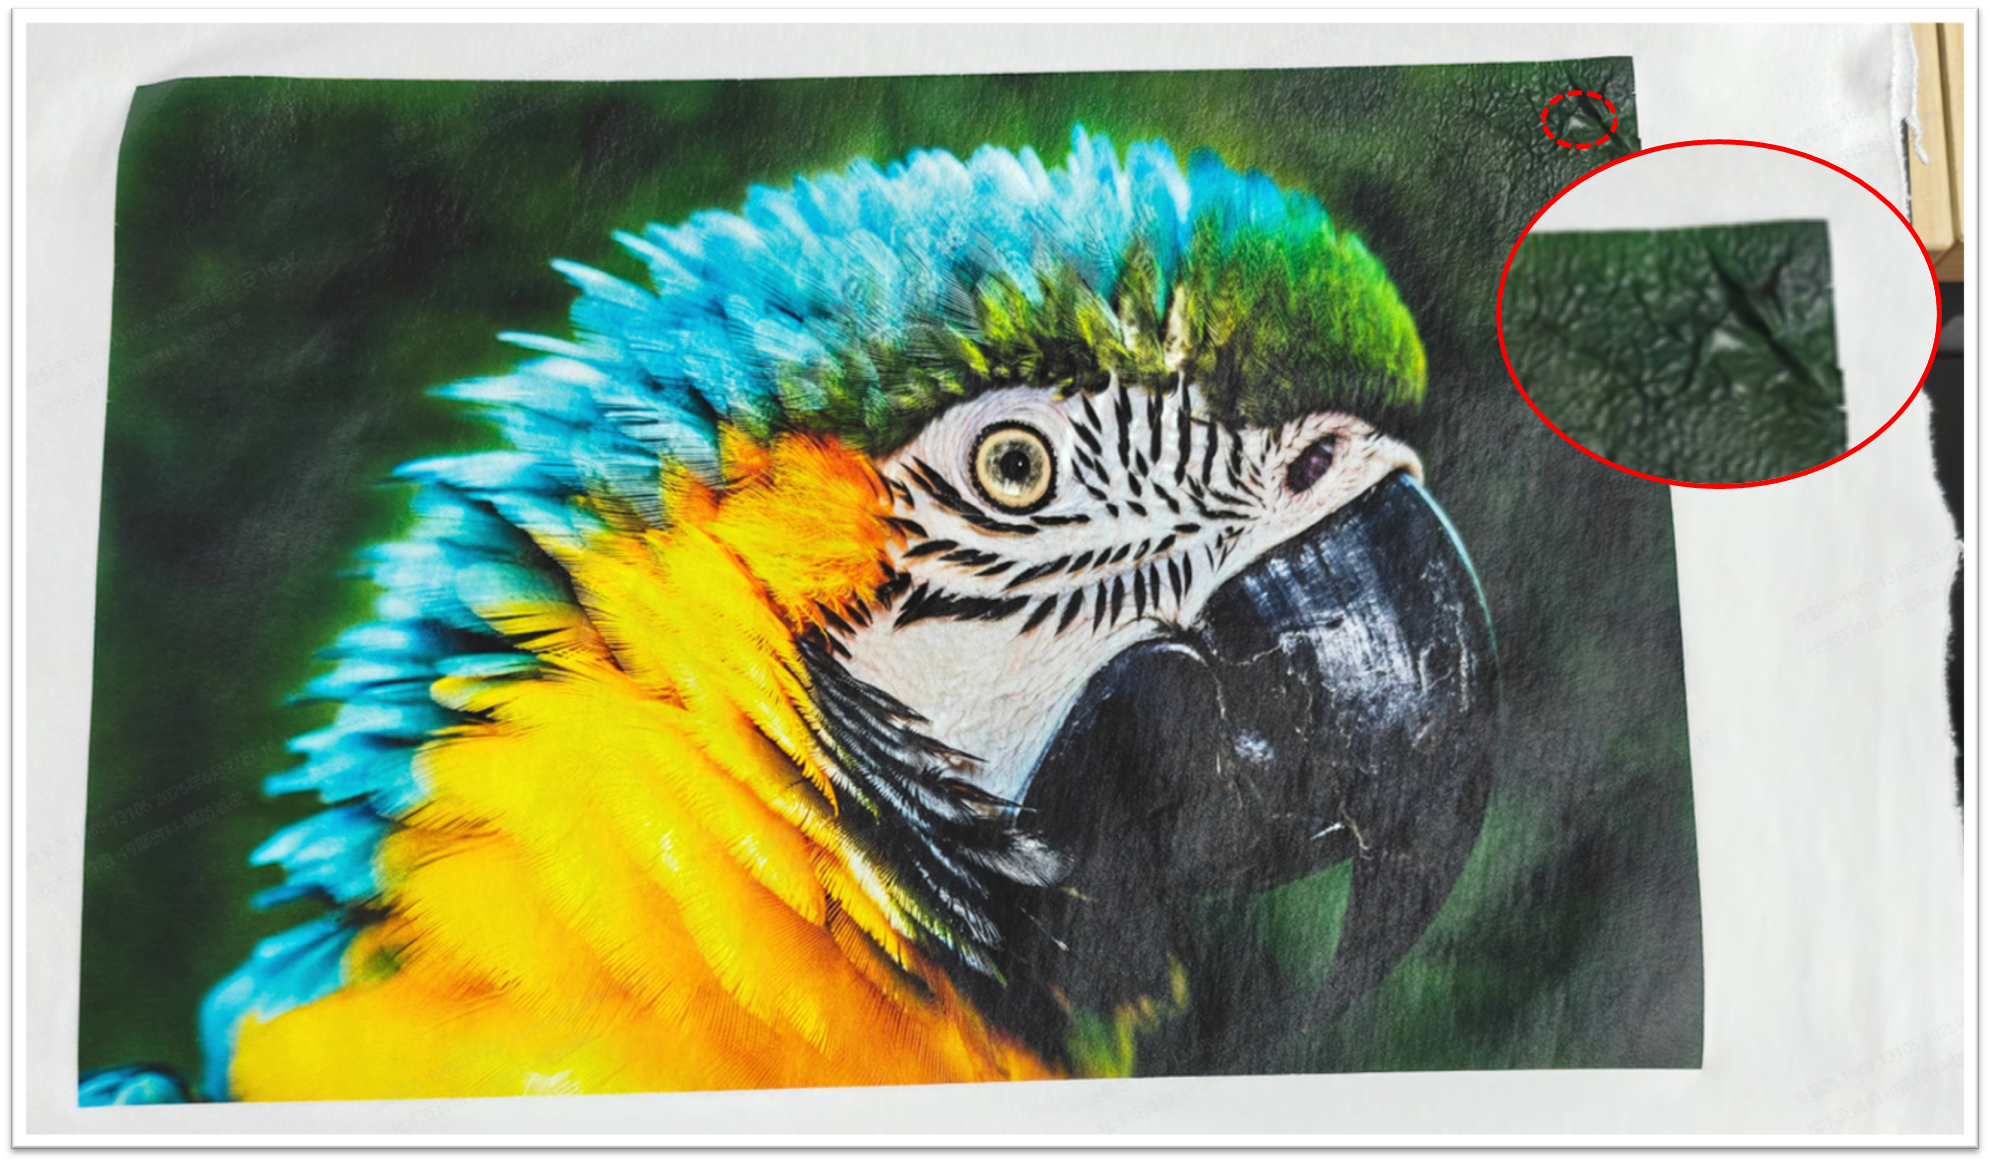
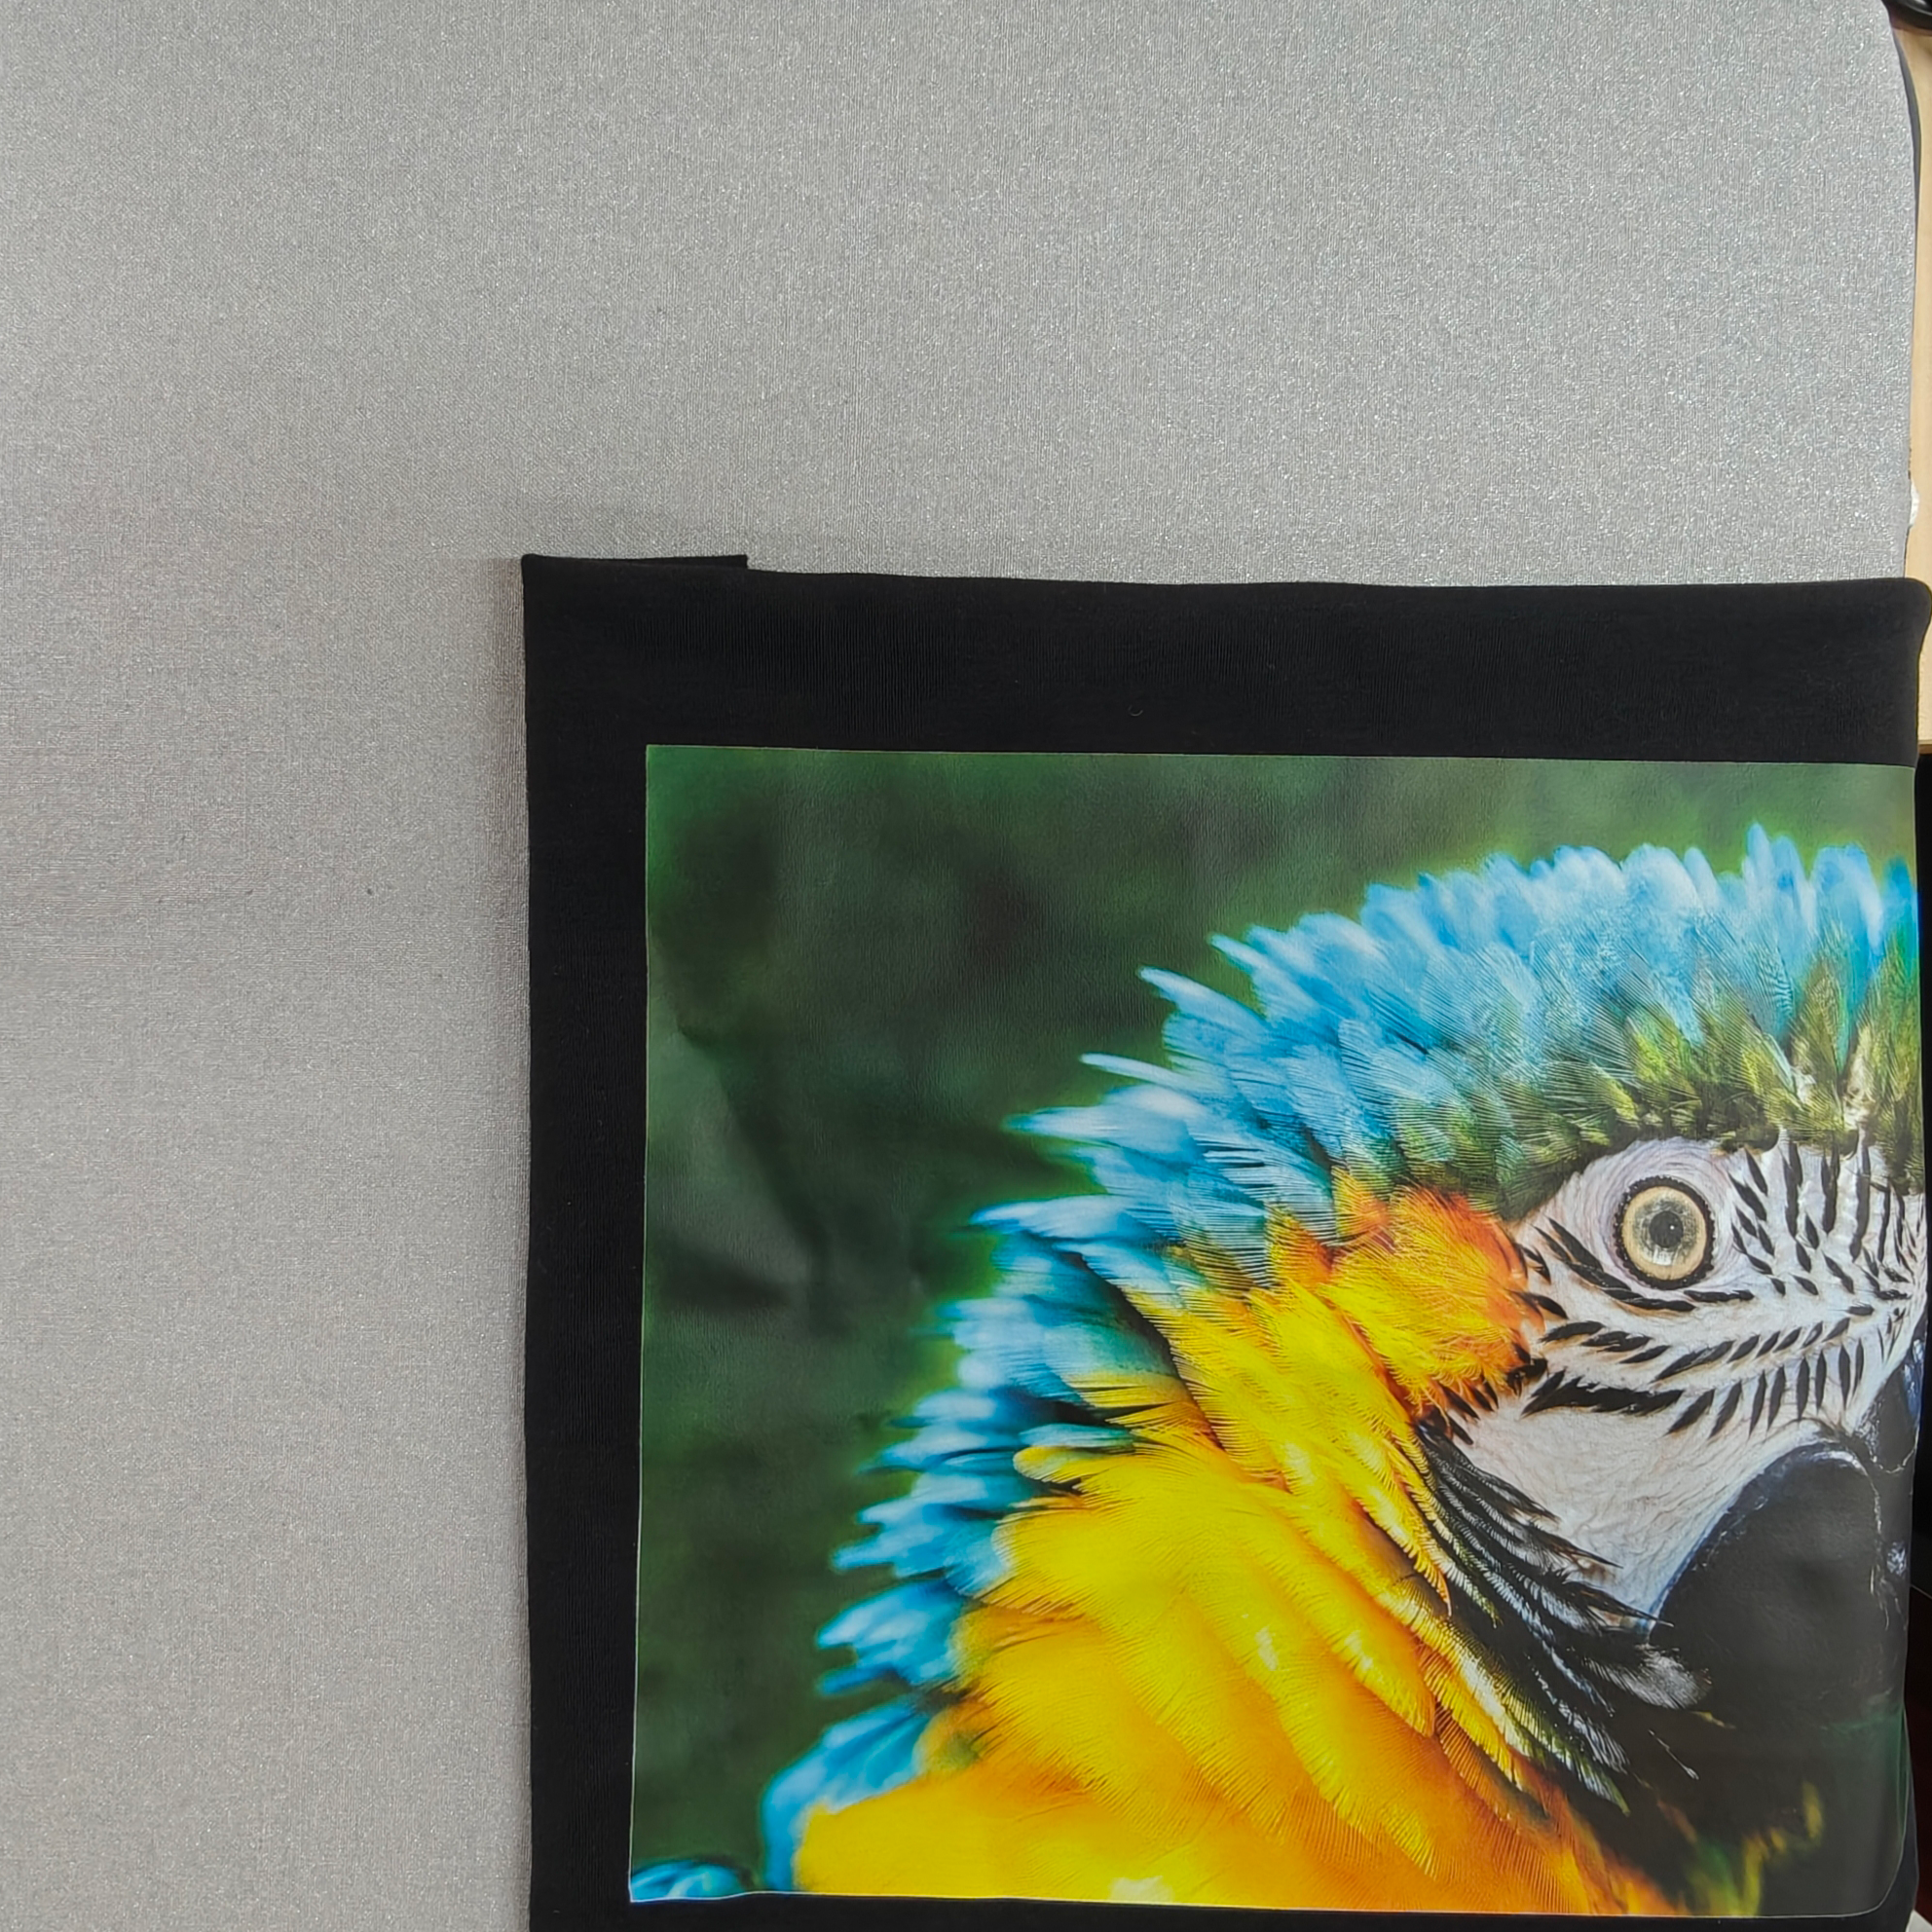
Creased pattern after heat-pressed
Safety & preparation
- DO NOT touch the heated surfaces of the heat press machine—risk of burns.
- Press settings (temperature, pressure, time) depend on the garment material.
- For xTool Heat Press Series, consult Material Settings - xTool Selected DTF Film for the best results.
Recommended tool
- Heat Press Mat: Using a heat press mat (often made of foam or silicone) specifically designed for heat transfer applications is highly recommended.
💡 Ensure the mat is large enough for your garment and design, as it provides a smooth, firm surface that helps ensure even heat and pressure distribution.
Operation procedure
Step 1: Set parameters
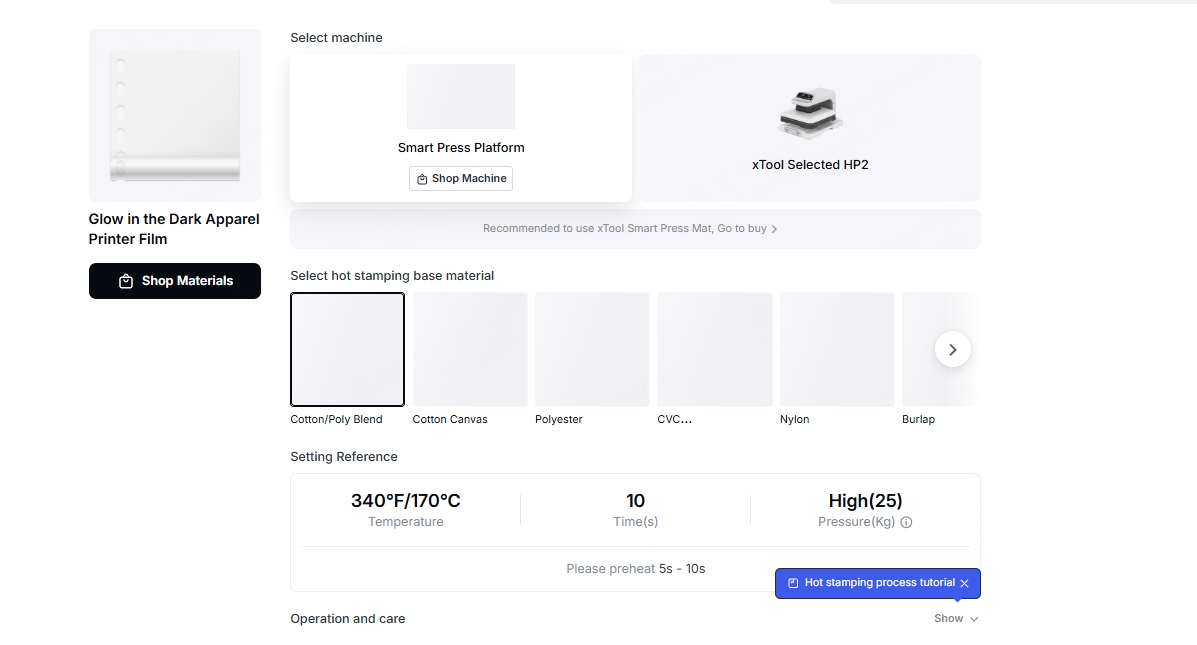
Specific heat pressing parameters vary depending on the garment material. If using a Heat Press product, please refer to this link to select the appropriate parameters: https://www.atomm.com/zh/easyset/collection/RY001A?t=heatPress&n=Smart+Press+Platform
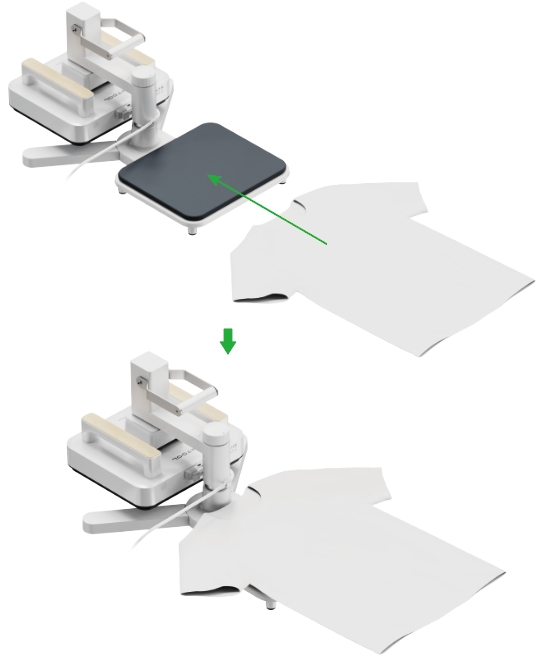
Step 2: Pre-press the garment
This initial step removes moisture and wrinkles from the fabric, preparing it for a better transfer.
- Lay your garment flat on the heat press mat.
- Set your heat press to the same temperature you will use for the transfer.
- Press the garment for approximately 5-6 seconds.
- Stop pre-press.
Step 3: Apply the DTF transfer (Initial press)
- Carefully place the cured PET film with your design onto the pre-pressed area of the garment.
- Ensure the entire design is within the working area of your heat press.
- Confirm your time and temperature settings are correct for your material.
- Press the garment with the transfer film according to your material settings.
Step 4: Peel the film (Hot peel)
This is a critical step for a clean transfer and a smooth finish.
- After the initial press is complete, do not immediately peel the PET film away. At this stage, the ink and adhesive are not fully set.
- It is strongly recommended to let the garment and film cool down until the temperature is below 100°C (212°F). This typically takes 10-20 seconds.
- Once cooled, gently peel the PET film away from the design.
Step 5: Re-press the edges (Crucial step)
For large patterns, the edges and corners of the design often receive less pressure than the center, which can lead to peeling after washing.
Re-pressing these specific areas ensures a strong, durable bond across the entire design.
Secondary Press Cycle:
- Place the garment (with the design now transferred and the film removed) back onto a heat press mat.
- Perform a complete secondary press cycle under the same processing parameters as the initial press.
- Take out the garment.
Edge Corner Re-pressing:
- Position each corner and edge area of the design in the center of the heat press working area.
- Re-press each area using the same parameters as the initial press.
Upper left area
Lower left area
Upper right area

Lower right area
Step 6: Final cooling & storage
- Cool Down: After the final press, allow the garment to cool completely to room temperature.
- Storage: It is recommended to keep the finished work in a sealed bag with a desiccant packet to protect it from moisture.
Step 7: Washing
- Please wait at least 24–48 hours after the heat press before the first wash.
- Use a mild, bleach-free detergent to prevent the pattern from fading or being damaged.
- It is recommended to wash the garment inside out to reduce friction between the pattern and the inner wall of the washing machine.
- Avoid using washing cycles that involve vigorous stirring or rubbing; a gentle mode is preferable.
- It is recommended to wash with water at room temperature or below 40°C; excessively high water temperatures may cause the design to fade or peel.
- Avoid using hot water or high-temperature drying to prevent affecting the design's durability.
- It is recommended to air dry or use low-temperature drying; avoid direct sunlight to prevent the pattern from fading or deforming.
