Overview
This guide provides detailed instructions on how to adjust the foot cups of your xTool OS1 Shaker Oven. Correct adjustment ensures stability during operation or mobility during relocation.
When to adjust
- When the oven is connected to xTool Apparel Printer and vibrations are detected during use.
- When relocating the oven to a new position.
Each foot cup can be configured in two states by adjusting its hex nuts:
State | Description |
Mobile State | Foot cups retracted; oven rests on wheels for easy movement |
Fixed State | Foot cups lowered to make solid contact with the floor for stable operation |
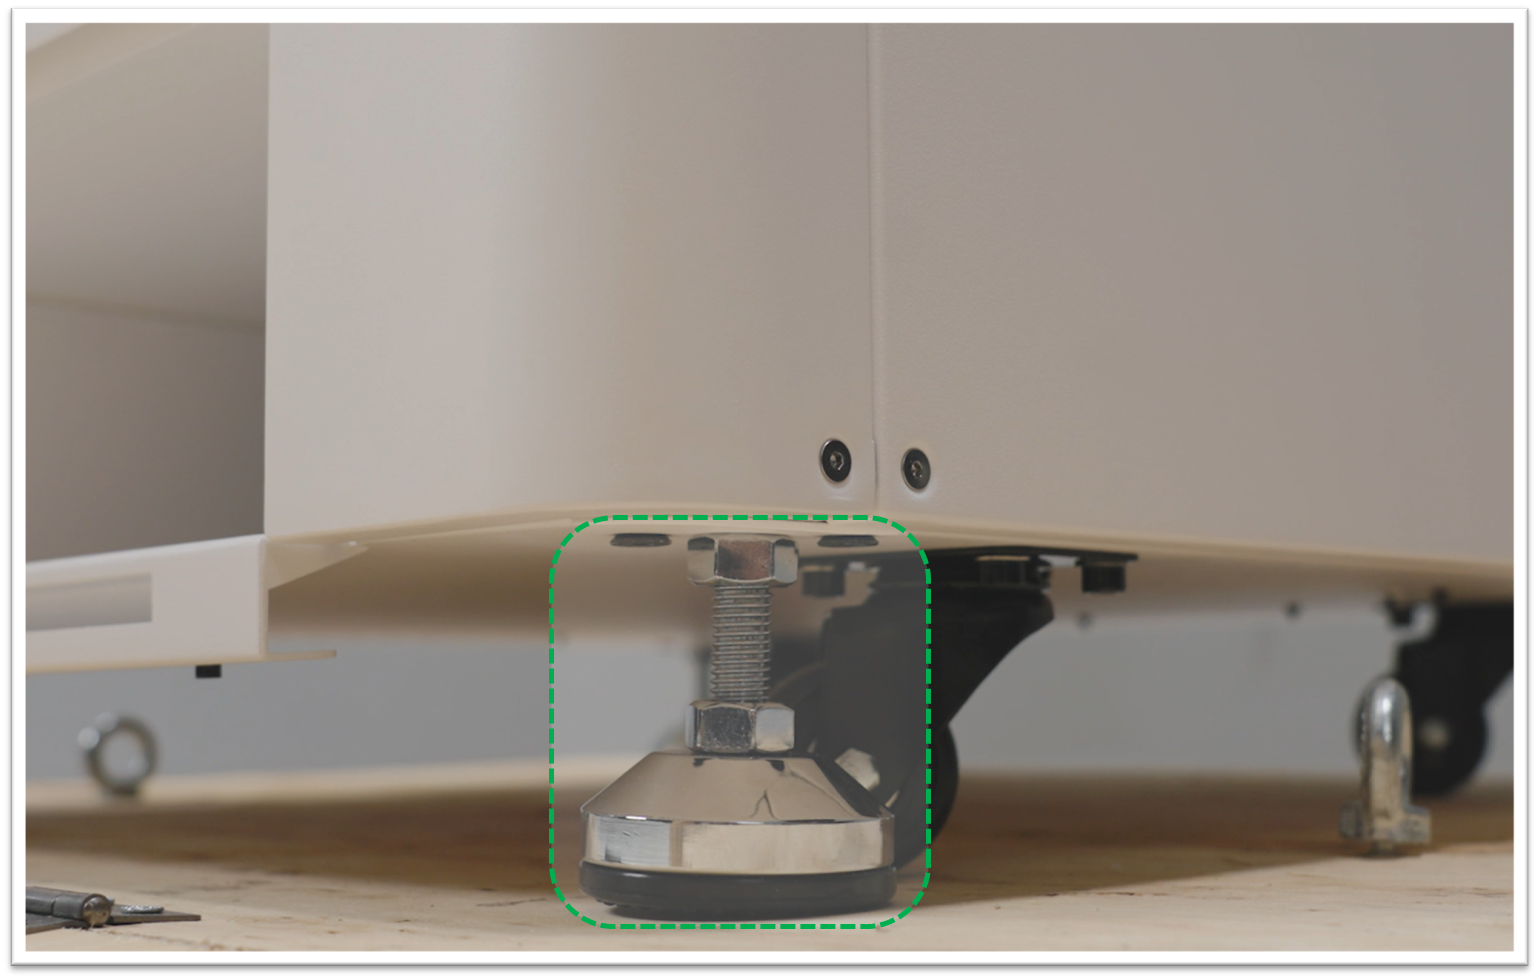
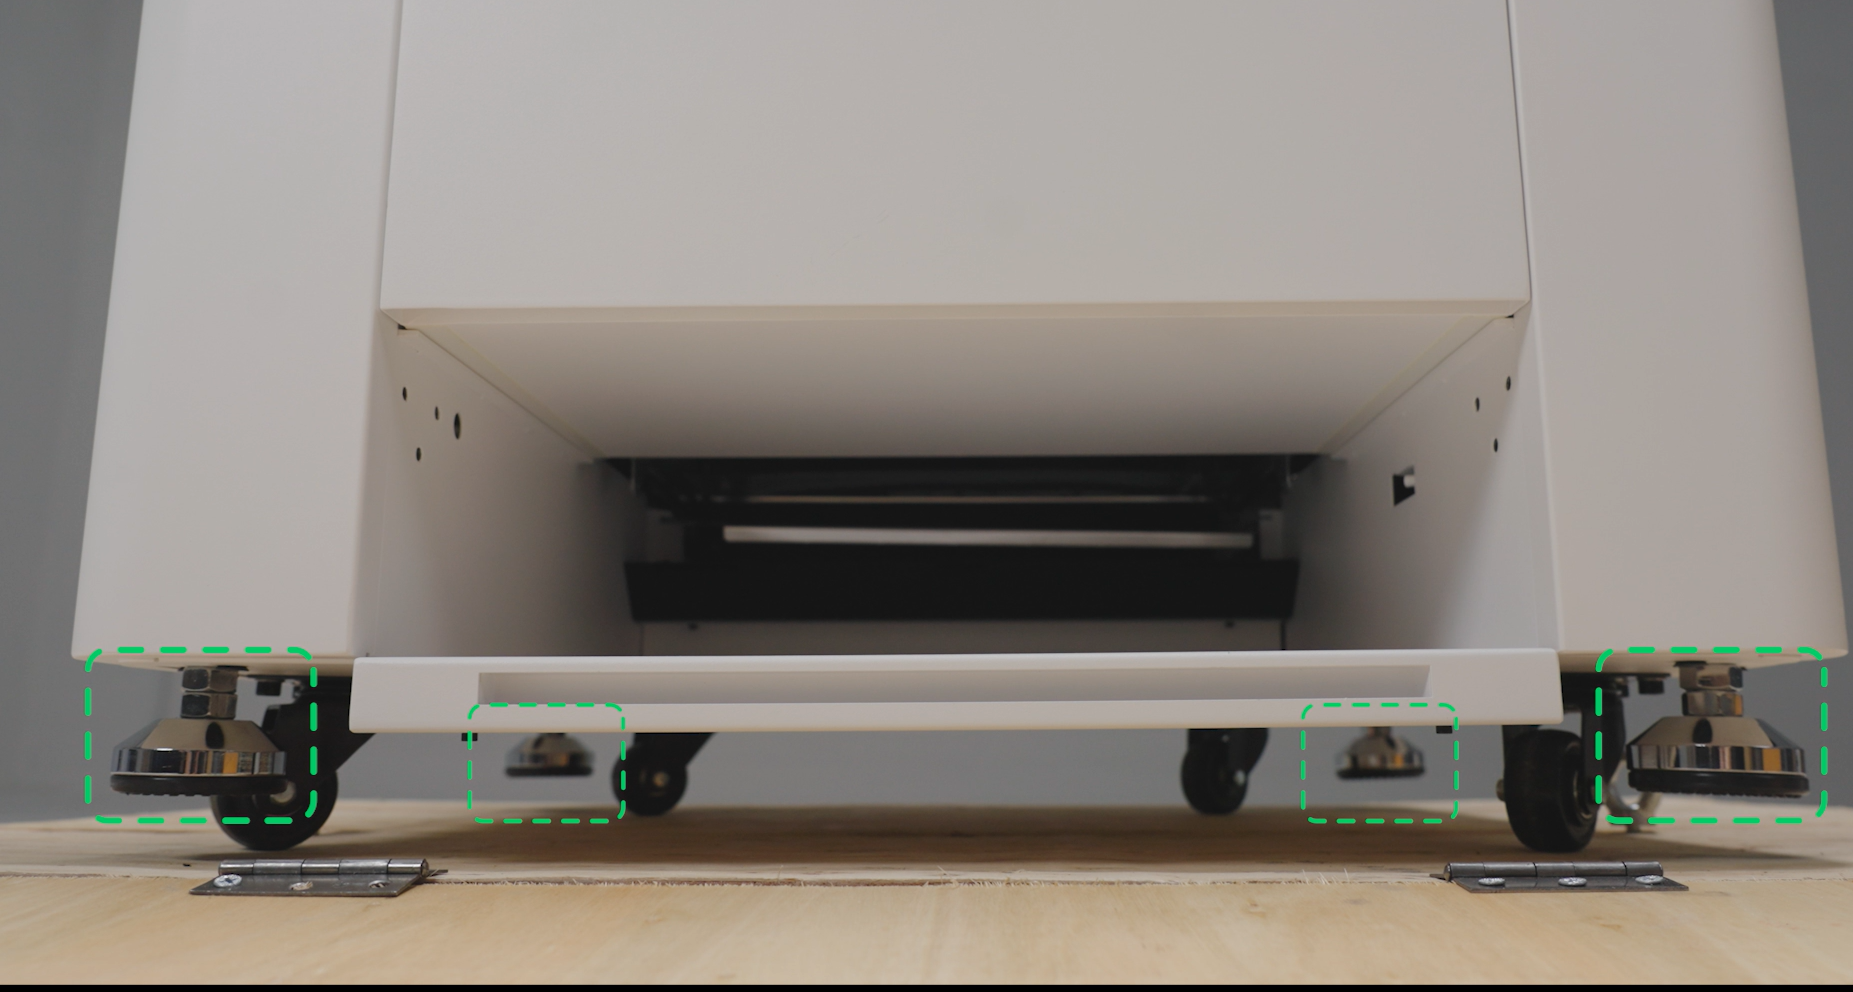
Each foot cup has:
- Upper Hex Nut — Locks the foot cup assembly.
- Lower Hex Nut — Controls height and floor contact.
Fixed State
Mobile State
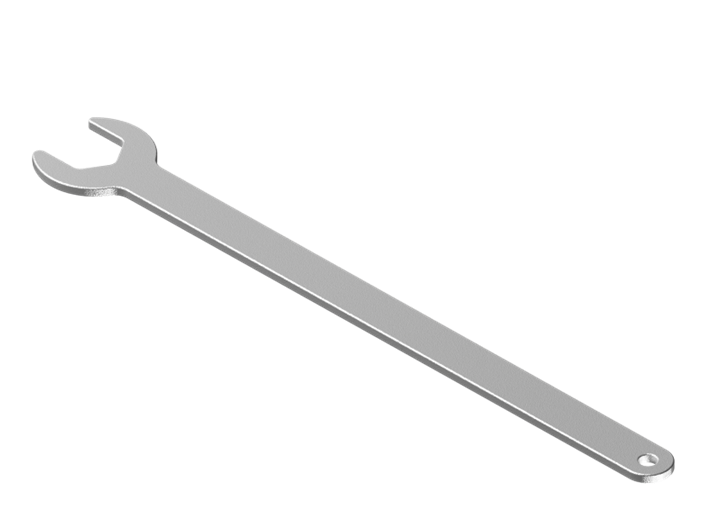
Tool required
- Spanner (included in your package)
Operating procedures
🎥 Video reference
For visual guidance, refer to the video below and use the timestamps provided to locate specific sections:
Procedure | Video timestamp |
Prepare for movement (Mobile state) | 0 : 55 - 1 : 08 |
Secure the Oven (Fixed state) | 1 : 23 - 1 : 41 |
Procedure 1: Set to mobile state
Follow these steps to retract the foot cups and allow the oven to be moved on its wheels.
- Loosen the Upper Nut:
- Use the spanner to loosen the upper hex nut by turning it clockwise (downward, away from the oven casing).
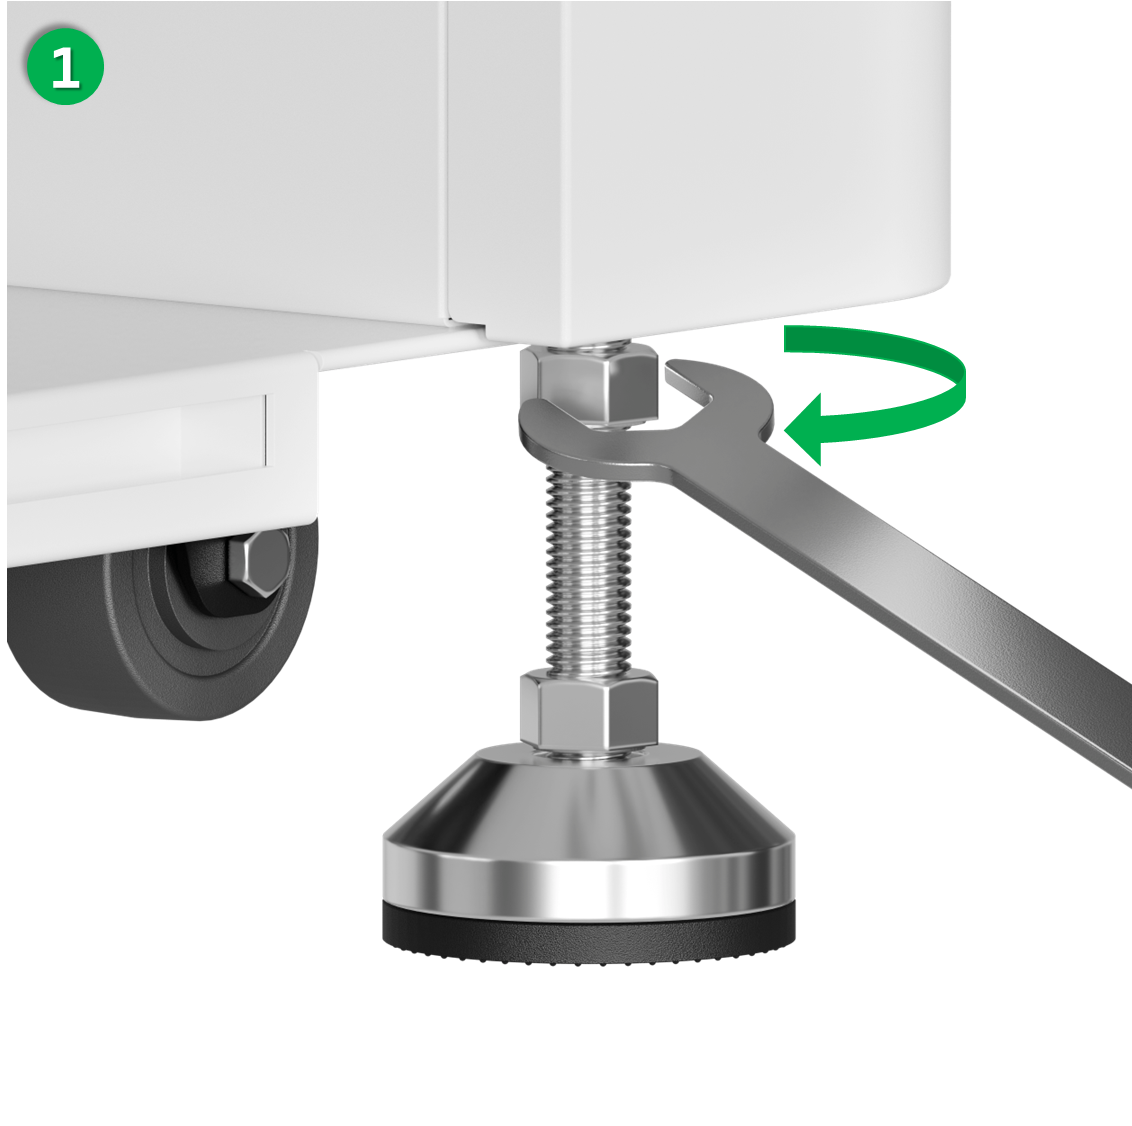

- Loosen the Lower Nut:
- Use the spanner to slightly loosen the lower hex nut by turning it clockwise (upward, away from the foot cup base).

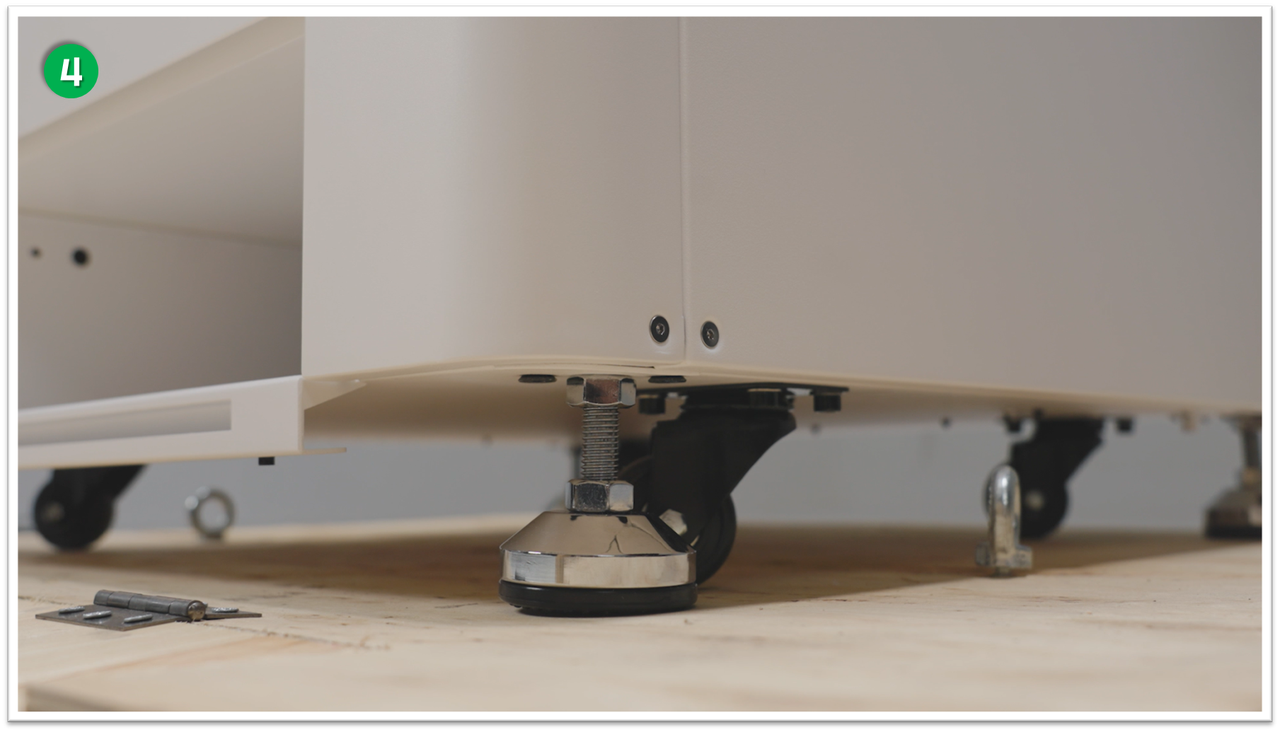
- Retract the Foot Cup:
- By hand, turn the entire foot cup clockwise to raise it to its highest position, allowing the oven to rest on its wheel.
- By hand, turn the entire foot cup clockwise to raise it to its highest position, allowing the oven to rest on its wheel.
- Repeat for All Four Feet:
- Repeat steps 1-3 for the other three foot cups. The oven should now be able to roll freely on its wheels.
Procedure 2: Set to fixed state
Follow these steps to lower the foot cups and make the oven stationary and stable.
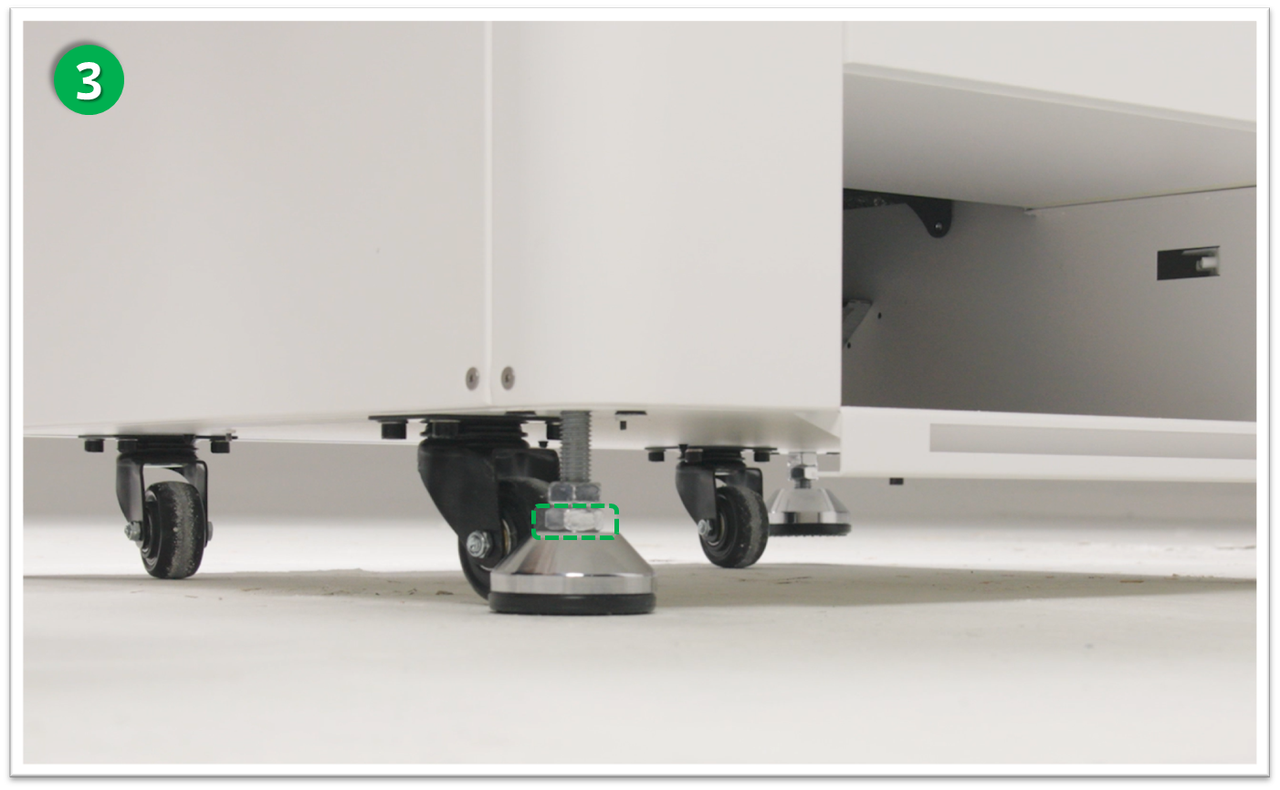
- Lower the Foot Cup:
- By hand, turn the entire foot cup counter-clockwise to lower it until it makes firm contact with the floor.
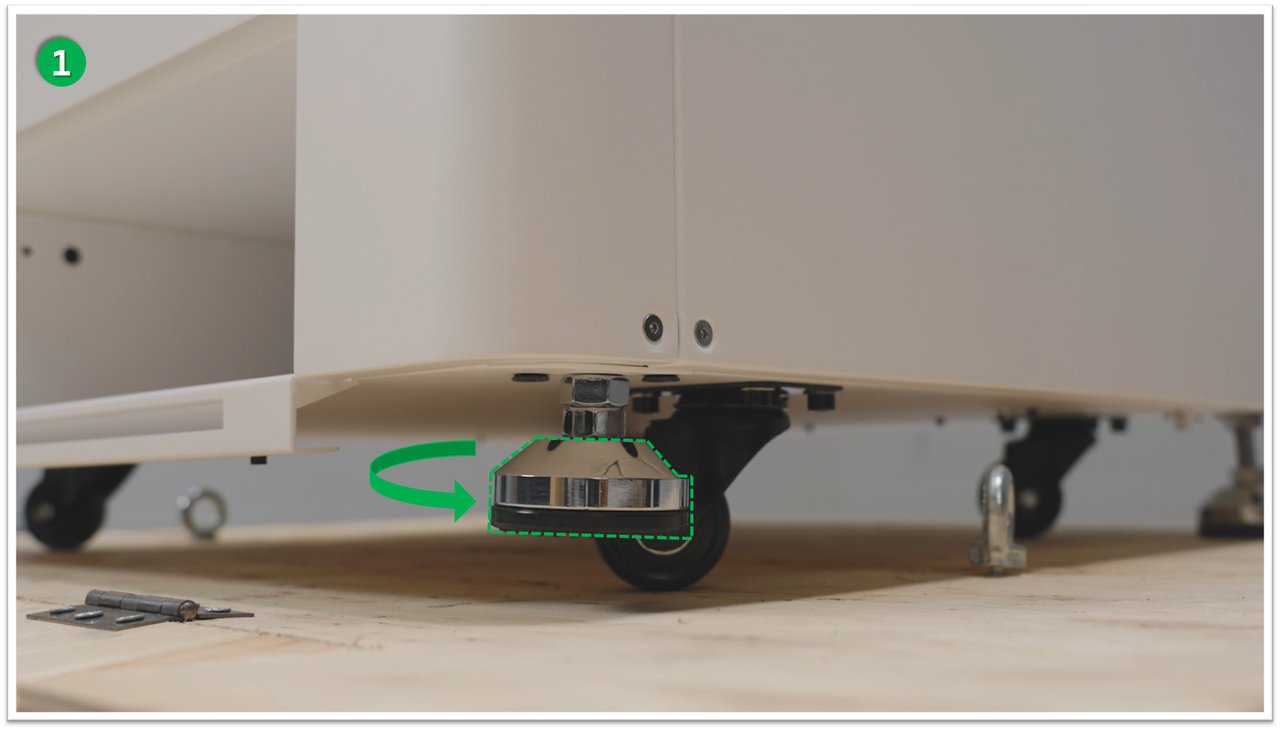
- Lock the Lower Nut:
- Use the spanner to turn the lower hex nut counter-clockwise (downward) until it is snug against the base of the foot cup.
- This locks the height of the foot cup.
- Lock the Upper Nut:
- Use the spanner to turn the upper hex nut counter-clockwise (upward) until it is snug against the bottom of the oven's casing.
- This prevents the assembly from loosening due to vibration.

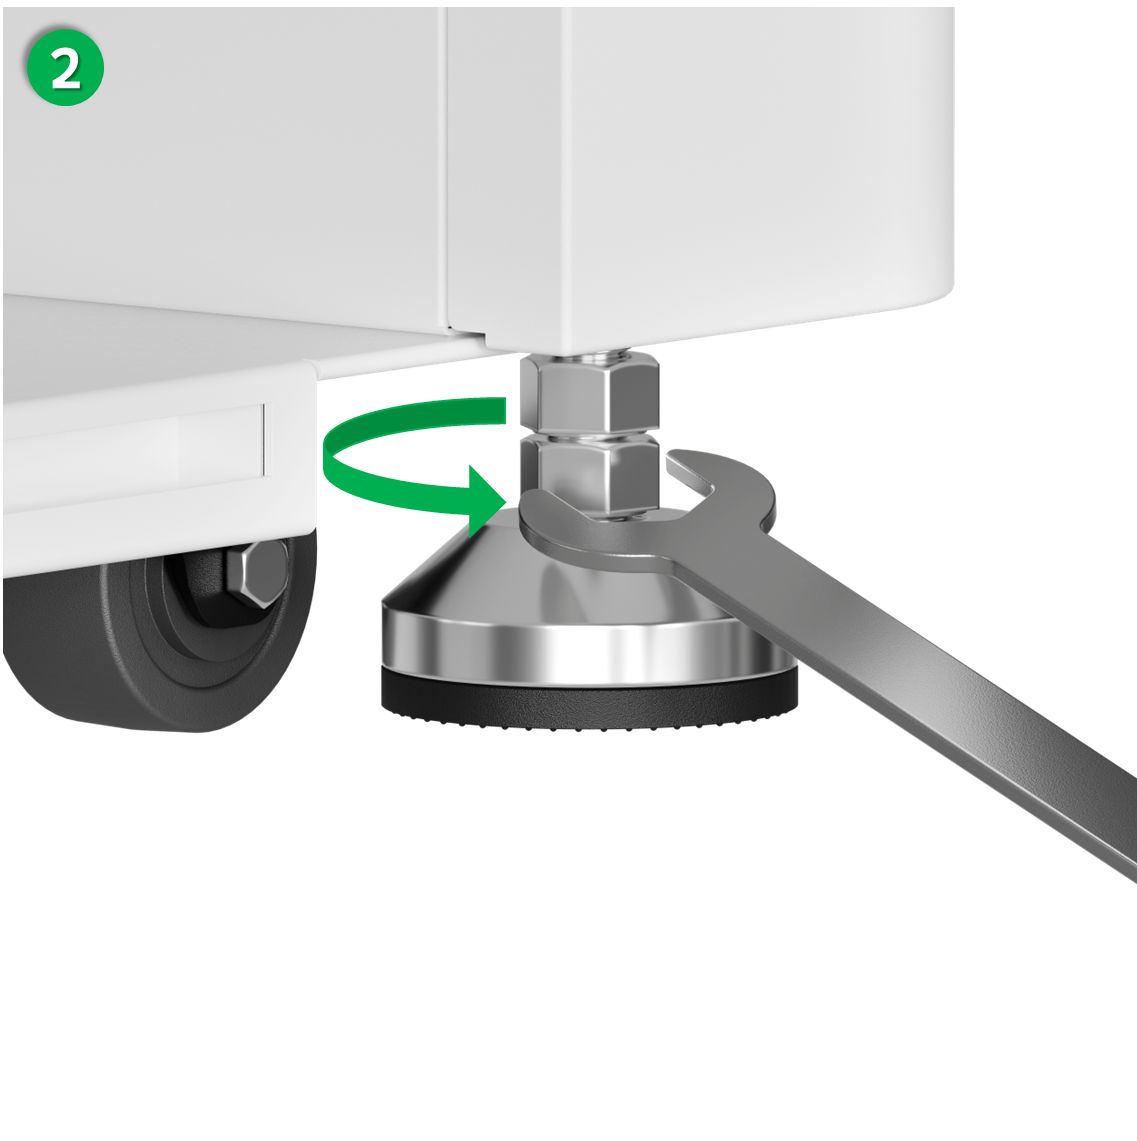
- Repeat for All Four Feet:
- Repeat steps 1-3 for the other three foot cups.
- Once all four are secured, gently try to rock the oven to ensure it is stable and does not wobble.
Services & Help
Learn & Education

Copyright © 2025 xTool All Rights Reserved.