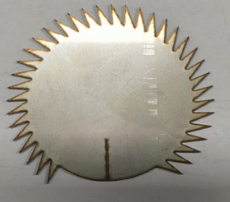
This tutorial guides you through adjusting the duty cycle and frequency curves on your MetalFab Laser Welder laser engraver to optimize cutting performance, especially for intricate patterns and corners. By dynamically adjusting the laser's power (duty cycle) and frequency based on speed variations, you can avoid over-burning or slag adhesion.
![This tutorial guides you through adjusting the duty cycle and frequency curves on your MetalFab Laser Welder laser engraver to optimize cutting performance, especially for intricate patterns and corners. By dynamically adjusting the laser's power (duty cycle) and frequency based on speed variations, you can avoid over-burning or slag adhesion. [图片] [图片] 1. Accessing Curve Settings [图片] 1. On the main interface, locate the "Process" button. 2. Click the expand icon on the far right of the "Process" button to reveal the "Duty Cycle Curve" and "Frequency Curve" settings. 3. Click on either curve setting entry to access its adjustment interface. 2. Understanding Curve Adjustment The MetalFab Laser Welder allows you to set up two independent curves: - Duty Cycle Curve: This curve dynamically adjusts the laser's power (duty cycle %) based on the engraving/cutting speed. - Frequency Curve: This curve dynamically adjusts the laser's pulse frequency (Hz) based on the engraving/cutting speed. Important Note: These curve settings are not global settings. Instead, they can be applied to different processing types. You can set different curve parameters for each processing type (e.g., Line Engraving, Line Cutting) to achieve optimal processing results. When you access the curve settings, the system will automatically load the curve parameters saved for the current processing type. 3. Adjusting the Duty Cycle Curve [图片] The duty cycle curve helps in mitigating over-burning at corners by reducing power when the laser slows down. 1. In the curve settings interface, select "Duty Cycle Curve". 2. In the pop-up "Duty cycle curve" window: - Enable duty cycle curve: Ensure the toggle switch at the top left of the pop-up window is ON to activate the curve adjustment function. 3. Adjusting Points: The curve is defined by four adjustable points. Each point has two parameters: - Speed (%): The percentage of the maximum cutting/engraving speed. - Duty cycle (%): The corresponding laser duty cycle at that speed. 4. You can adjust these points in two ways: - Dragging on the Graph: On the right side of the window, you will see a graph plotting "Duty cycle (%)" against "Speed (%)". You can click and drag each of the four points directly on the curve to intuitively adjust their positions. - Inputting Coordinates: On the left side of the window, you will see input fields for each of the four points (Point 1, Point 2, Point 3, Point 4). You can manually enter precise values for "Speed (%)" and "Duty cycle (%)" for each point. 5. Example Adjustment Strategy: - Point 1 (Low Speed): Set a lower duty cycle (e.g., 5-10%) at a very low speed (e.g., 5-10%). This is crucial for corners where the laser slows down significantly. - Point 2 & 3 (Mid Speed): Gradually increase the duty cycle as the speed increases. These points define the transition. - Point 4 (High Speed): Set a higher duty cycle (e.g., 70-90%) at high speeds (e.g., 80-90%) for efficient straight-line cutting. 6. Once you are satisfied with your curve adjustments, Enable the cycle curve and click the "Confirm" button at the bottom right of the pop-up window to save the changes. 4. Adjusting the Frequency Curve Similar to the duty cycle, adjusting the frequency based on speed can also contribute to better cut quality and prevent issues like excessive heat buildup. 1. In the curve settings interface, select "Frequency Curve". 2. In the pop-up "Frequency curve" window: - Enable frequency curve: Ensure the toggle switch is ON to activate frequency curve adjustment. 3. Adjusting Points: Similar to the Duty Cycle Curve, you will adjust four points, each with: - Speed (%): The percentage of the maximum cutting/engraving speed. - Frequency (Hz): The corresponding laser pulse frequency at that speed. 4. You can adjust these points by dragging on the graph or inputting specific values into the fields on the left. 5. General Recommendation: While duty cycle has a more direct impact on power, experimenting with frequency, especially at lower speeds, can further fine-tune the cut. Higher frequencies can sometimes lead to smoother cuts but also more heat. 6. Once you are satisfied with your curve adjustments, Enable the cycle curve and click the "Confirm" button at the bottom right of the pop-up window to save the changes. 5. Applying Curves to Processing Types (Recommended) You can set different curve parameters for each processing type (e.g., Line Engraving, Line Cutting) to achieve optimal processing results. - Line Engraving Mode: Adjusting both curves in this mode can improve the consistency and quality of engraved lines, especially for intricate designs. - Line Cutting Mode: This is where curve adjustments are most critical for preventing over-burning at corners and achieving clean, precise cuts. 6. Important Notes: - Experimentation is Key: The ideal curve settings will vary depending on the material, its thickness, and the specific desired outcome. Start with conservative adjustments and gradually fine-tune them. - Test Cuts: Always perform small test cuts on scrap material after making adjustments to observe the effect of your changes. - Monitor Results: Pay close attention to the cut quality, especially at corners and areas where the speed changes significantly. Look for signs of over-burning (charring, wider kerf) or under-cutting (incomplete cuts). - Curve Application Advice: For materials thicker than 3mm and processing speeds below 50mm/s, the curve function is generally not required. Additionally, it may not be necessary to enable the curve during oxygen cutting. - Recommended Parameters and Official Consumables: We strongly recommend that you use our recommended parameters and official consumables whenever possible. We configure pre-tested and effective curves within our recommended parameters to help you improve your processing results.](https://storage-us.atomm.com/resource/xtool/xcs-cms/community/activity/7c7f17eb-5080-45eb-8858-f0847e3dce0e_3cf53ca1-6c9c-4d6e-8461-67f76fda52a2_image.png)
Un-enable the cycle curve
Enable the cycle curve
1. Accessing Curve Settings
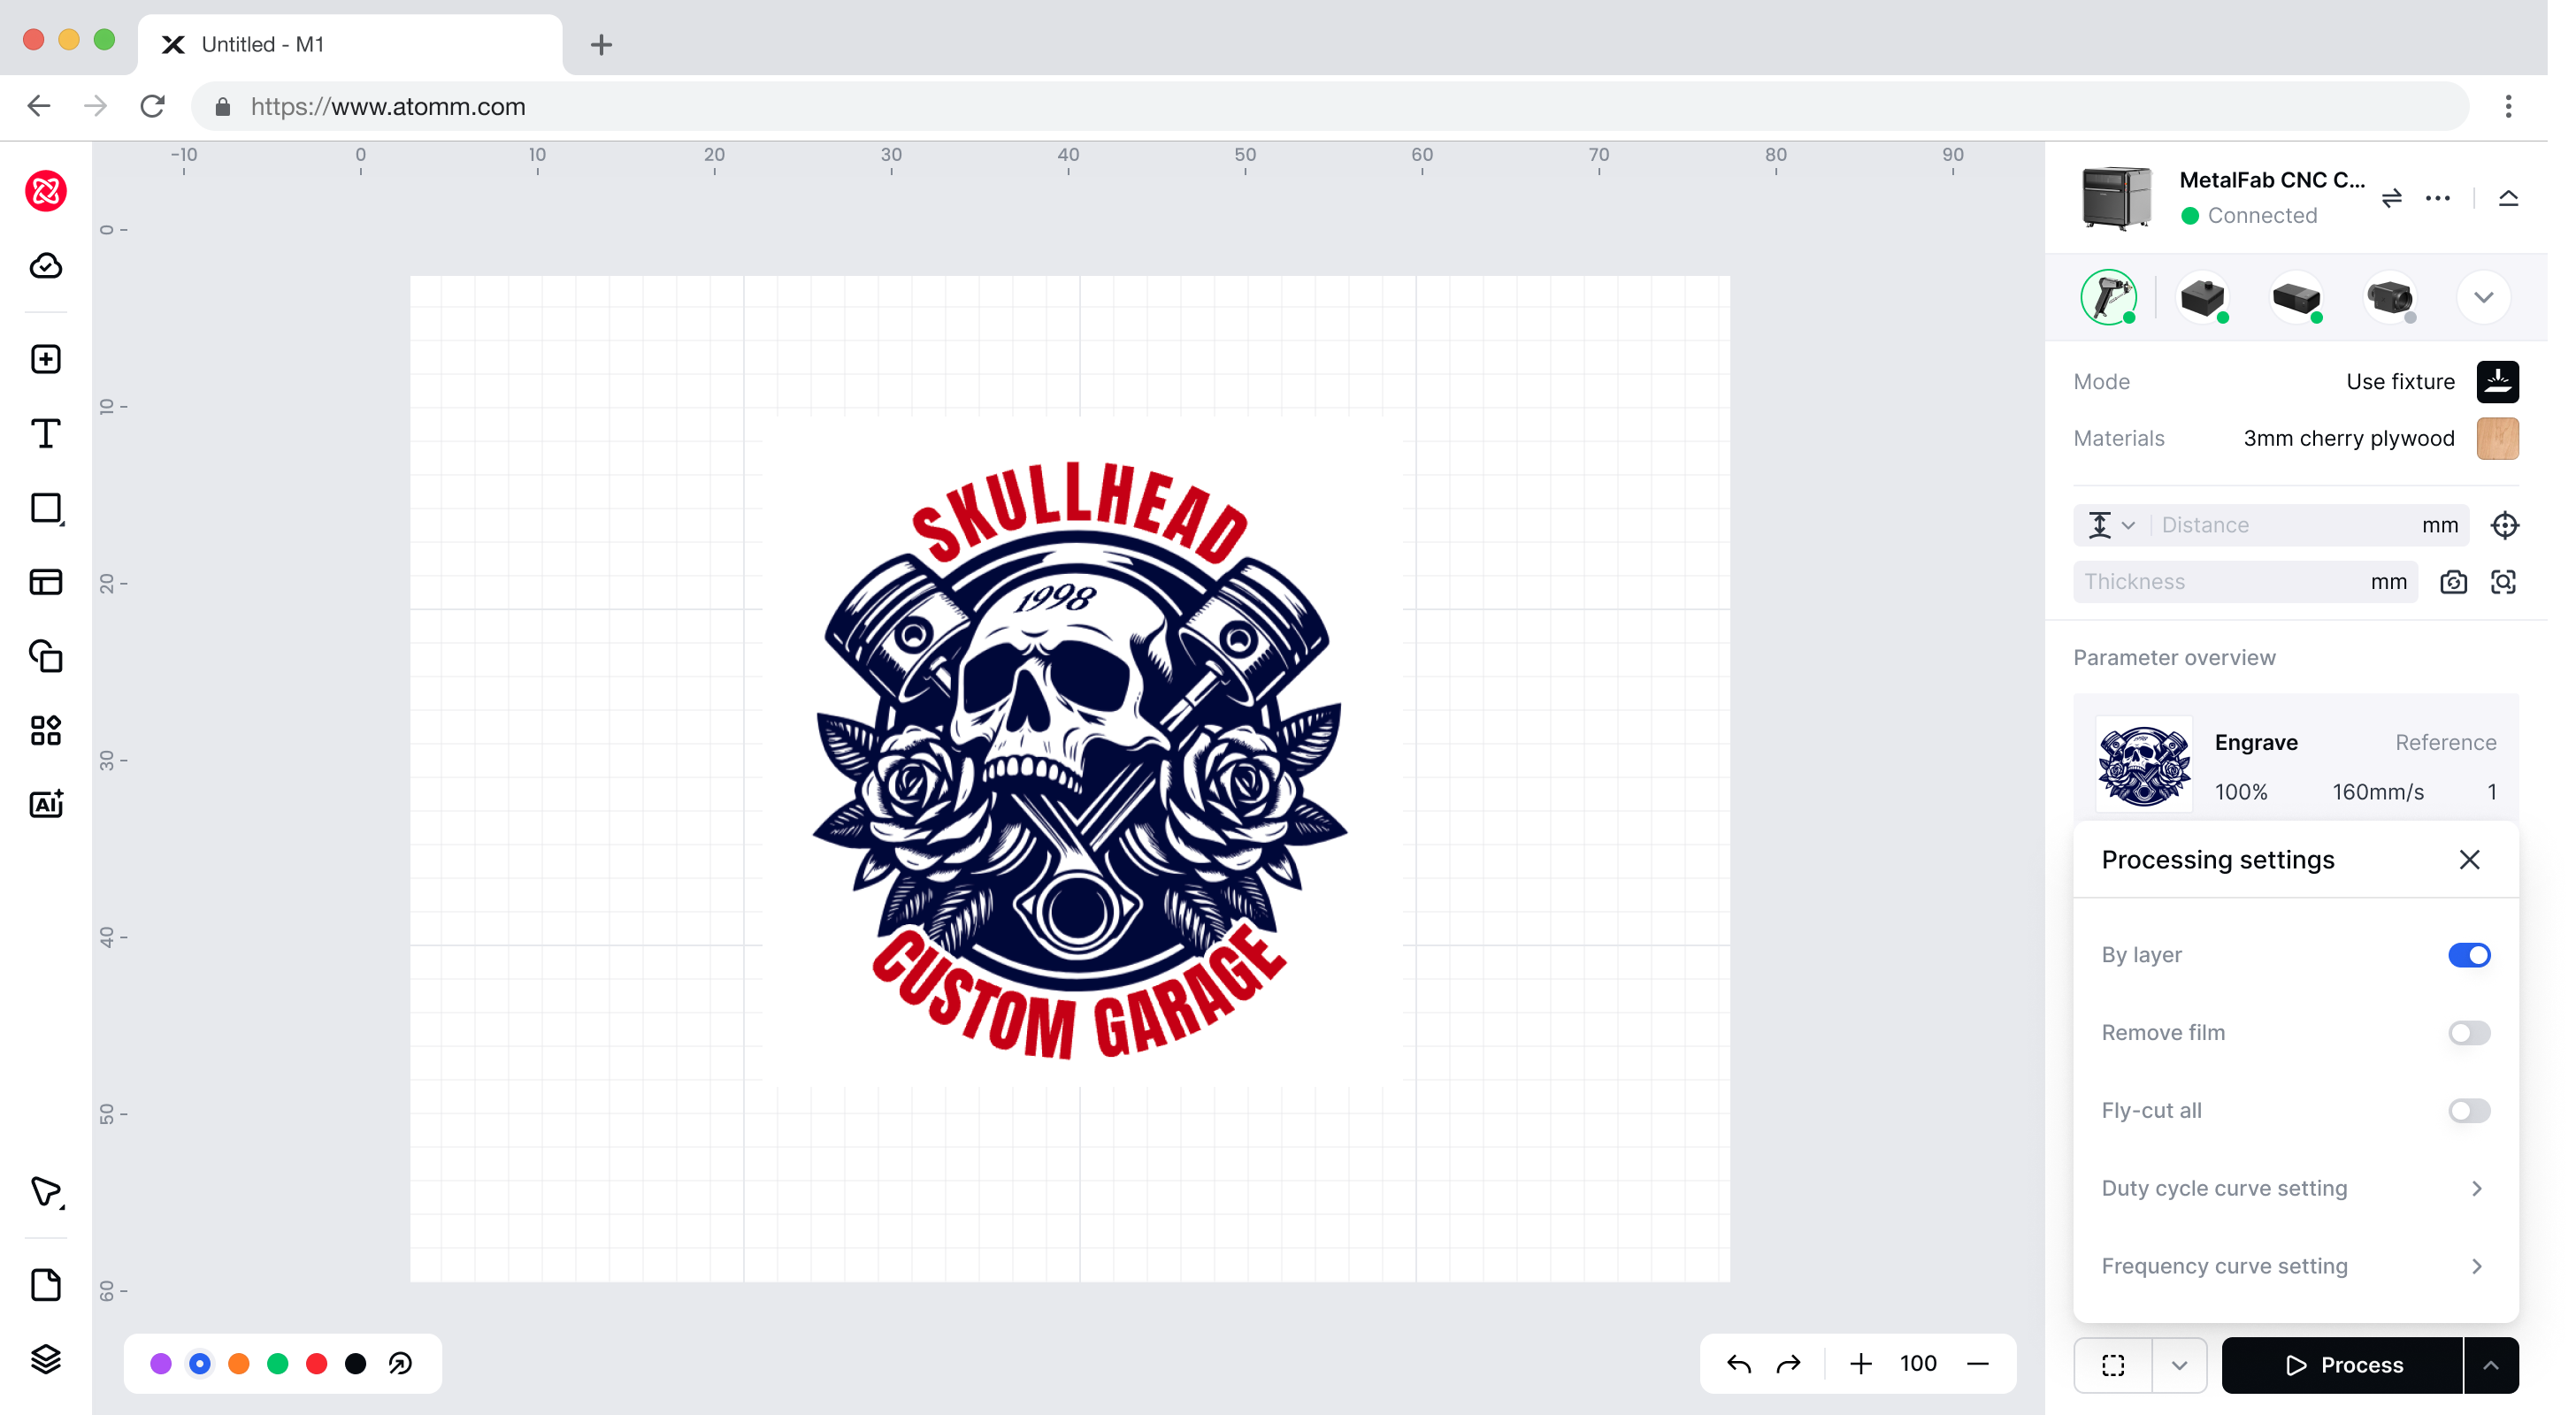
- On the main interface, locate the "Process" button.
- Click the expand icon on the far right of the "Process" button to reveal the "Duty Cycle Curve" and "Frequency Curve" settings.
- Click on either curve setting entry to access its adjustment interface.
2.Understanding Curve Adjustment
The MetalFab Laser Welder allows you to set up two independent curves:
- Duty Cycle Curve: This curve dynamically adjusts the laser's power (duty cycle %) based on the engraving/cutting speed.
- Frequency Curve: This curve dynamically adjusts the laser's pulse frequency (Hz) based on the engraving/cutting speed.
Important Note: These curve settings are not global settings. Instead, they can be applied to different processing types. You can set different curve parameters for each processing type (e.g., Line Engraving, Line Cutting) to achieve optimal processing results. When you access the curve settings, the system will automatically load the curve parameters saved for the current processing type.
3.Adjusting the Duty Cycle Curve
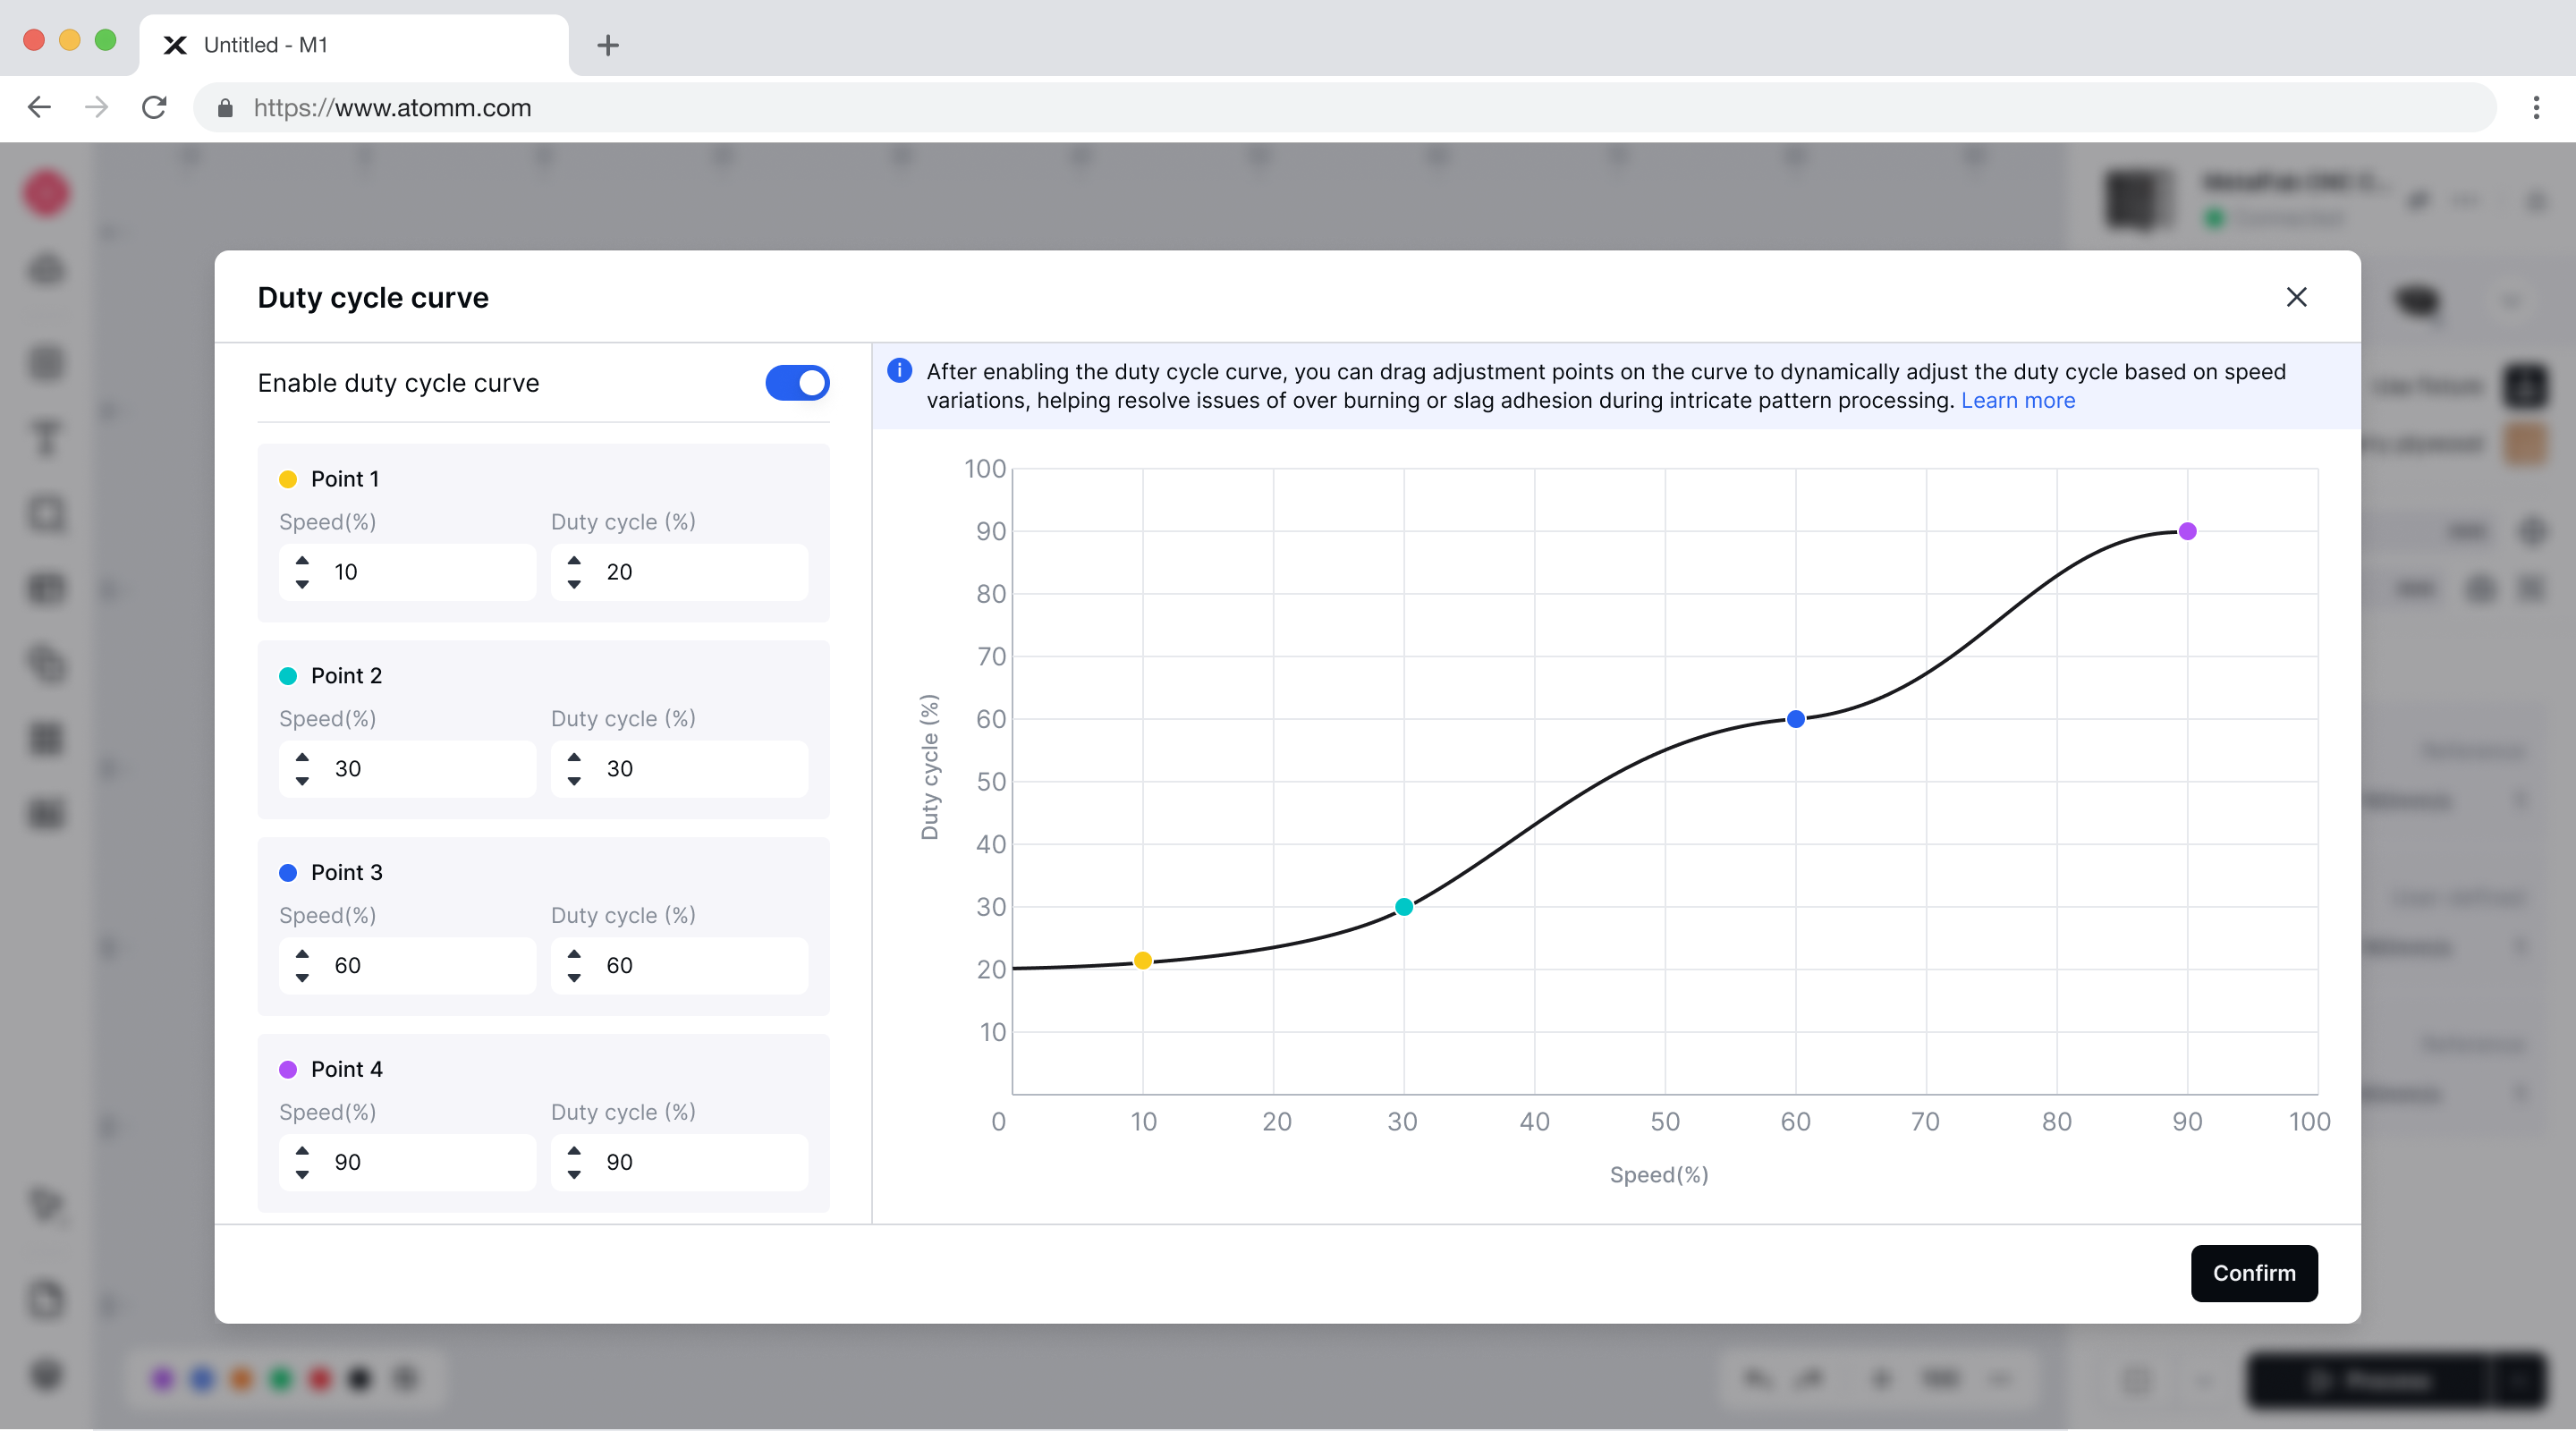
The duty cycle curve helps in mitigating over-burning at corners by reducing power when the laser slows down.
- In the curve settings interface, select "Duty Cycle Curve".
- In the pop-up "Duty cycle curve" window:
- Enable duty cycle curve: Ensure the toggle switch at the top left of the pop-up window is ON to activate the curve adjustment function.
- Adjusting Points: The curve is defined by four adjustable points. Each point has two parameters:
- Speed (%): The percentage of the maximum cutting/engraving speed.
- Duty cycle (%): The corresponding laser duty cycle at that speed.
- You can adjust these points in two ways:
- Dragging on the Graph: On the right side of the window, you will see a graph plotting "Duty cycle (%)" against "Speed (%)". You can click and drag each of the four points directly on the curve to intuitively adjust their positions.
- Inputting Coordinates: On the left side of the window, you will see input fields for each of the four points (Point 1, Point 2, Point 3, Point 4). You can manually enter precise values for "Speed (%)" and "Duty cycle (%)" for each point.
- Example Adjustment Strategy:
- Point 1 (Low Speed): Set a lower duty cycle (e.g., 5-10%) at a very low speed (e.g., 5-10%). This is crucial for corners where the laser slows down significantly.
- Point 2 & 3 (Mid Speed): Gradually increase the duty cycle as the speed increases. These points define the transition.
- Point 4 (High Speed): Set a higher duty cycle (e.g., 70-90%) at high speeds (e.g., 80-90%) for efficient straight-line cutting.
- Once you are satisfied with your curve adjustments, Enable the cycle curve and click the "Confirm" button at the bottom right of the pop-up window to save the changes.
4. Adjusting the Frequency Curve
Similar to the duty cycle, adjusting the frequency based on speed can also contribute to better cut quality and prevent issues like excessive heat buildup.
- In the curve settings interface, select "Frequency Curve".
- In the pop-up "Frequency curve" window:
- Enable frequency curve: Ensure the toggle switch is ON to activate frequency curve adjustment.
- Adjusting Points: Similar to the Duty Cycle Curve, you will adjust four points, each with:
- Speed (%): The percentage of the maximum cutting/engraving speed.
- Frequency (Hz): The corresponding laser pulse frequency at that speed.
- You can adjust these points by dragging on the graph or inputting specific values into the fields on the left.
- General Recommendation: While duty cycle has a more direct impact on power, experimenting with frequency, especially at lower speeds, can further fine-tune the cut. Higher frequencies can sometimes lead to smoother cuts but also more heat.
- Once you are satisfied with your curve adjustments, Enable the cycle curve and click the "Confirm" button at the bottom right of the pop-up window to save the changes.
5. Applying Curves to Processing Types (Recommended)
You can set different curve parameters for each processing type (e.g., Line Engraving, Line Cutting) to achieve optimal processing results.
- Line Engraving Mode: Adjusting both curves in this mode can improve the consistency and quality of engraved lines, especially for intricate designs.
- Line Cutting Mode: This is where curve adjustments are most critical for preventing over-burning at corners and achieving clean, precise cuts.
6. Important Notes:
- Experimentation is Key: The ideal curve settings will vary depending on the material, its thickness, and the specific desired outcome. Start with conservative adjustments and gradually fine-tune them.
- Test Cuts: Always perform small test cuts on scrap material after making adjustments to observe the effect of your changes.
- Monitor Results: Pay close attention to the cut quality, especially at corners and areas where the speed changes significantly. Look for signs of over-burning (charring, wider kerf) or under-cutting (incomplete cuts).
- Curve Application Advice: For materials thicker than 3mm and processing speeds below 50mm/s, the curve function is generally not required. Additionally, it may not be necessary to enable the curve during oxygen cutting.
- Recommended Parameters and Official Consumables: We strongly recommend that you use our recommended parameters and official consumables whenever possible. We configure pre-tested and effective curves within our recommended parameters to help you improve your processing results.
