Prepare the workspace and the machine
For the preparation of the workspace, machine, and other necessary devices, refer to the following guides.
For xTool Metalfab Laser Welder 1200W:
- Preparation Work Before You Use xTool MetalFab Laser Welder & CNC Cutter
- Install xTool MetalFab Laser Welder 1200W
For xTool Metalfab Laser Welder 800W:
Handheld cutting
The following steps use xTool MetalFab Laser Welder 1200W for illustration. You can follow the same steps to use xTool MetalFab Laser Welder 800W.
1. Remove the wire feeding tube
Note: If you have installed the wire feeding tube to the welding head, take the following steps to remove it. |
(1) Turn off the machine.

(2) Remove the wire feeding tube from the wire clamp.
(3) Loosen the fastener and detach the wire feeding tube from the welding head.
2. Replace the gas regulator for the shielding gas cylinder
(1) Turn off the gas cylinder valve.
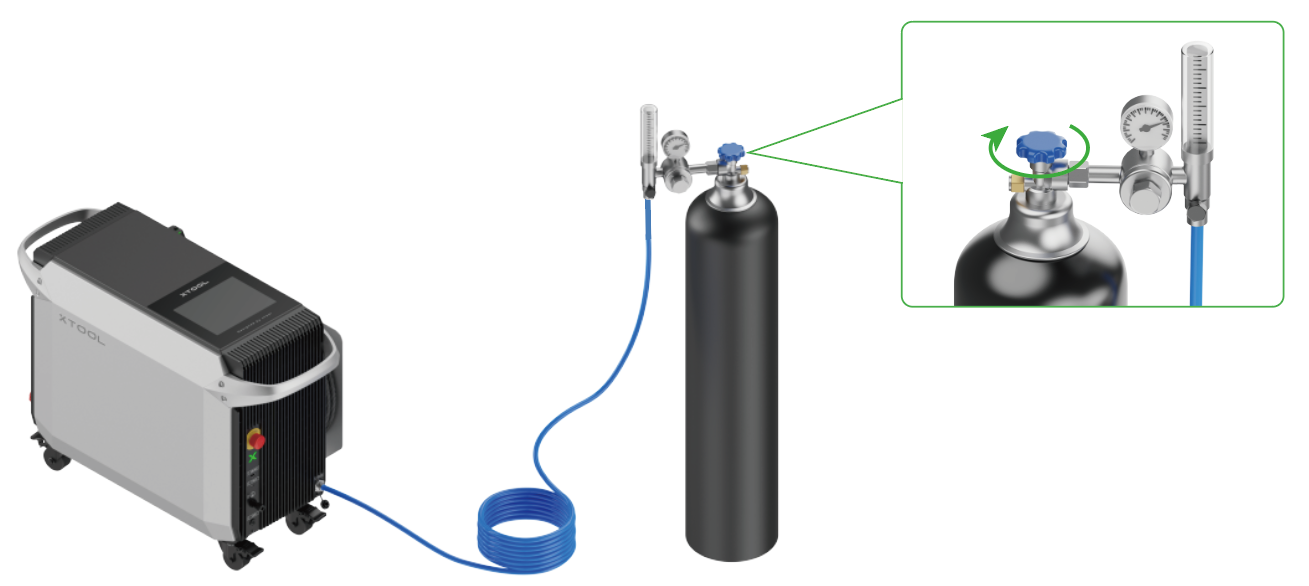
(2) Detach the tube and then the gas flow meter (which is used to control gas flow for laser welding).
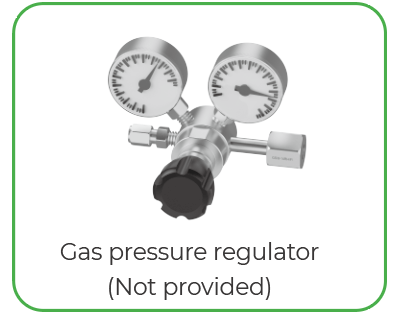
(3) Install a gas pressure regulator on the shielding gas cylinder. Then, connect the tube to the valve.
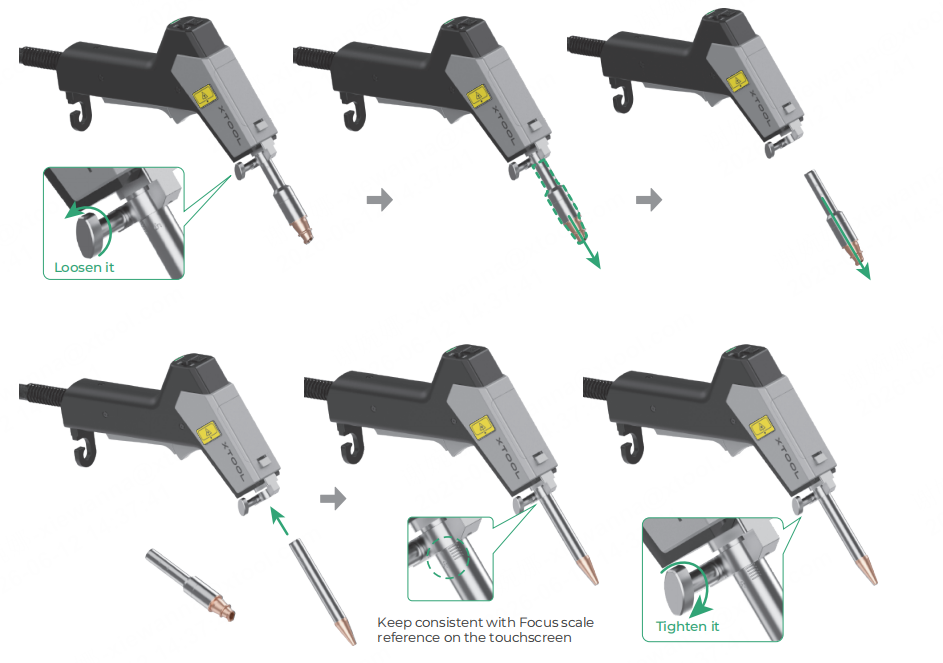
3. Replace the nozzle for the welding head
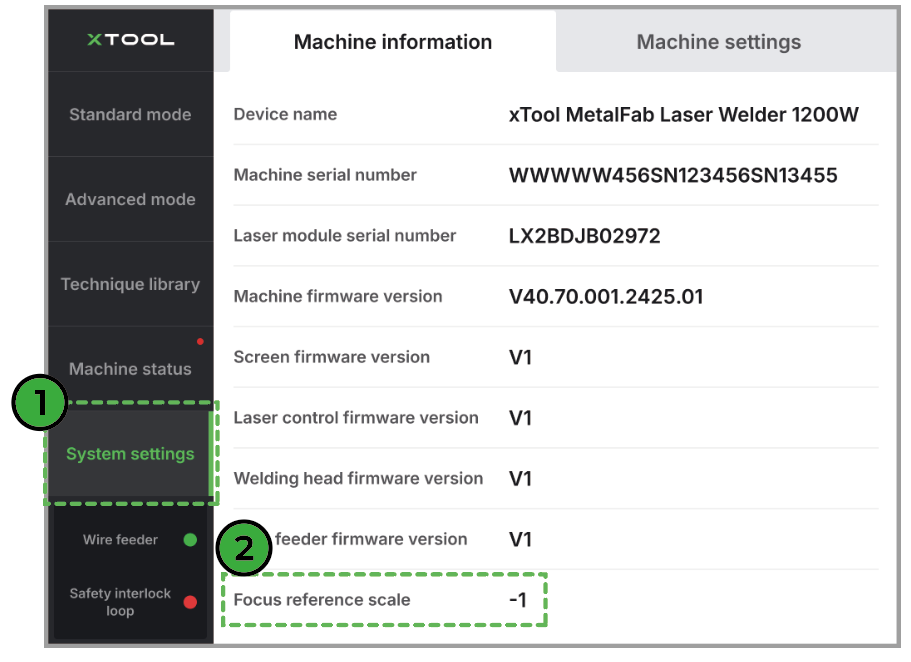
(1) Turn on the device. On the touchscreen, tap System settings and take down the value of Focus scale reference.
(2) Turn off the device.
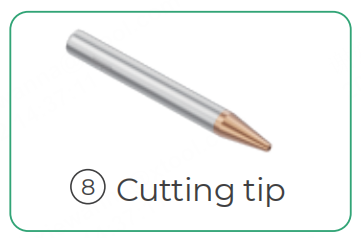
(3) Replace the current nozzle with the cutting tip.
Caution: After installing the cutting tip, turn on the device and check if the welding head emits a clear and integral red spot. If not, please calibrate the red spot position, so as to avoid burning the nozzle during laser cutting.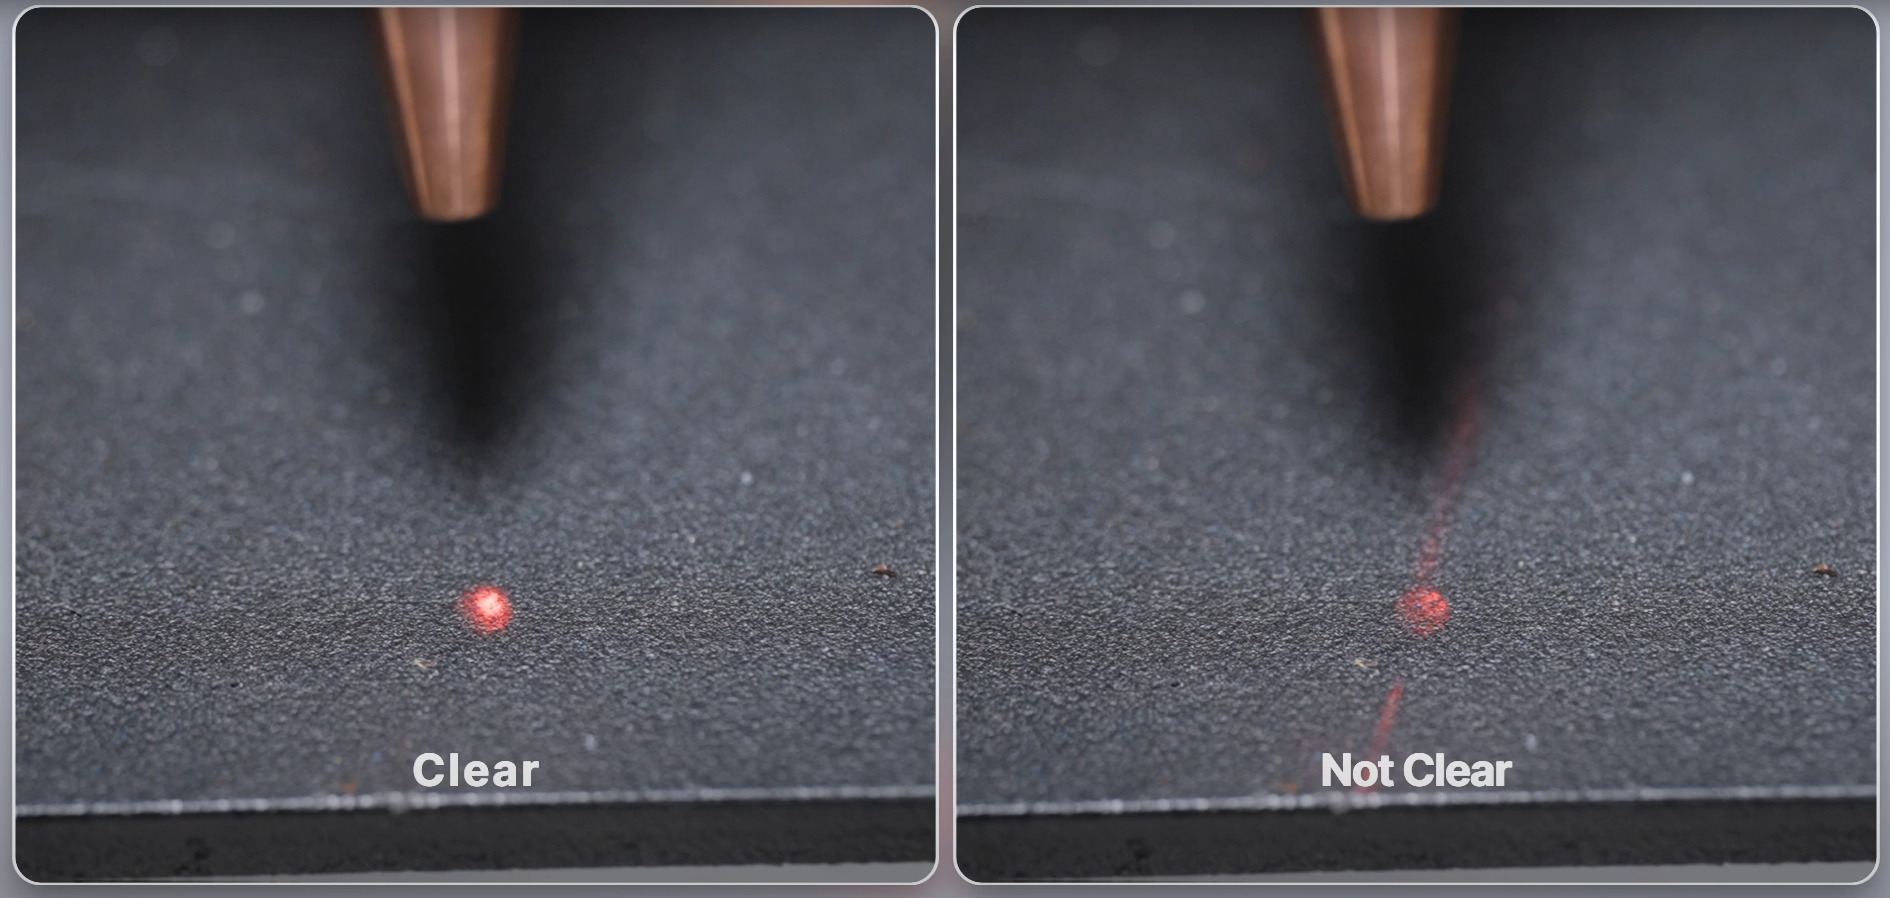
For the calibration guide, see Calibrate the Red Spot Position for the Welding Head.
4. Prepare the workpieces
xTool MetalFab Laser Welder supports cutting the following materials: stainless steel, carbon steel, galvanized steel, aluminum, and brass.
To ensure a smooth and clean cut, ensure that the surface of the workpiece is clean. If the surface of the workpiece is dirty (e.g., covered with grease, rust, coatings, or dust), polish it or clean it with alcohol or acetone.
5. Start metal cutting
Note: Before operating the device, please follow the safety instructions to put on PPE and take proper safety precautions. Necessary PPE includes: laser safety goggles, welding helmets, dust mask, laser and heat-resistant gloves, clothing, and aprons.
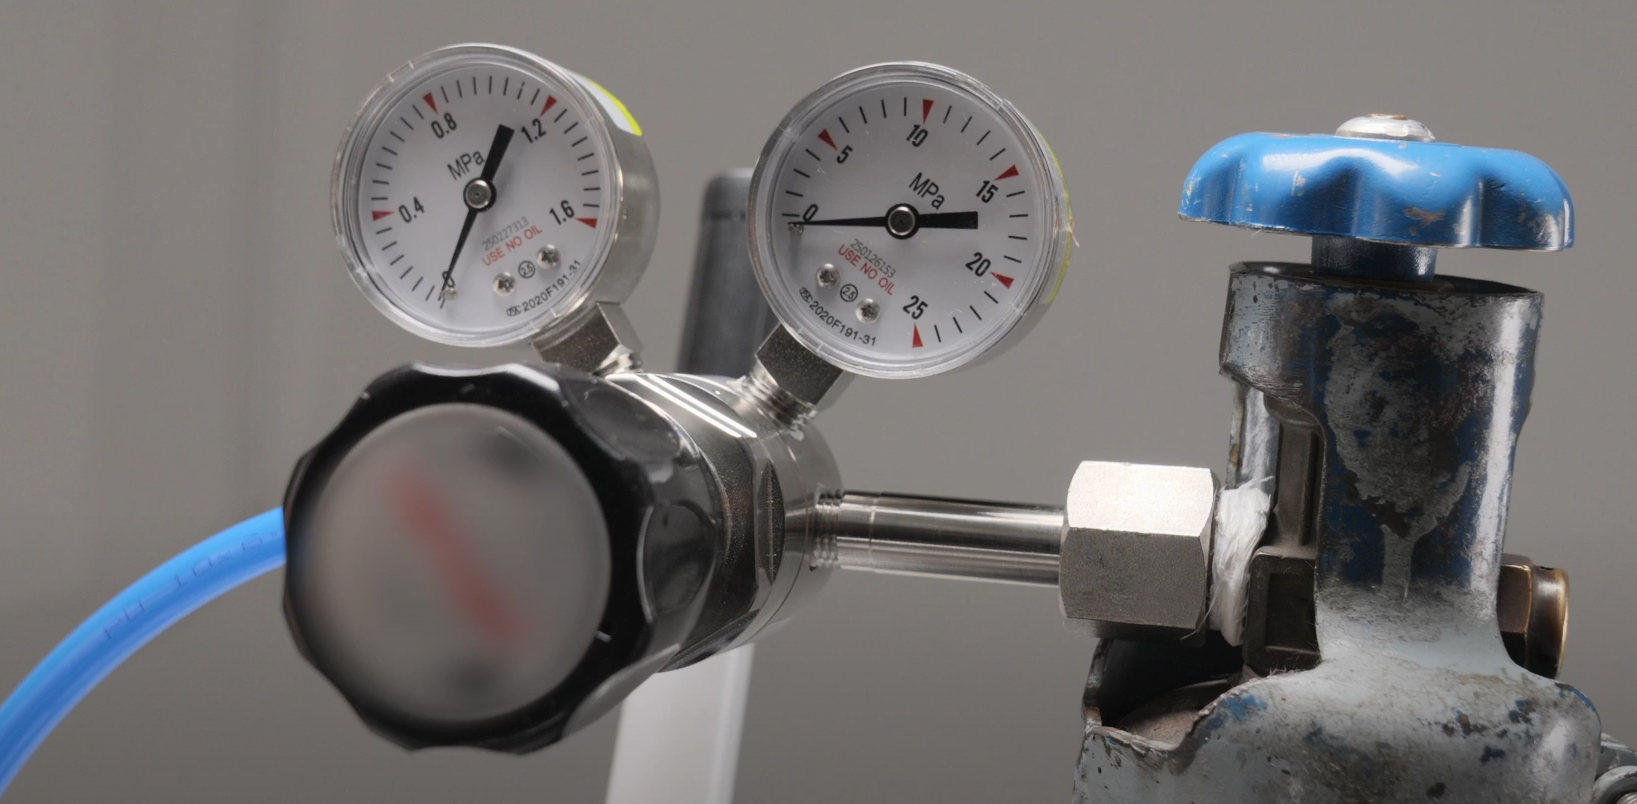
1. Turn on the shielding gas supply and adjust the gas pressure to 800 kPa – 1200 kPa.
Supported gas types: nitrogen or argon (Purity > 99.99%)
(1) Open the gas cylinder valve.

(2) Adjust the gas pressure to 800 kPa – 1200 kPa.

Cautions:
■ The way of opening the valve may differ for different types of gas cylinders. The picture is for illustration only.
■ To prevent accidentally triggering laser emission, ensure that Enable lasering is off on the touchscreen before operations.
2. Place the workpiece stably on a metal base or other support.
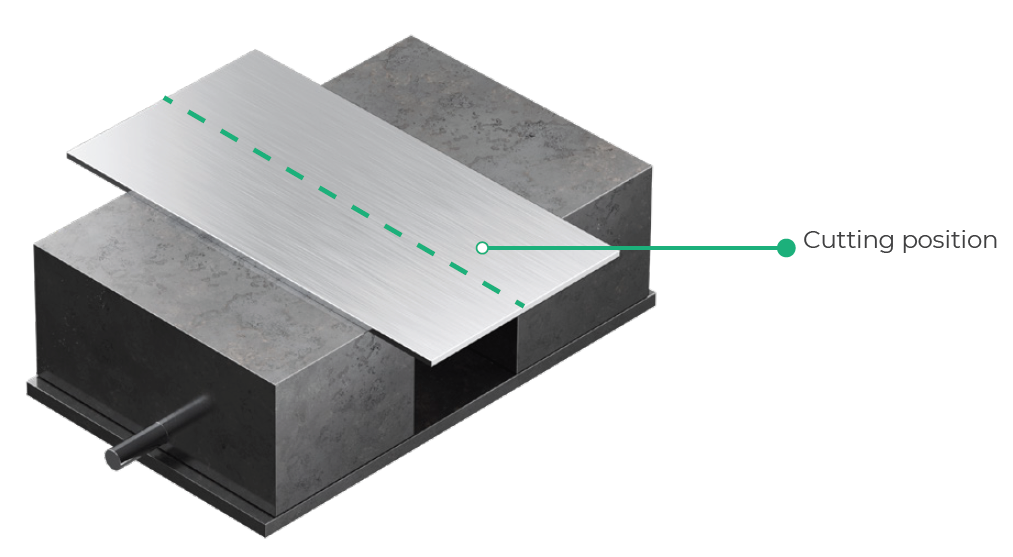
Caution: Ensure that the cutting part is suspended without touching the support. Otherwise, the material melted during cutting may stick to the support.
3. Clamp the workpiece sensing cable to the workpiece or to a conductive object connected with the workpiece, such as a metal base or a metal desktop.
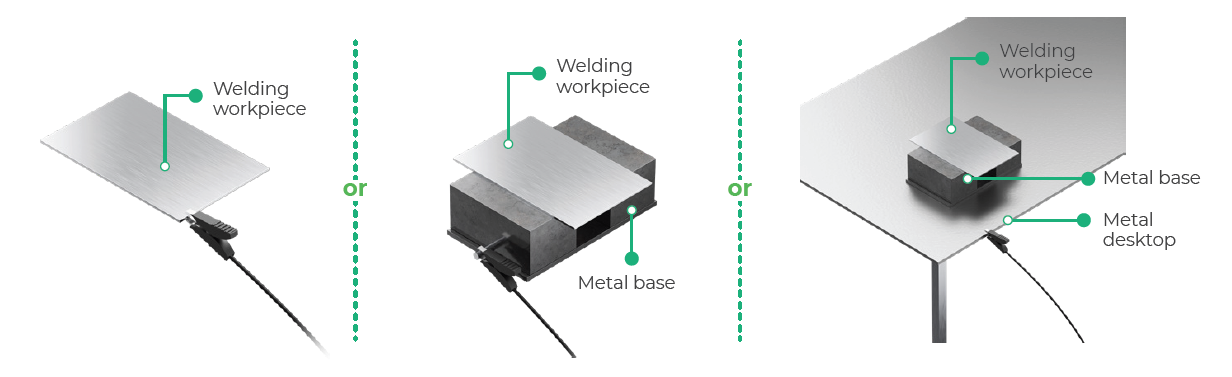
Danger: It is strictly prohibited to attach the clamp to the graduated tube of the welding head.
About the safety interlock loop
A safety interlock loop exists between the welding head, the workpiece, and the main unit. Only when the welding head is in contact with the workpiece can the safety interlock loop be closed and allow the welding head to emit laser beams.
4. On the touchscreen, choose Standard mode > Cut. Select the material type and thickness according to the actual situation.
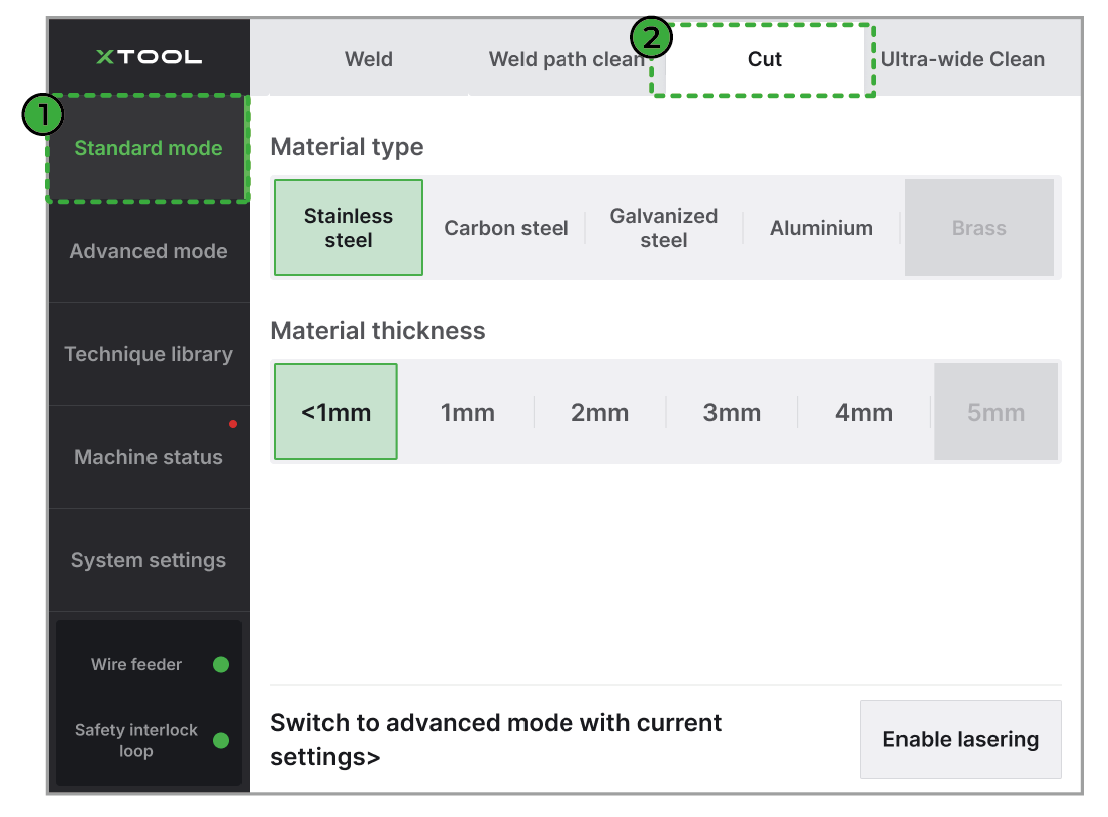
You can also set the welding parameters under other modes:
· Advanced mode: offers more welding selections and control over the basic welding parameters
To enter the advanced setting mode, tap Advanced mode on the left or Switch to advanced mode with current settings in the bottom left.
· Professional mode: offers full control over all welding parameters
To enter the professional setting mode, enter the Advanced mode > turn on Professional in the bottom left.
Note: For parameter explanations, see How to Choose Welding Parameters?
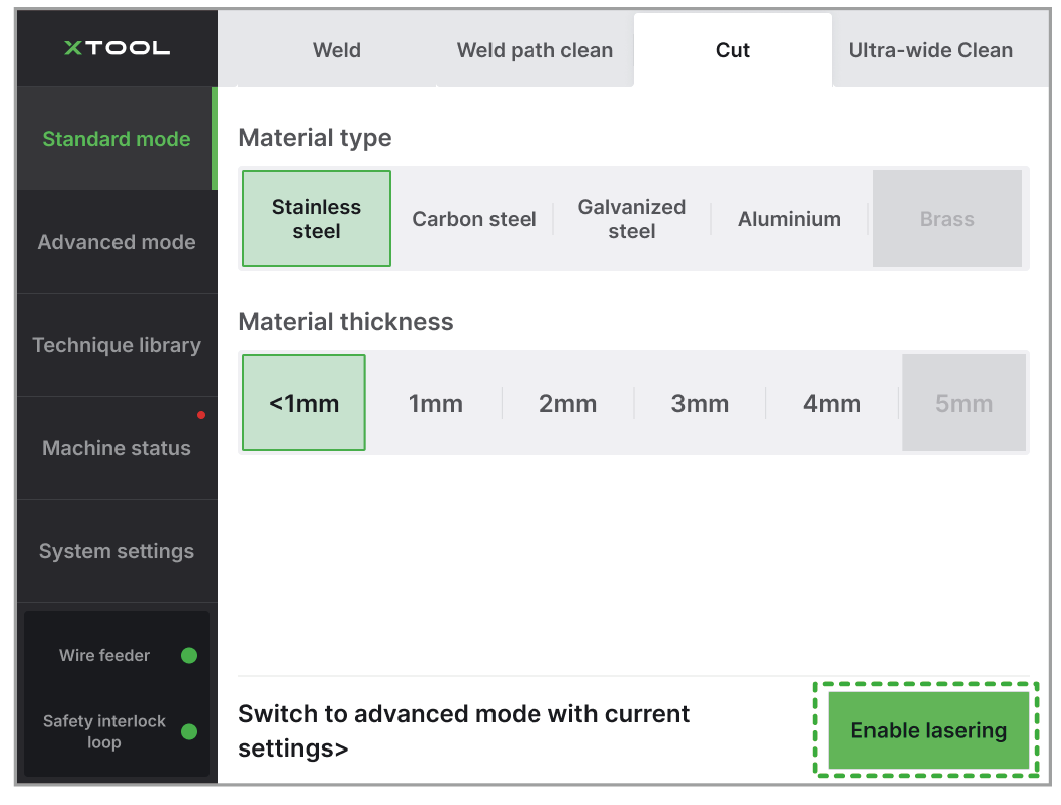
5. On the touchscreen, tap Enable lasering to allow laser emission.
6. Rest the cutting tip at the starting point. Then, press and hold the grip sensing button and trigger to start cutting.
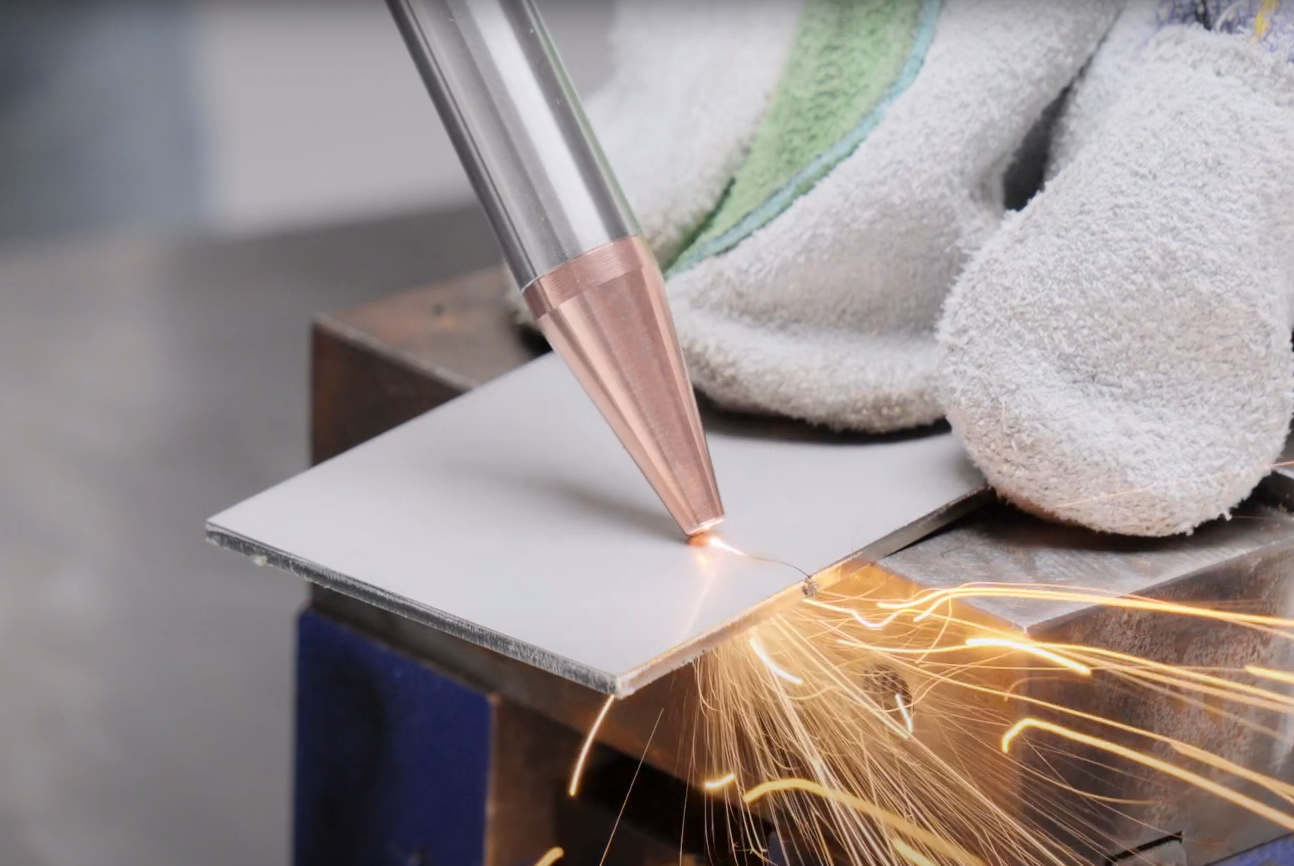
Cautions:
■ Ensure that the cutting tip contacts the workpiece, so that the safety interlock loop can be closed and the welding head can emit laser.
■ During cutting, ensure that no one stands in the laser reflection zone, watches from the reflection zone, or places a hand in the reflection zone.
■ After the cutting is completed, the workpiece and parts of the welding head (such as the nozzle and the graduated tube) will remain hot for some time. Do not touch the hot areas without protection.
■ After the cutting is completed, turn off Enable lasering on the touchscreen to prevent accidental laser emission.
About CNC cutting
If you want to cut the workpiece more accurately and efficiently with complex designs, you can purchase xTool MetalFab CNC Cutter in addition. For instructions on how to use xTool MetalFab Laser Welder with xTool MetalFab CNC Cutter, see Support for xTool MetalFab CNC Cutter.
