Laser Welder Firmware Upgrade
1. Download the firmware installation package
(1) On the touchscreen of your device, tap System settings. Then, check the machine firmware version.
The first four digits following “V” (eg. 40.70) represent the device version, and the next three digits (eg. 001) represent the device firmware version.
(2) Select the appropriate firmware package based on the device version shown on the touchscreen:
- 40.70.013.zip — for the 1200W model with device version 40.70
- 40.72.002.zip — for the 1200W model with device version 40.72
- 40.71.003.zip — for the 800W model with device version 40.71
Next, compare the firmware version displayed on the touchscreen with the final three-digit group in the firmware package name. For example, in 40.70.013.zip, 013 is the firmware version. If the firmware version on your device is lower than the version in the package, download the corresponding package and update the firmware.
Note: xTool MetalFab Laser Welder 1200W is available in two device versions: 40.70 and 40.72. Make sure you select the firmware package that matches the device version displayed on your touchscreen. Do not use the firmware package that does not match your device version. For example, do not use 40.72.002.zip for a V40.70 device.
(3) Unzip the downloaded package.
2. Upgrade the firmware
(1) Connect the device to the computer via USB cable.
Note: Use the TYPE - C port on the machine.
(2) Install the latest version of XCS. Please choose the right one according to your platform.
https://www.xtool.com/pages/software
(3) Open XCS and create a new project.
(4) Click the X logo > Settings in the left.
(5) Select Device on the left. Then, in Firmware, click Start to enter the device firmware upgrade page.
(6) Select the corresponding device based on your device’s firmware version number, then click Firmware Update.
Note: If the software reports that the firmware does not match the device, Ensure that you click Firmware Update under the device of the right firmware version.
(7) For Serial port, select /dev/tty.usbmodem3...
(8) Drag the machine firmware file into the program and click Update.
- Use the file inside the 1.Machine folder.
- Ensure that the Board type is Machine.
- The prompt success message indicates that the firmware upgrade is successful.

(9) Drag the screen firmware file into the program and click Update.
- Use the file inside the 2.Screen folder.
- Ensure that the Board type is Screen.
- This upgrade may take a long time. Please wait patiently.
- The prompt success message indicates that the firmware upgrade is successful.
(10) Drag the wire feeder firmware file into the program and click Update.
- Use the file inside the 3.Wire feeder folder.
- Ensure that the Board type is Wire feeder.
- The prompt success message indicates that the firmware upgrade is successful.
(11) Drag the firmware file for the laser control board into the program and click Update.
- Use the file inside the 4.Laser control board folder.
- Ensure that the Board type is Laser control board.
- The prompt success message indicates that the firmware upgrade is successful.
(12) Drag the welding head firmware file into the program and click Update.
- Use the file inside the 5.Welding head folder.
- Ensure that the Board type is Welding head.
- The prompt success message indicates that the firmware upgrade is successful.
All firmware upgrades are complete!
CNC Cutter Firmware Upgrade
Step | Description | Picture |
|---|---|---|
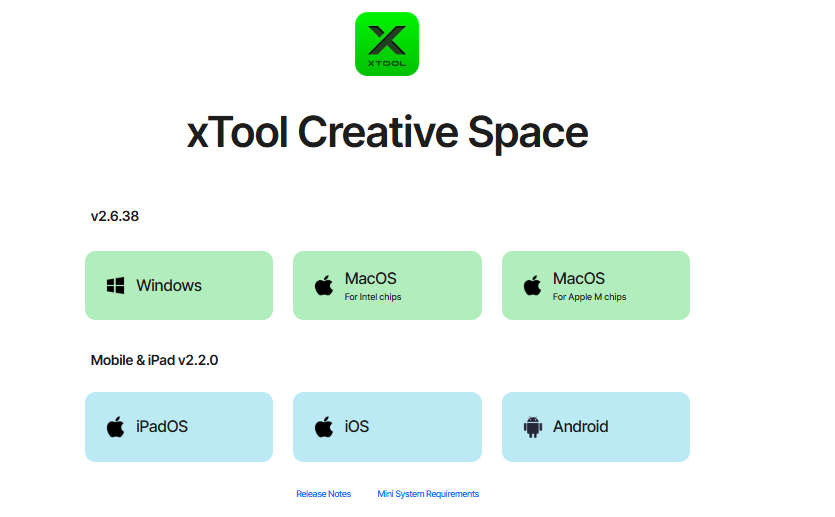
1 | Install the latest version of XCS. Please choose the right one according to your platform. https://www.xtool.com/pages/software
|
|
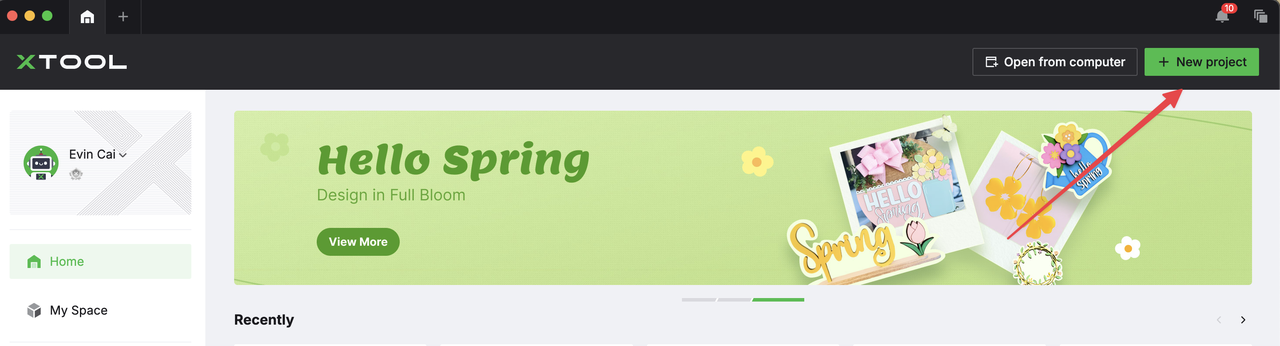
2 | Open XCS and create a new project |
|
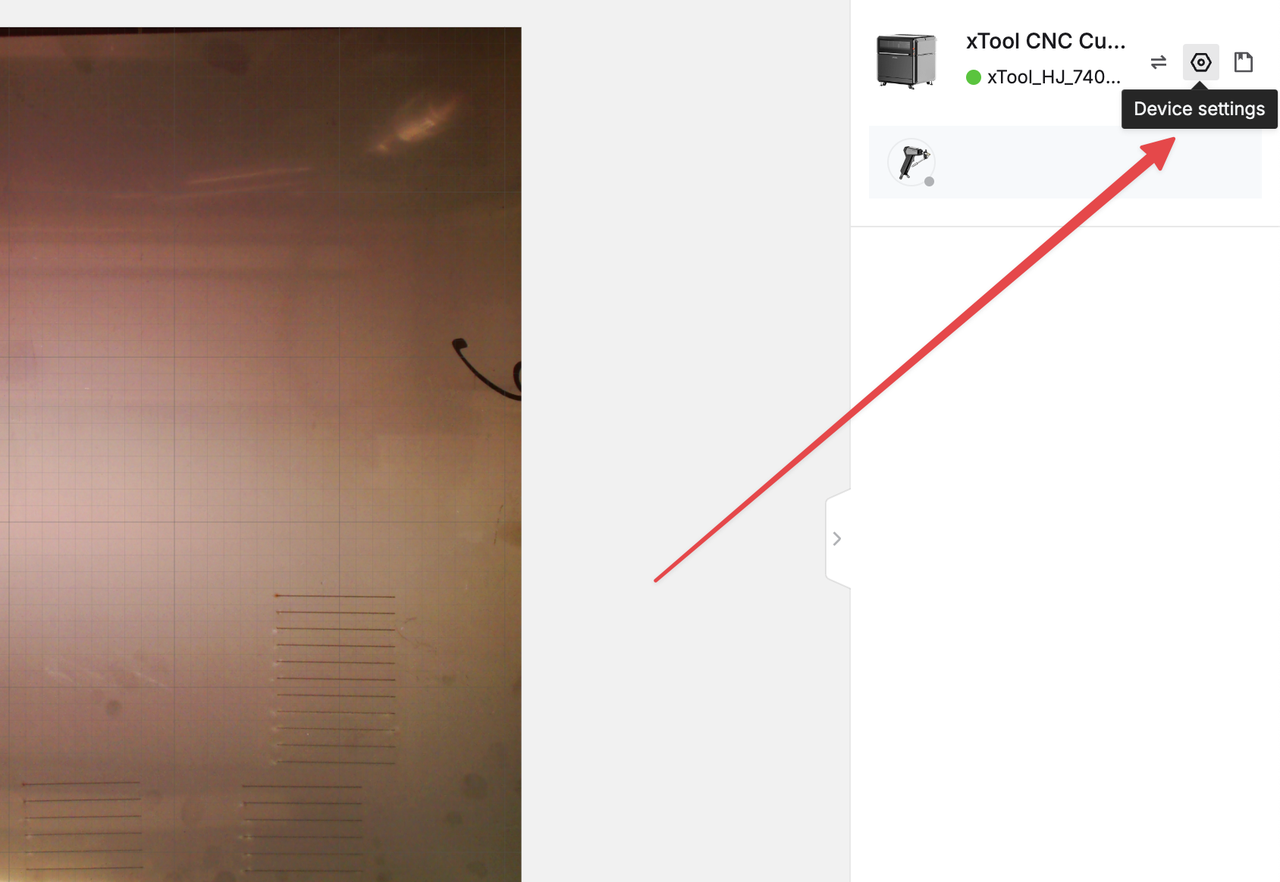
3 | After the XCS is connected to the device, click the device settings on the right to enter the device settings page |
|
4 | Pull down and select "check for update" on the right side of the device firmware version, detect a new firmware version and wait for the upgrade to succeed. |
|
5 | Firmware upgrade completed! |
|