1. Connect the Wire Feeder
- The 1200W laser welder comes with a wire feeder requiring a connection via the cable.
- The 800W laser welder has a built-in wire feeding function and does not need to be connected.
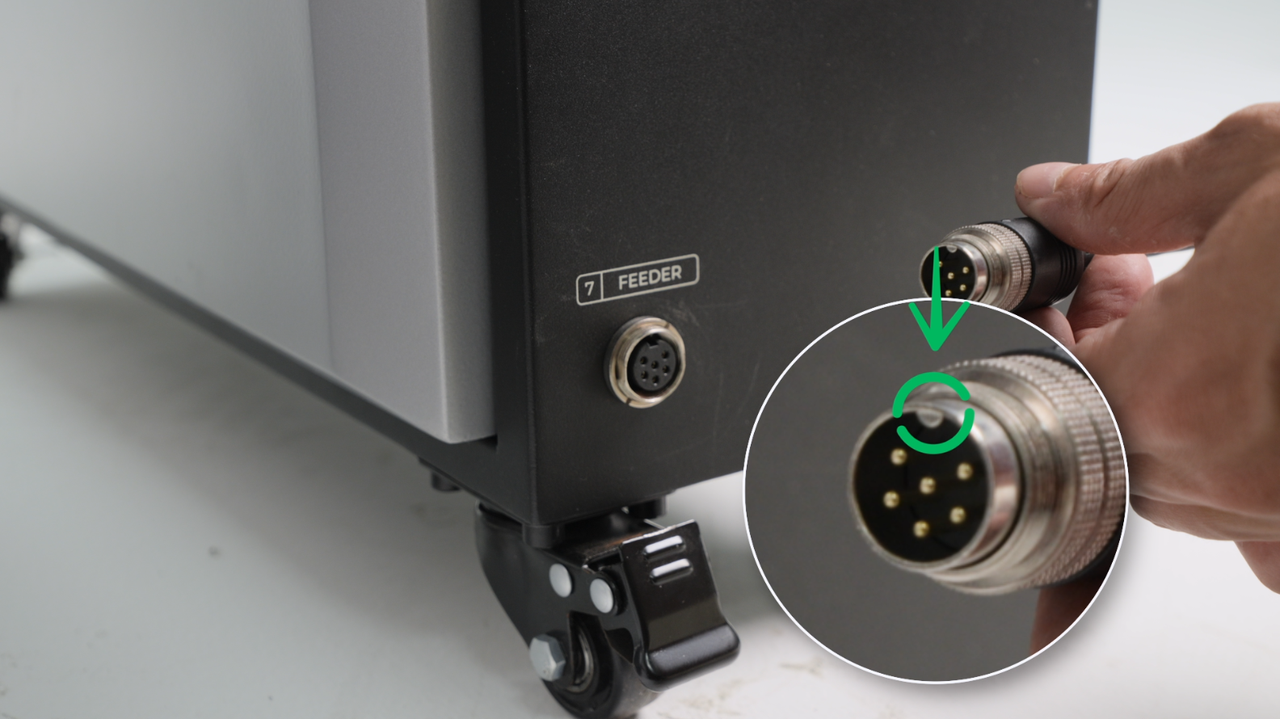
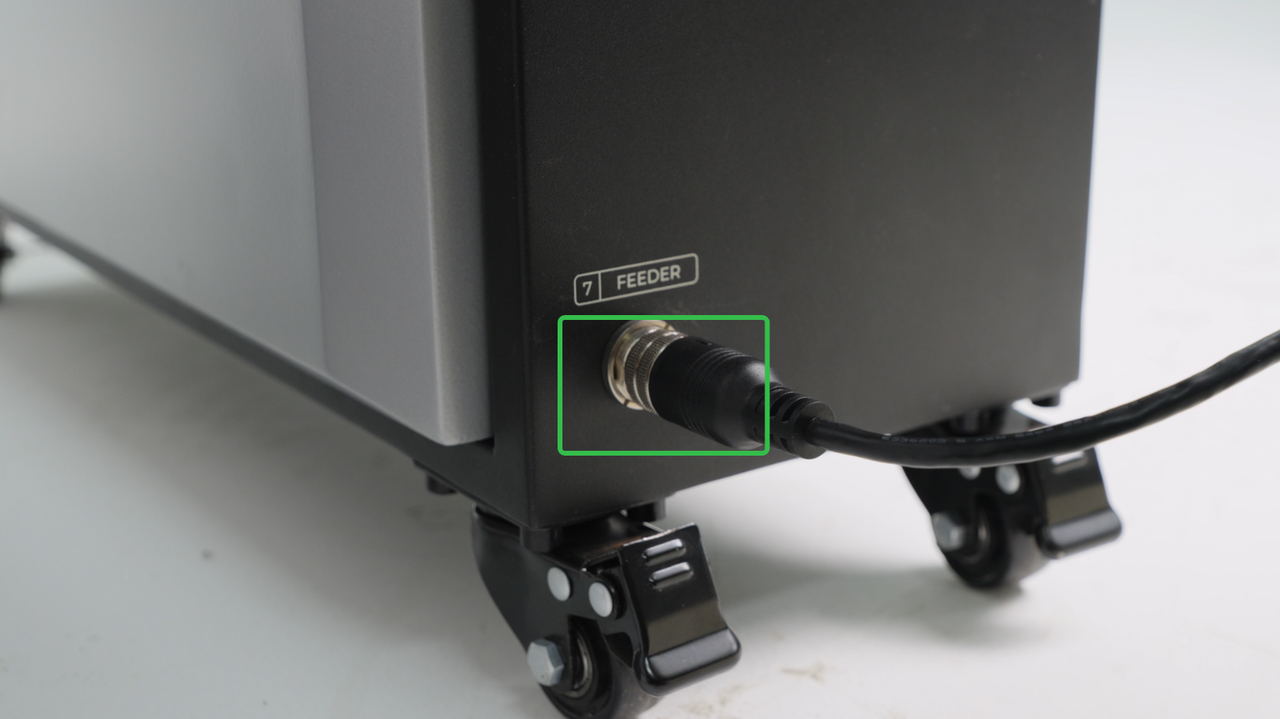
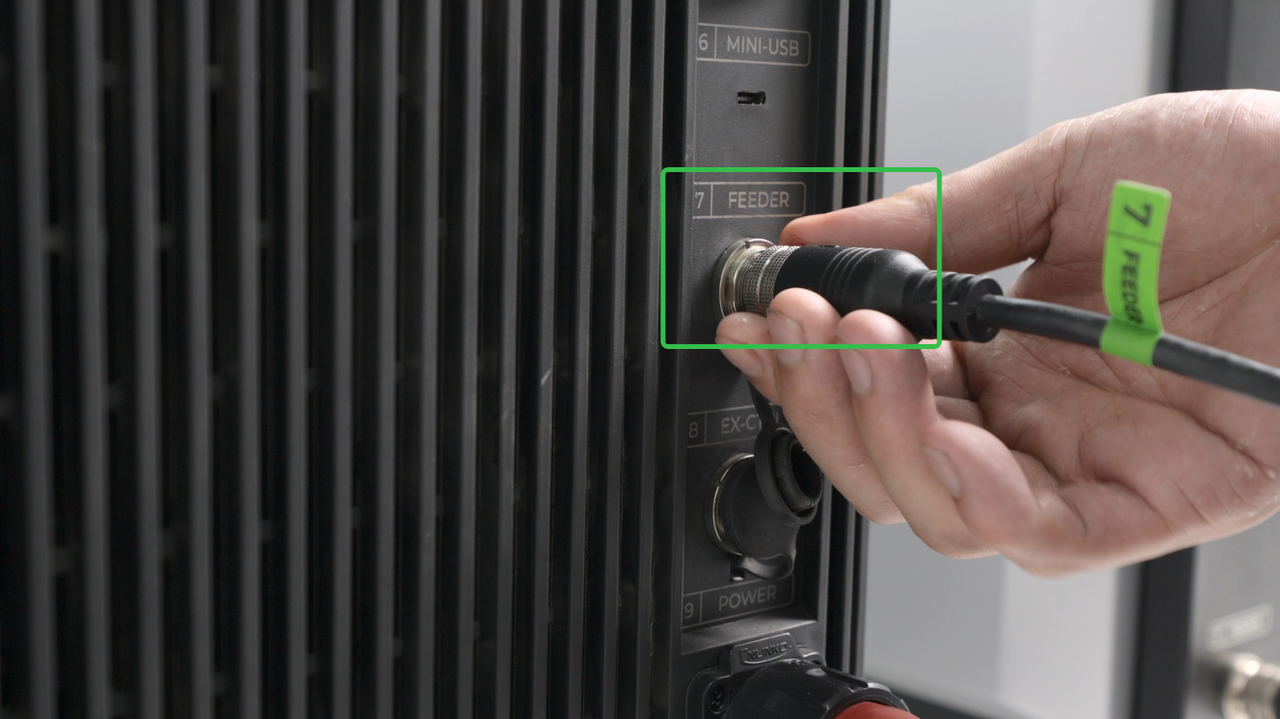
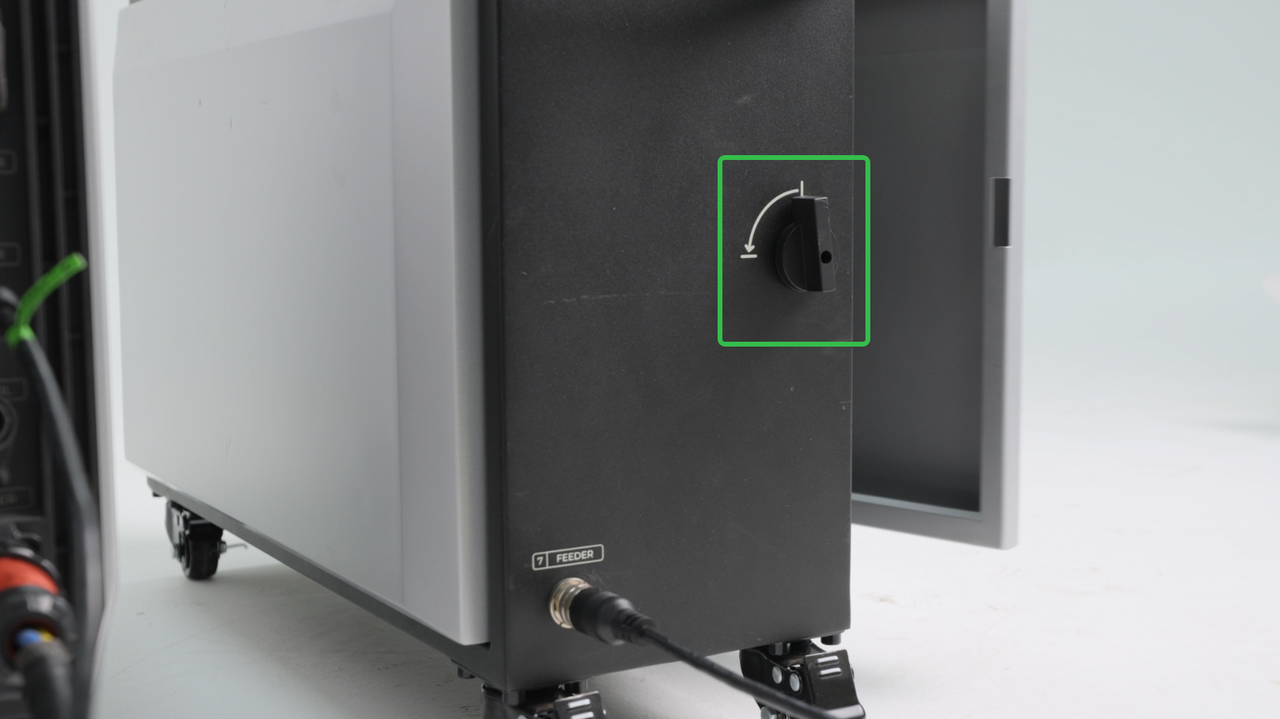
The wire feeder is connected to the welding machine via a connection cable. Once the welding machine is powered on, the wire feeder can operate normally.
|
|
|
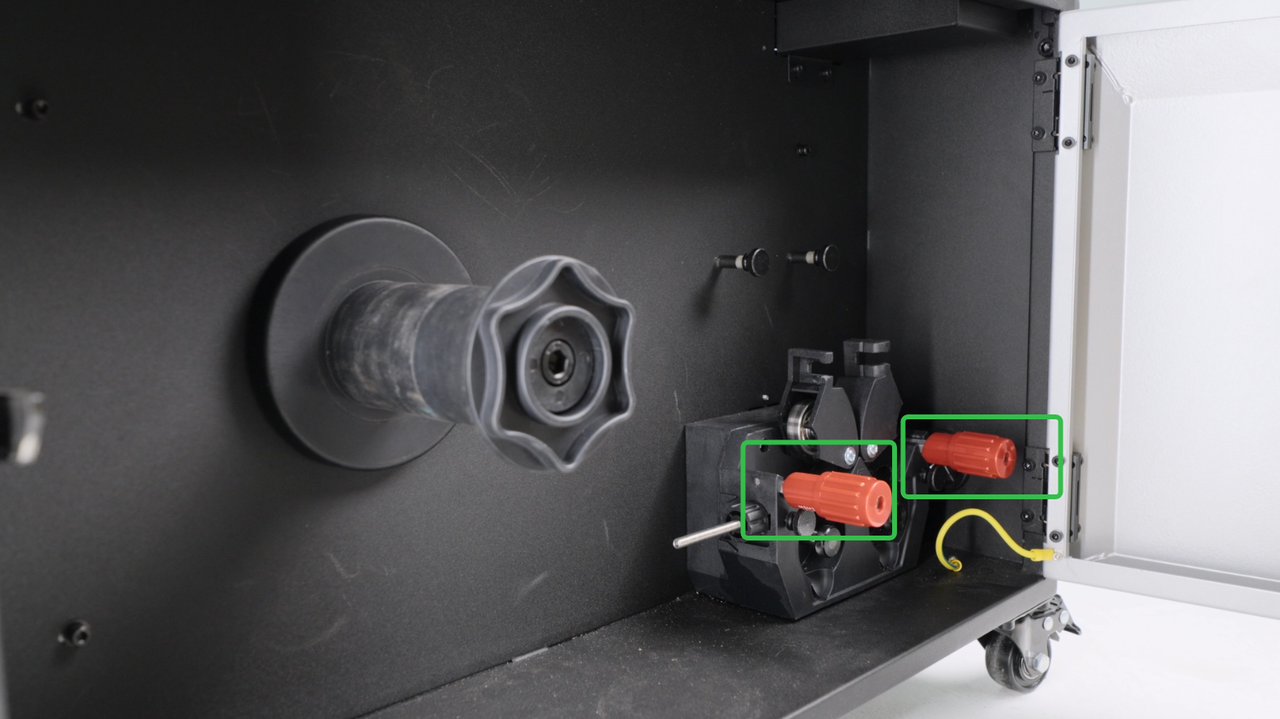
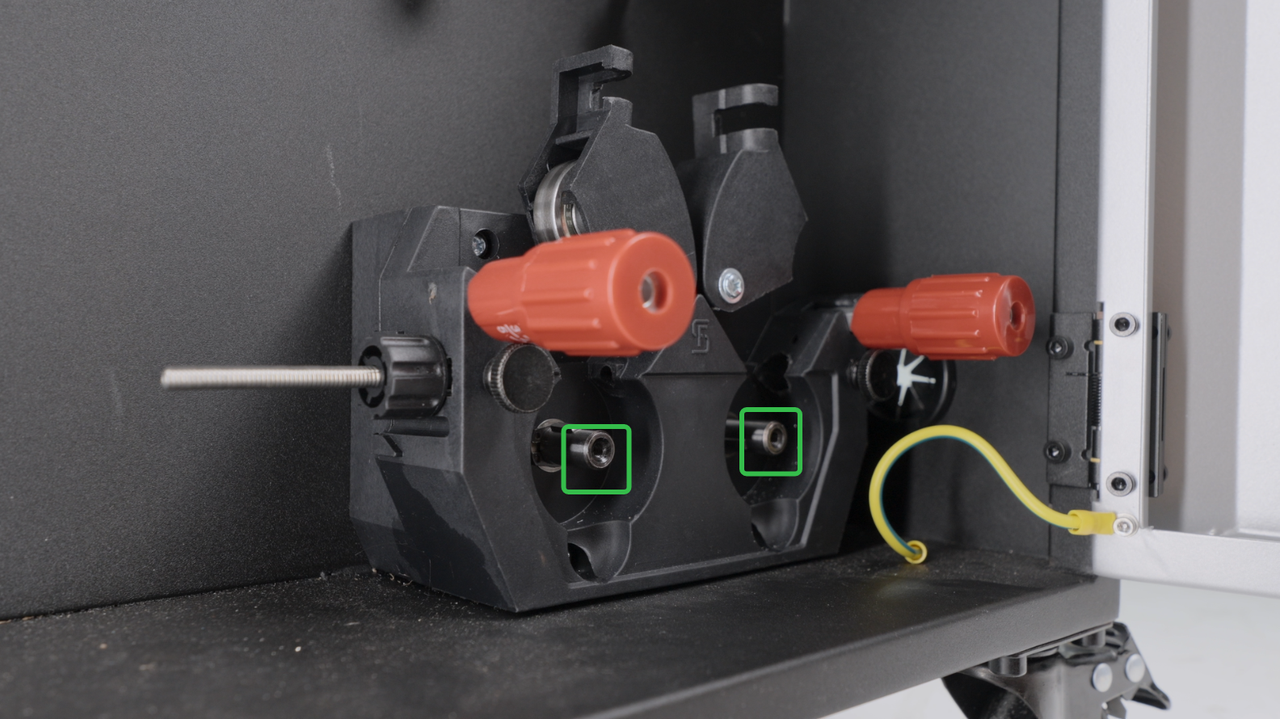
2. Install the Drive Roll
Open the wire feeder, open the wire feeding driver, remove the screws.
|
|
|
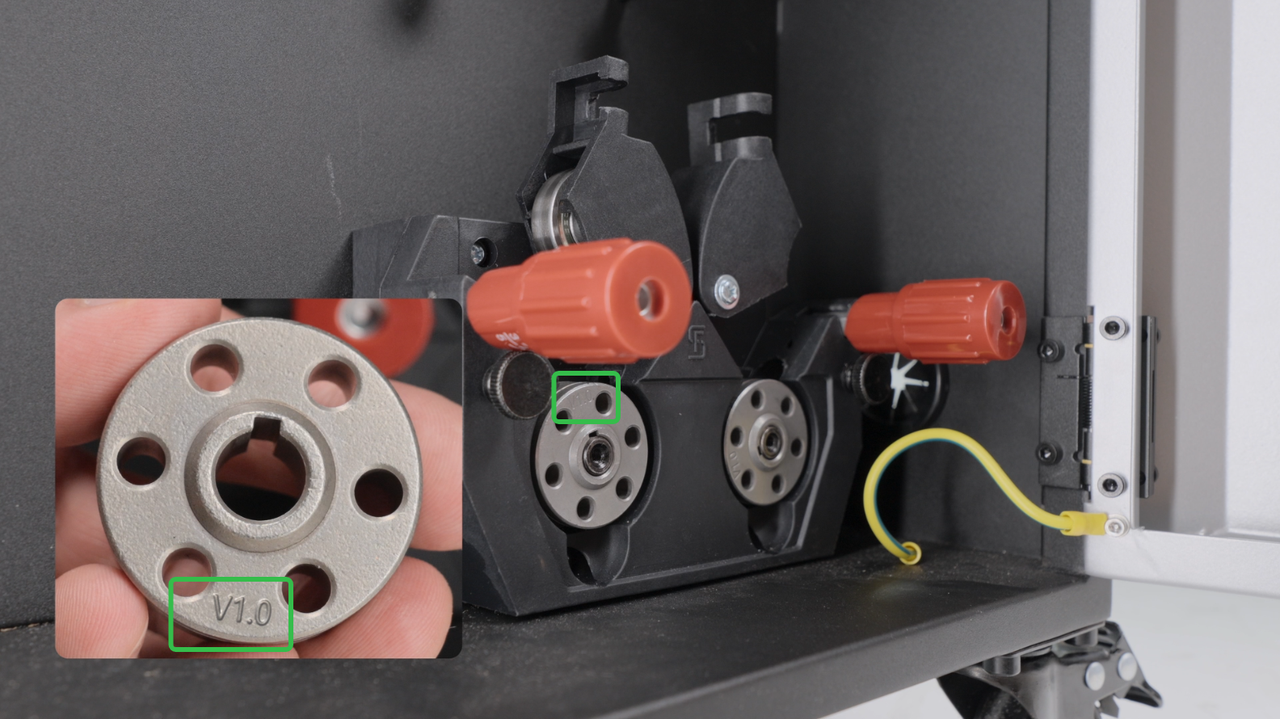
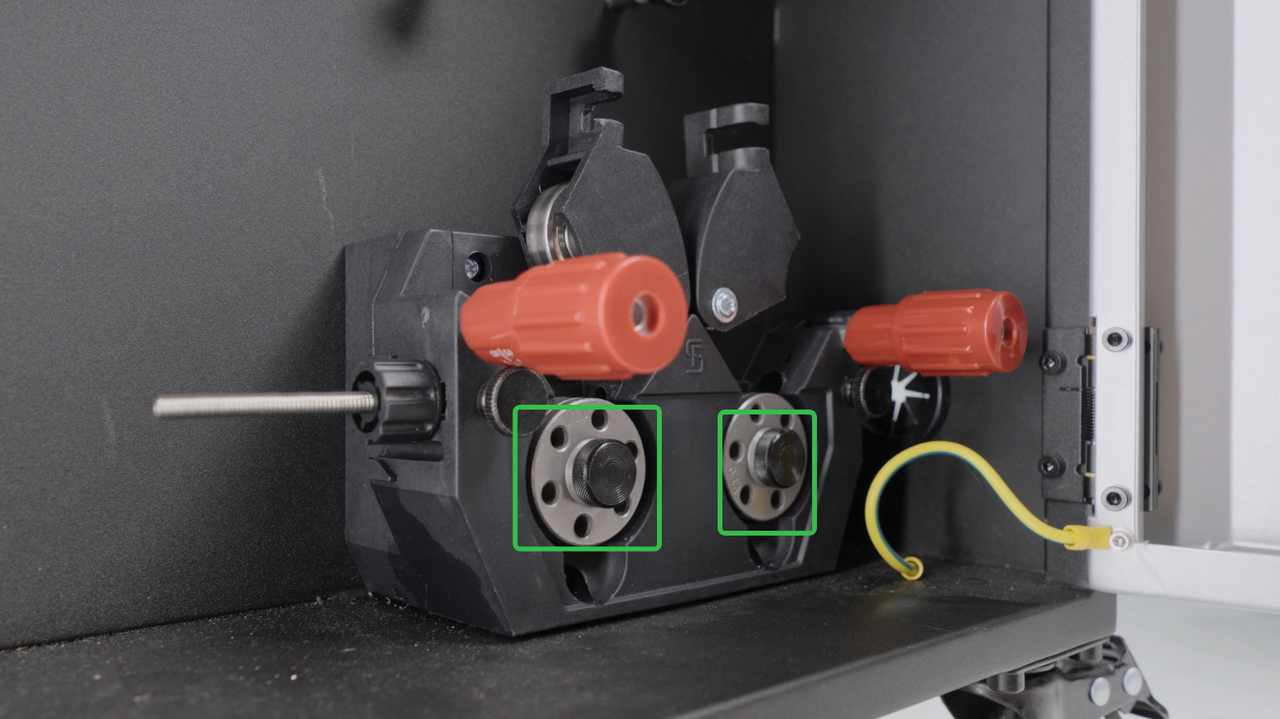
Install drive rolls of correct dimensions (same as the diameter of the welding wire.), and install the screws back.
|
|
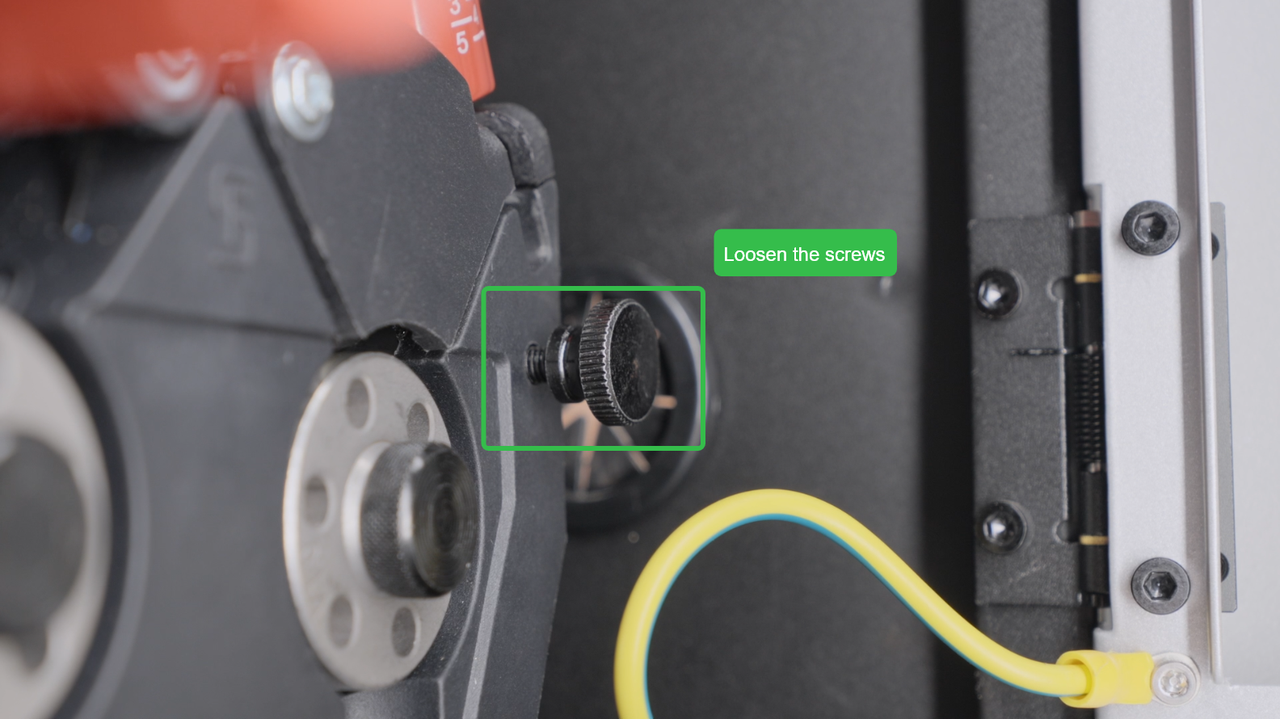
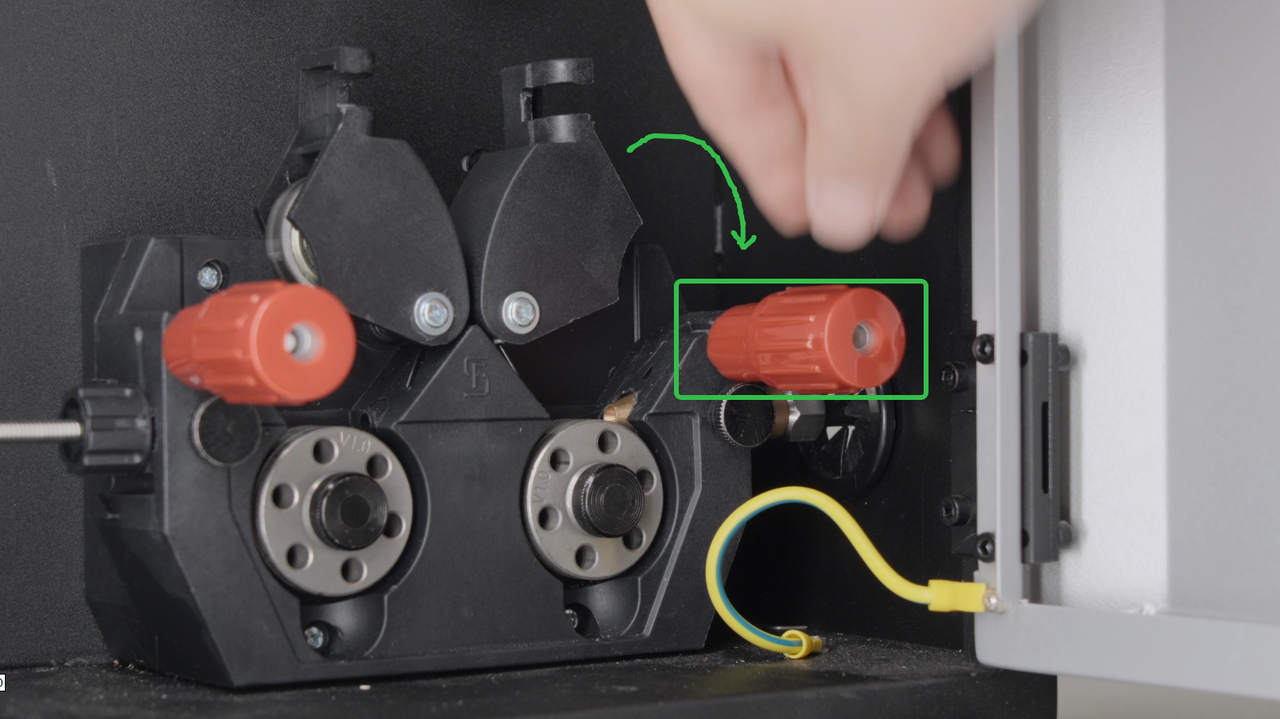
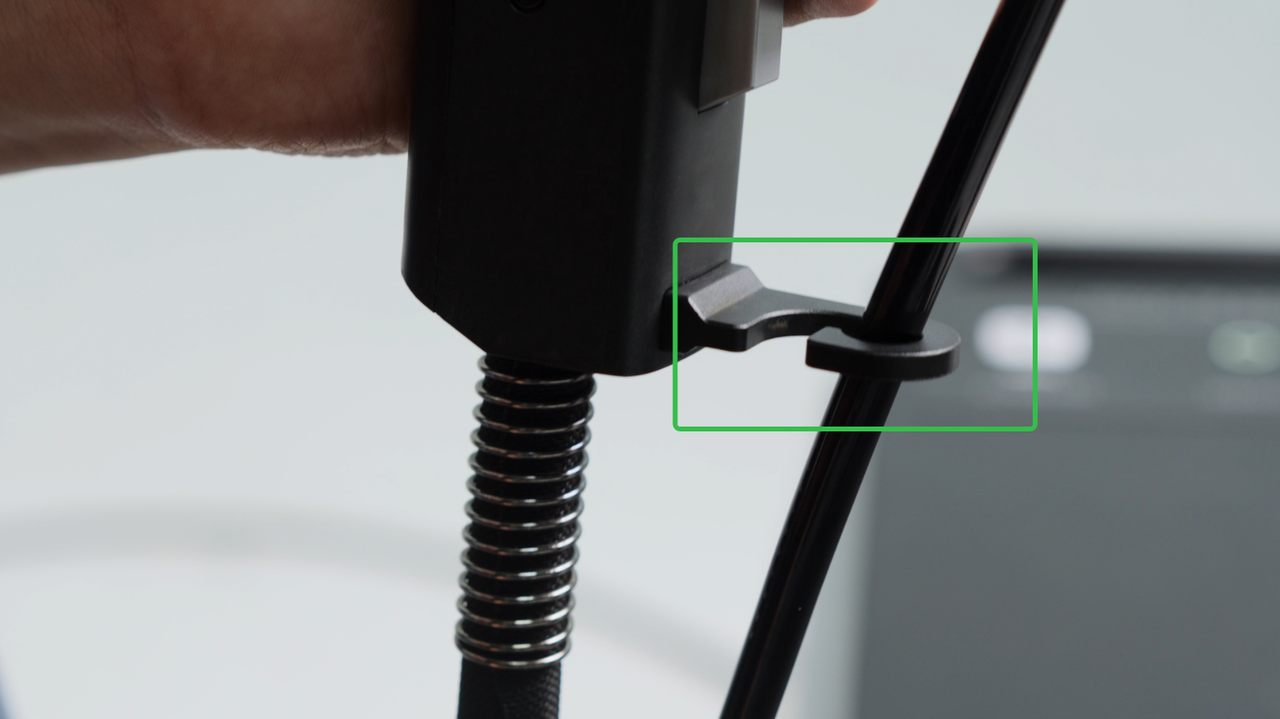
3. Install the Wire Feeding Tube
Close the tensioner, loosen the screw.
|
|
Insert the wire feed tube into the guide rail, and then tighten the screw.
|
|

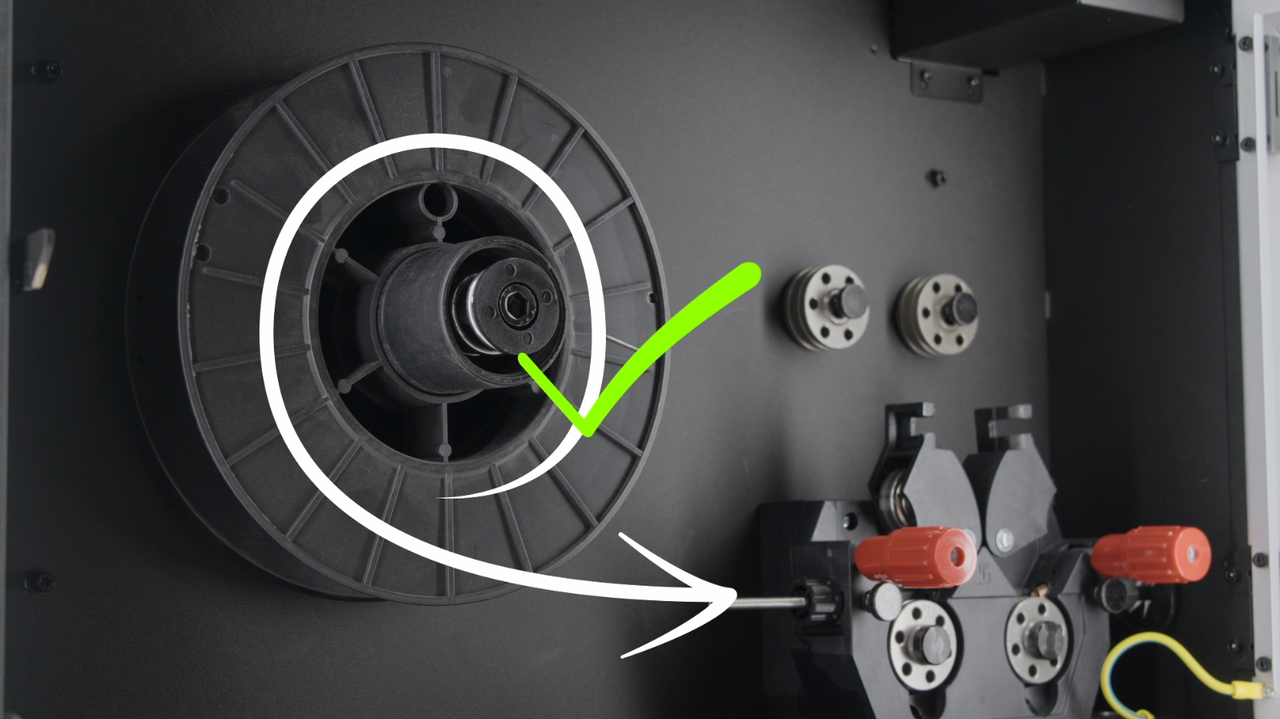
4. Install the Welding Wire
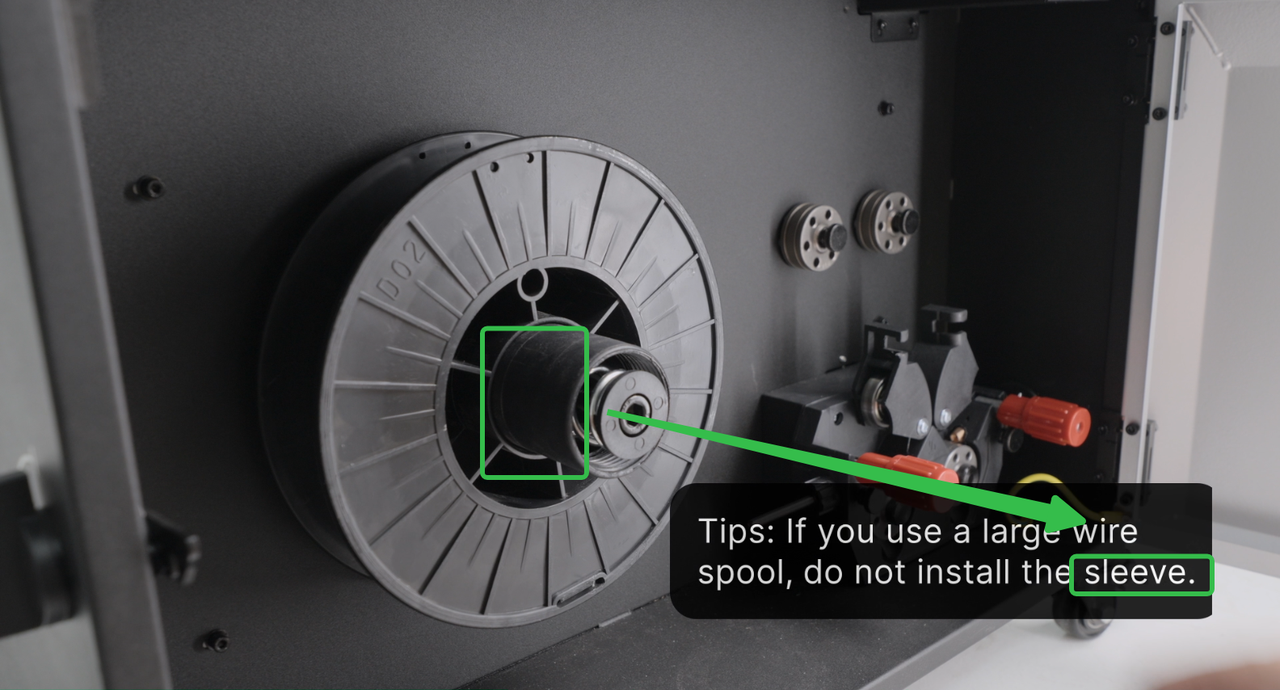
Remove the sleeve, take out the welding wire spool, align the hole and pin, and install the spool.
|
|
|
|

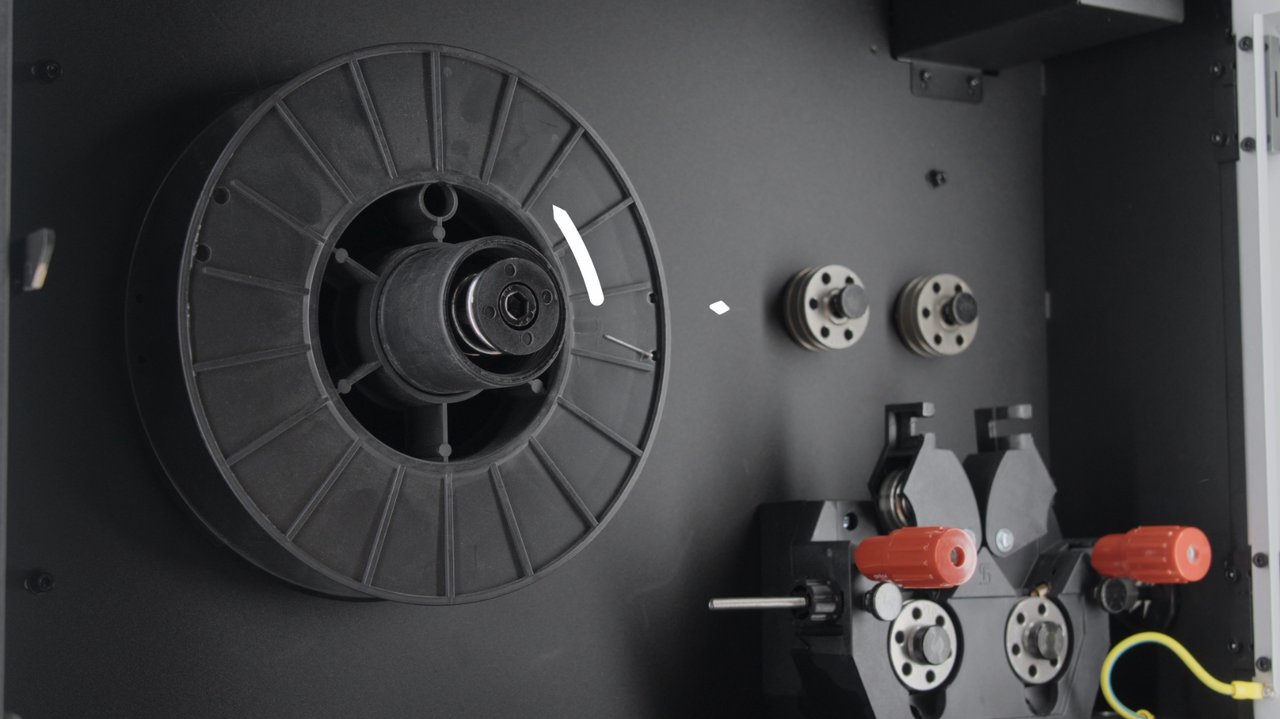
Pay attention to the installation direction; the welding wire should enter the guide rail from the bottom.
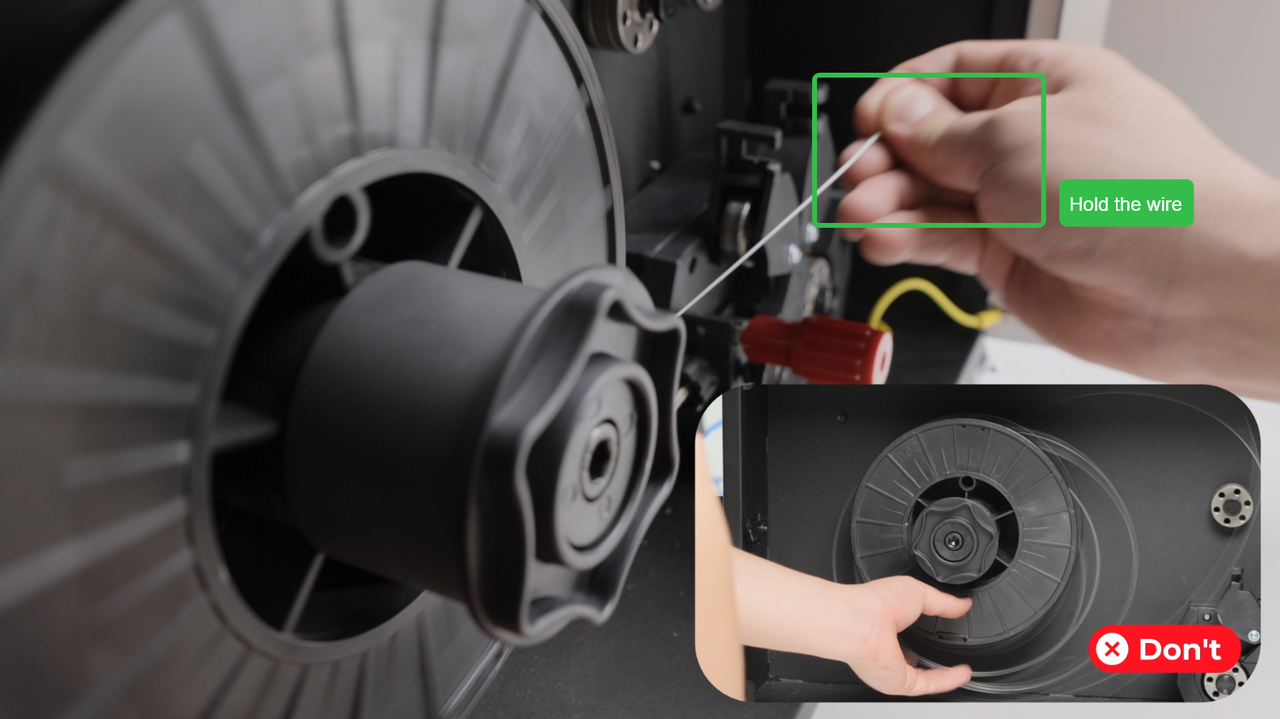
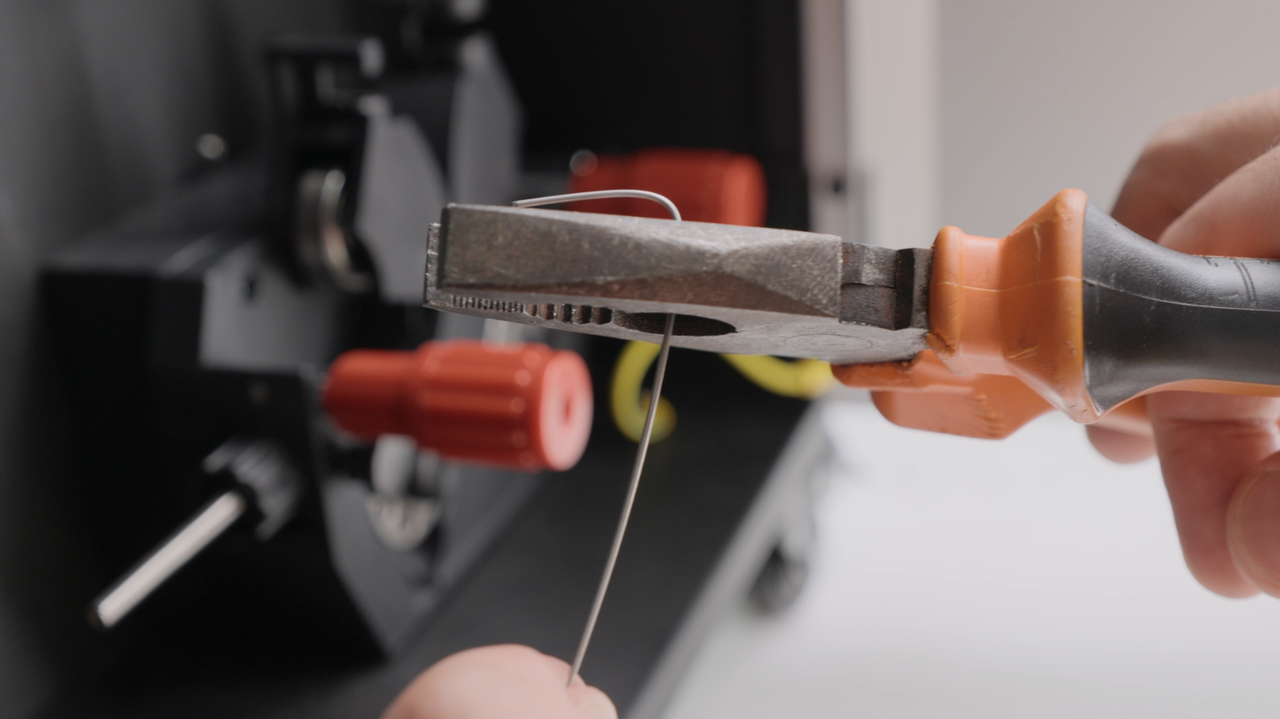
Take out the welding wire, hold it to avoid exploding. Cut the bend part.
|
|
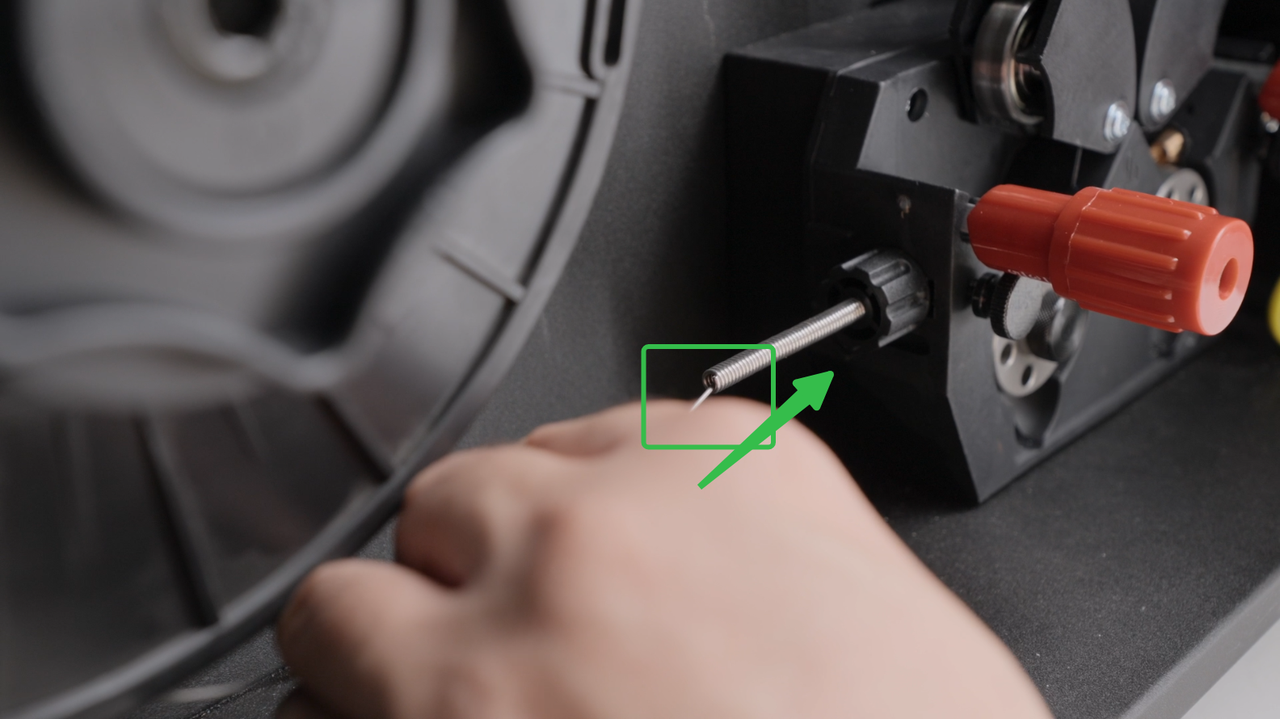
Send the wire into the guide rail.
|
|

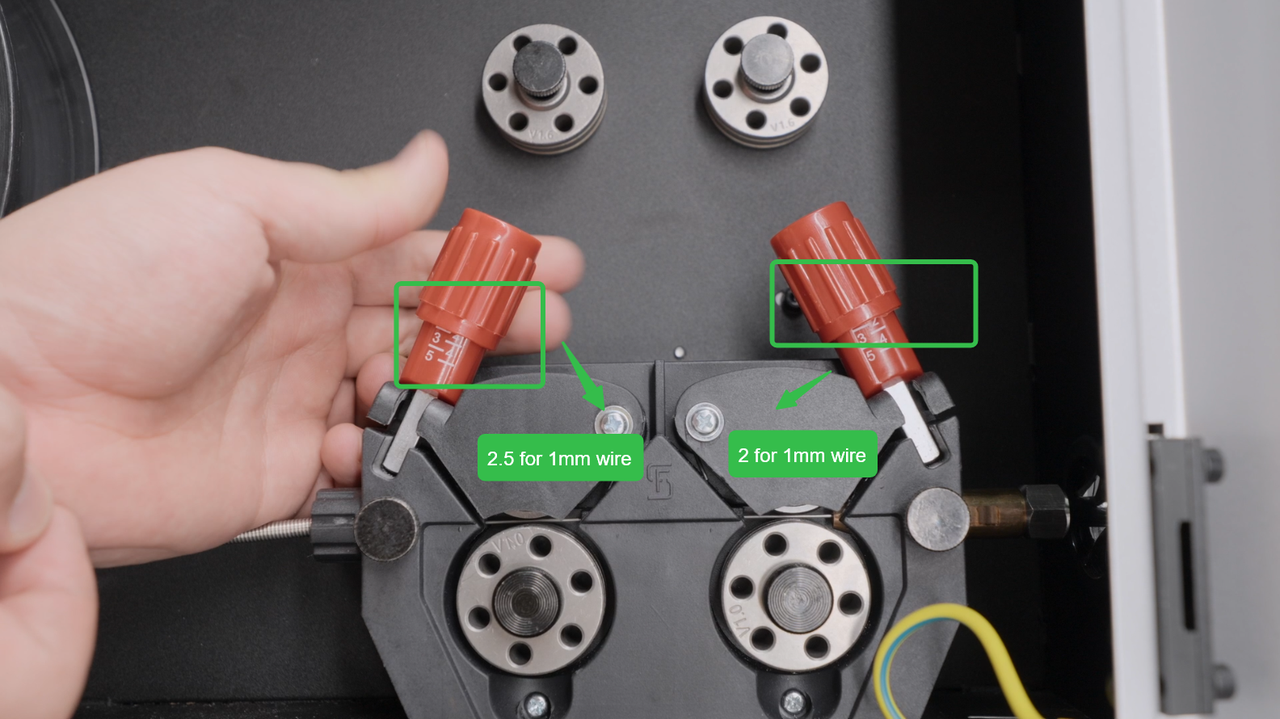
Adjust the scale according to the welding wire diameter.
|
|

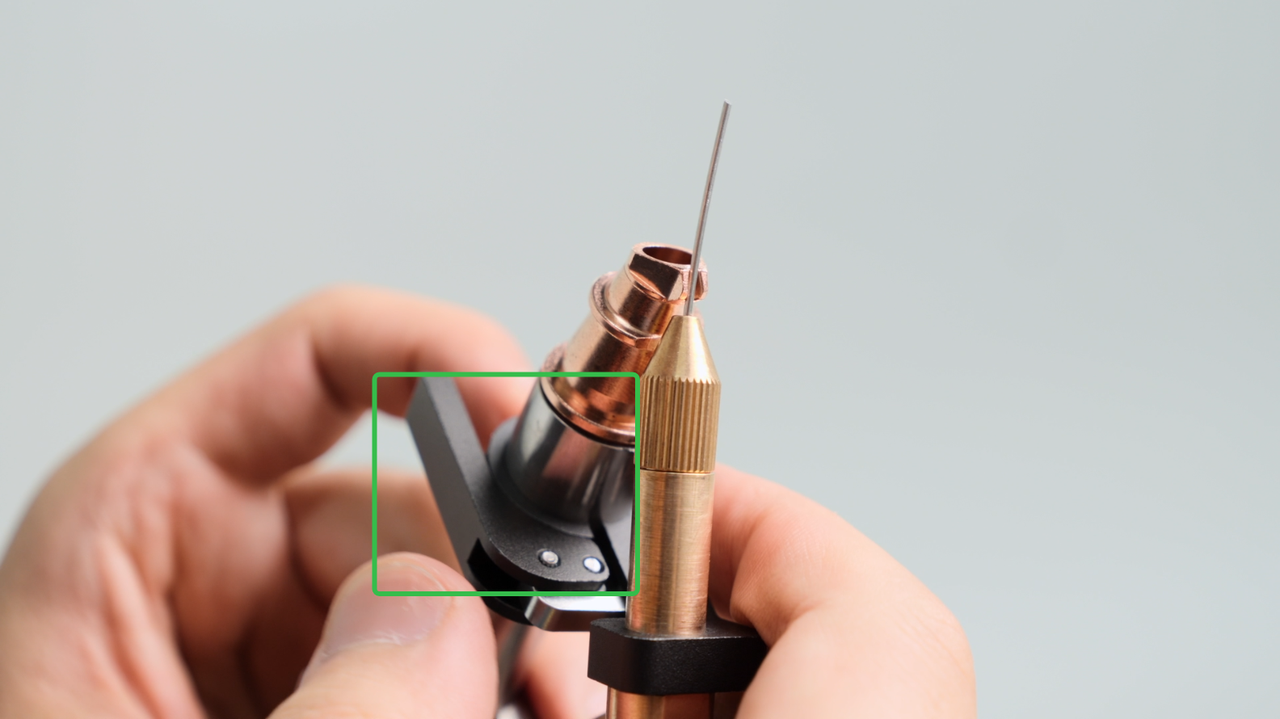
5. Install the Wire Feeding Tube onto Welding Gun
Open the fastener, install the welding tube on the welding nozzle.
|
|
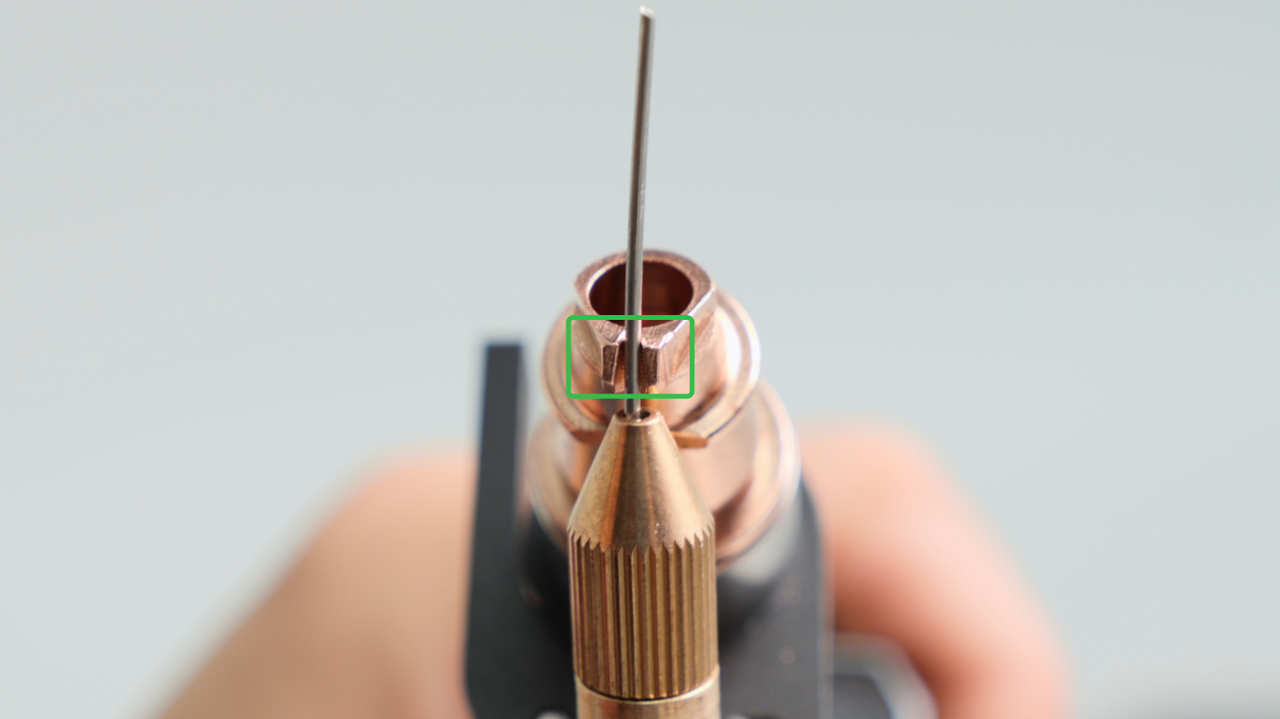
Ensure that the welding wire is centered in the groove of the welding nozzle.

Then tighten the fastener and secure the tube.
|
|
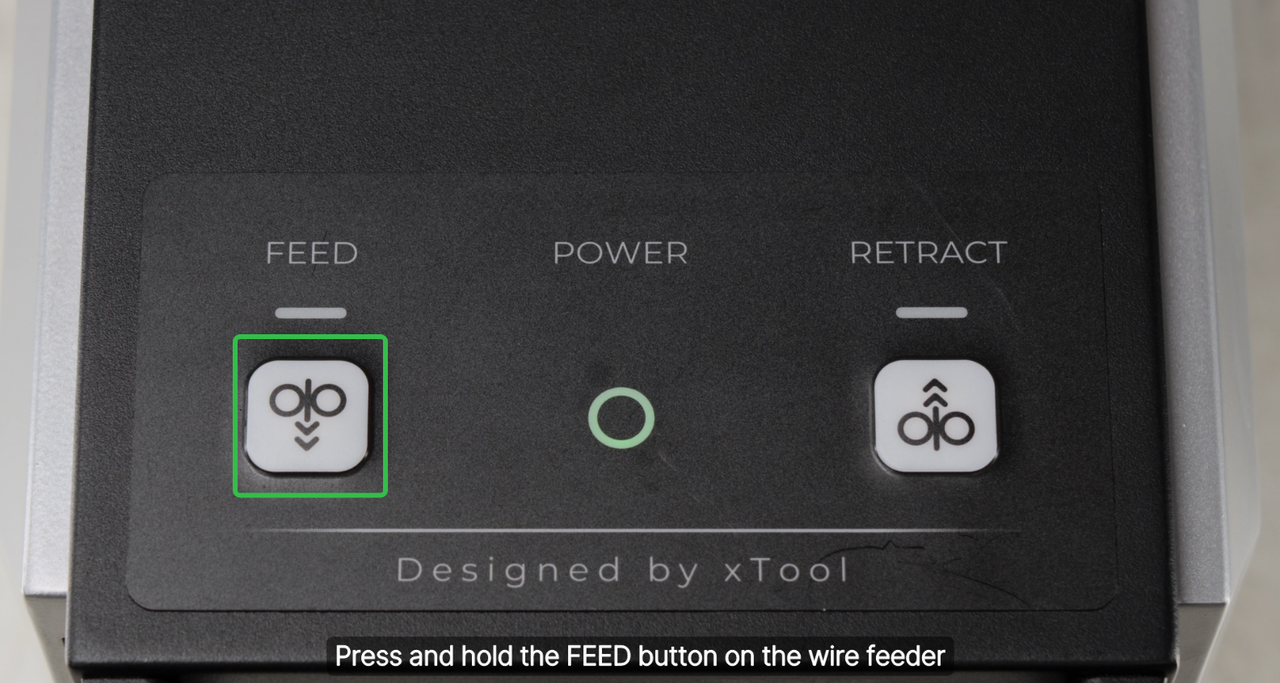
6. Wire Feeding or Retracting
Press the feeding button to make the wire feeding at a higher speed until wire comes out.
|
|

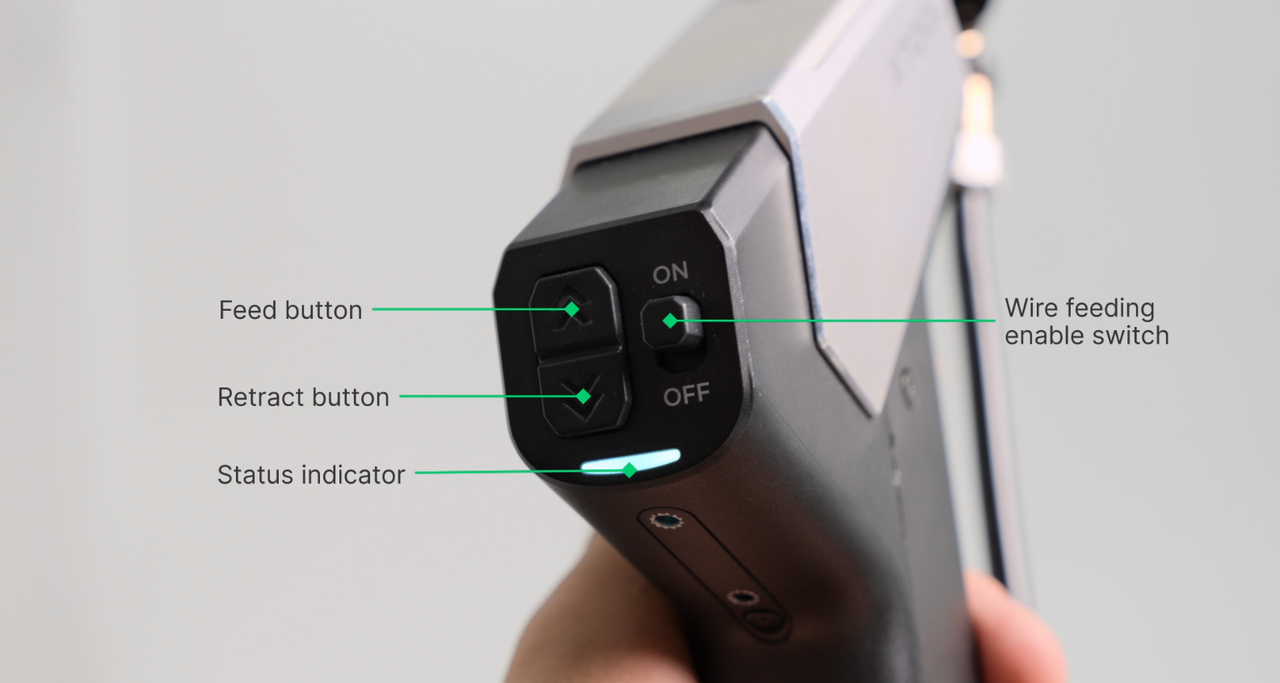
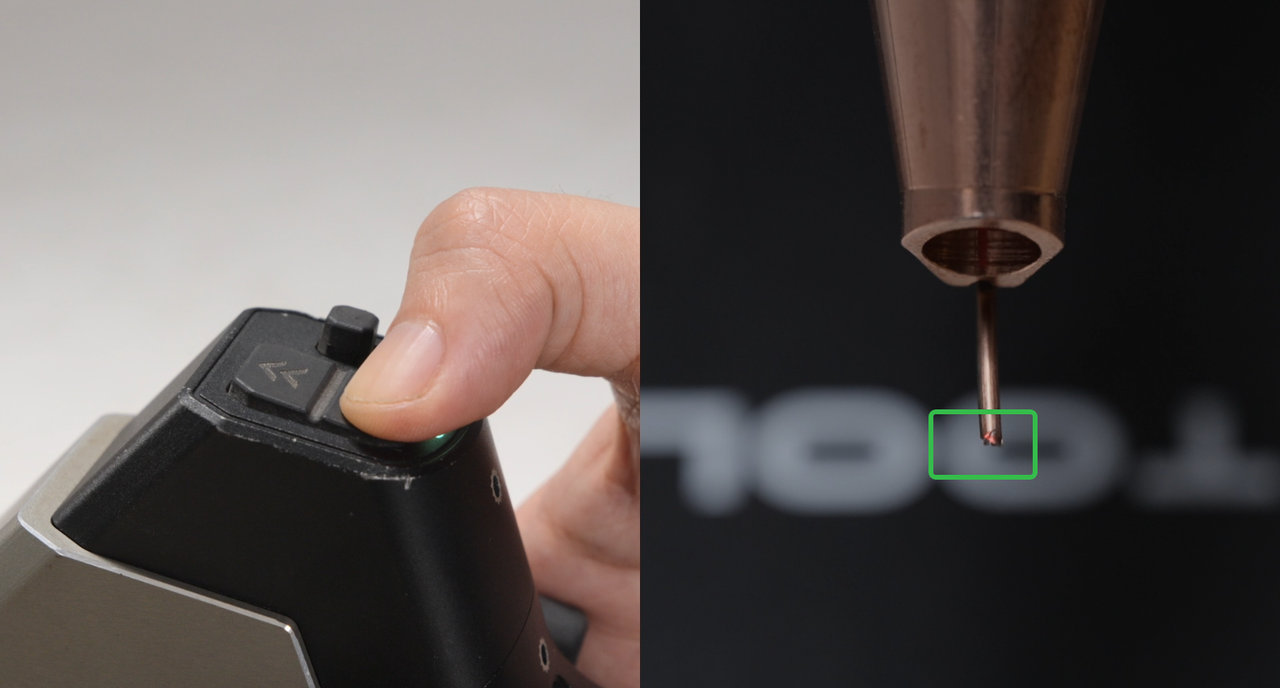
Then press the buttons on the welding gun to adjust the position until the red light just hits the end of the welding wire.
|
|
7. Done
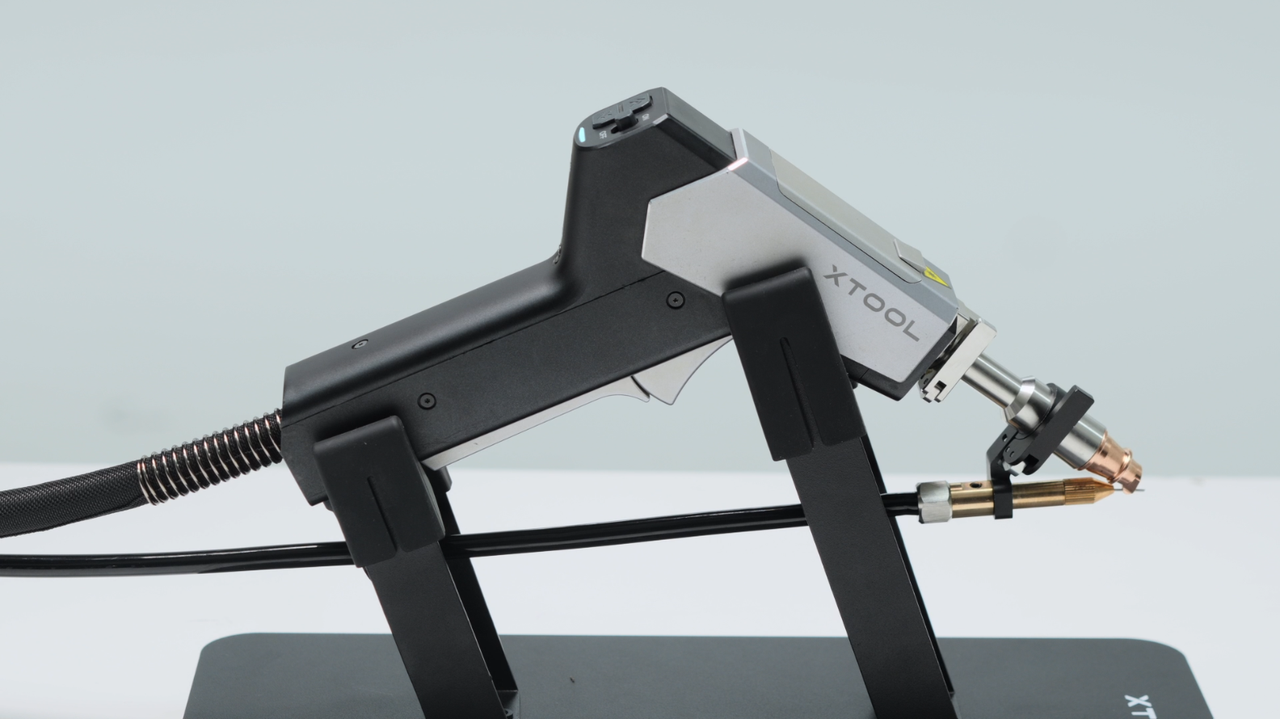
Put the welding gun on the bracket.
Important Notes:
1. The wire must come out from the groove of the welding nozzle or wired feeding will be stuck or fail to melt and weld.
2. xTool MetalFab supports welding wire spools with 2'' core diameter. For smaller wire spools (about 200 mm), you need to install the sleeve. For larger spools (about 300 mm), it's not needed.
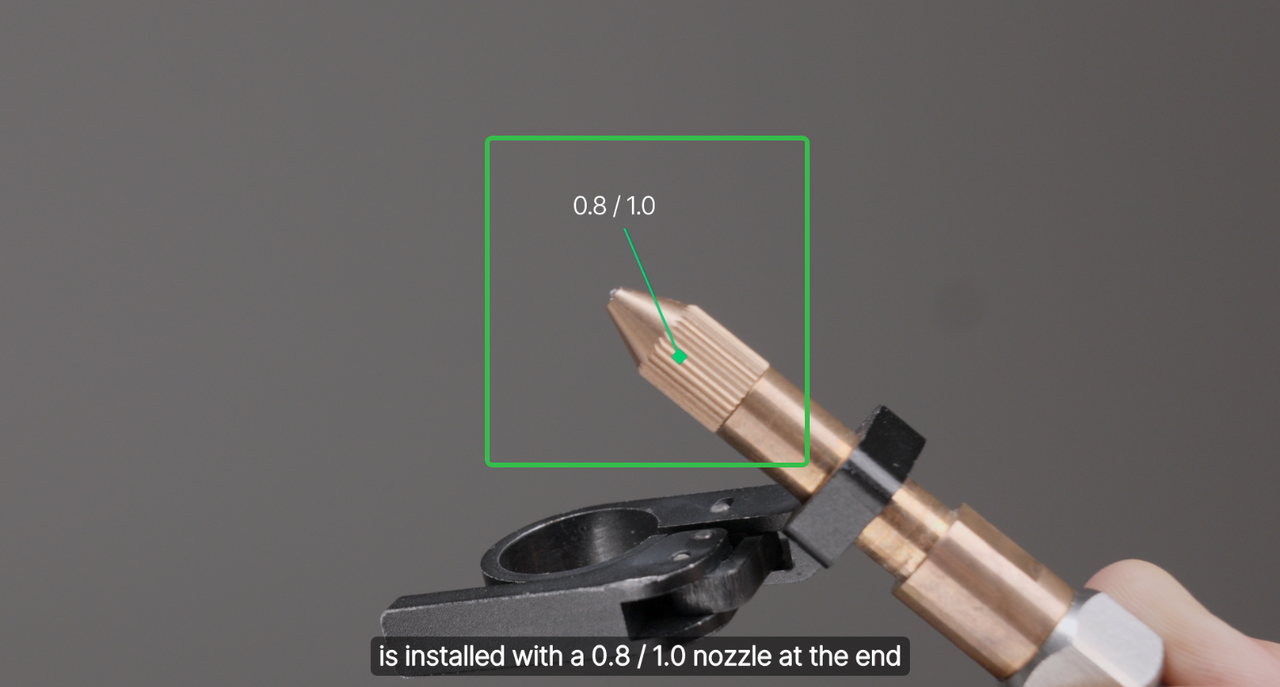
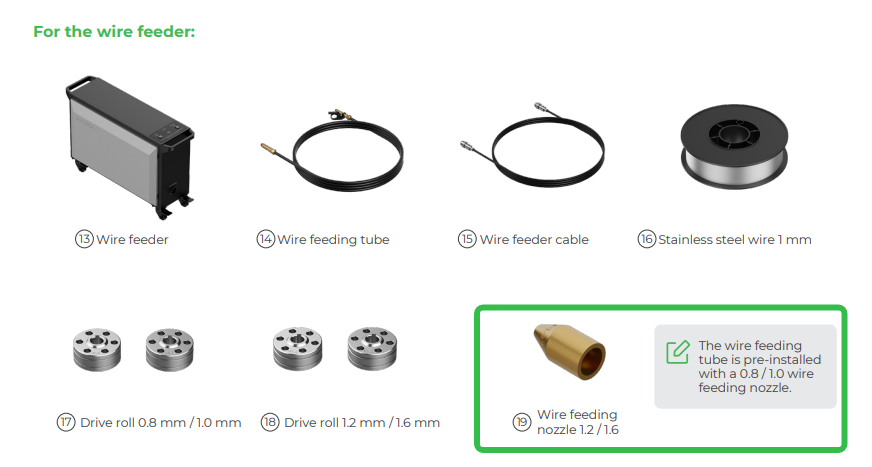
3. The wire feeding tube is pre-installed with a wire feeding nozzle for 0.8/1.0mm wires. If you are using 1.2mm or 1.6mm wires, you need to replace it. Click to see replacement tutorials.
|
|
4. Not all welding processes require welding wires.
- For thin plates less than 1mm, the base material can be melted directly to form the weld seam without the need for additional welding wires.
- If the weld joint is relatively small, it can also be welded using autogenous welding, which does not require additional welding wires.
