This article describes how to use xTool automatic conveyor feeder with xTool P3 for processing.
1. Download xTool software
Visit https://www.xtool.com/pages/software to download the software and install it on your computer.
2. Connect xTool P3 to the software
🔔 Before use, ensure that the conveyor feeder has been installed and ready. For details, see xTool Automatic Conveyor Feeder User Guide.
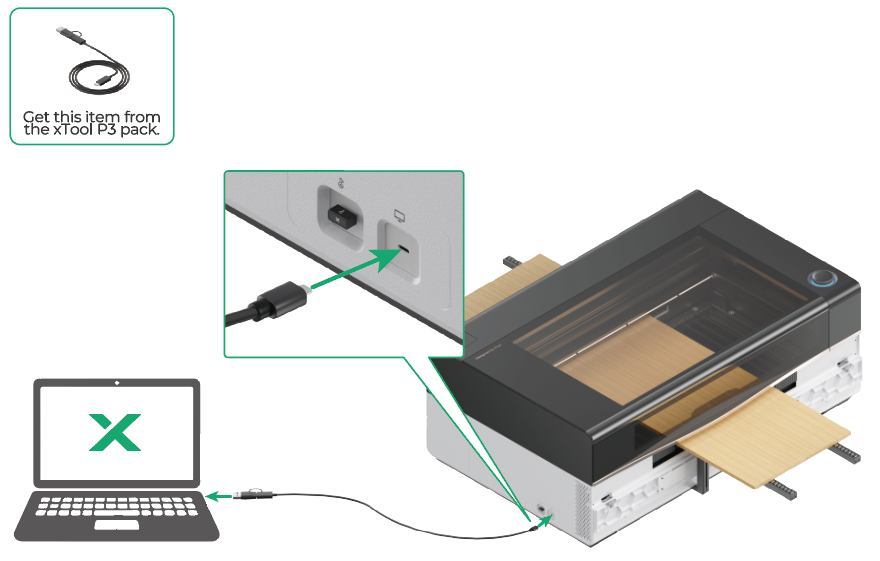
(1) Use the connection cable of xTool P3 to connect xTool P3 to a computer.
(2) Open the software. In the top-right corner of the home page, click + New project.
(3) Click + Select device > Add Device.
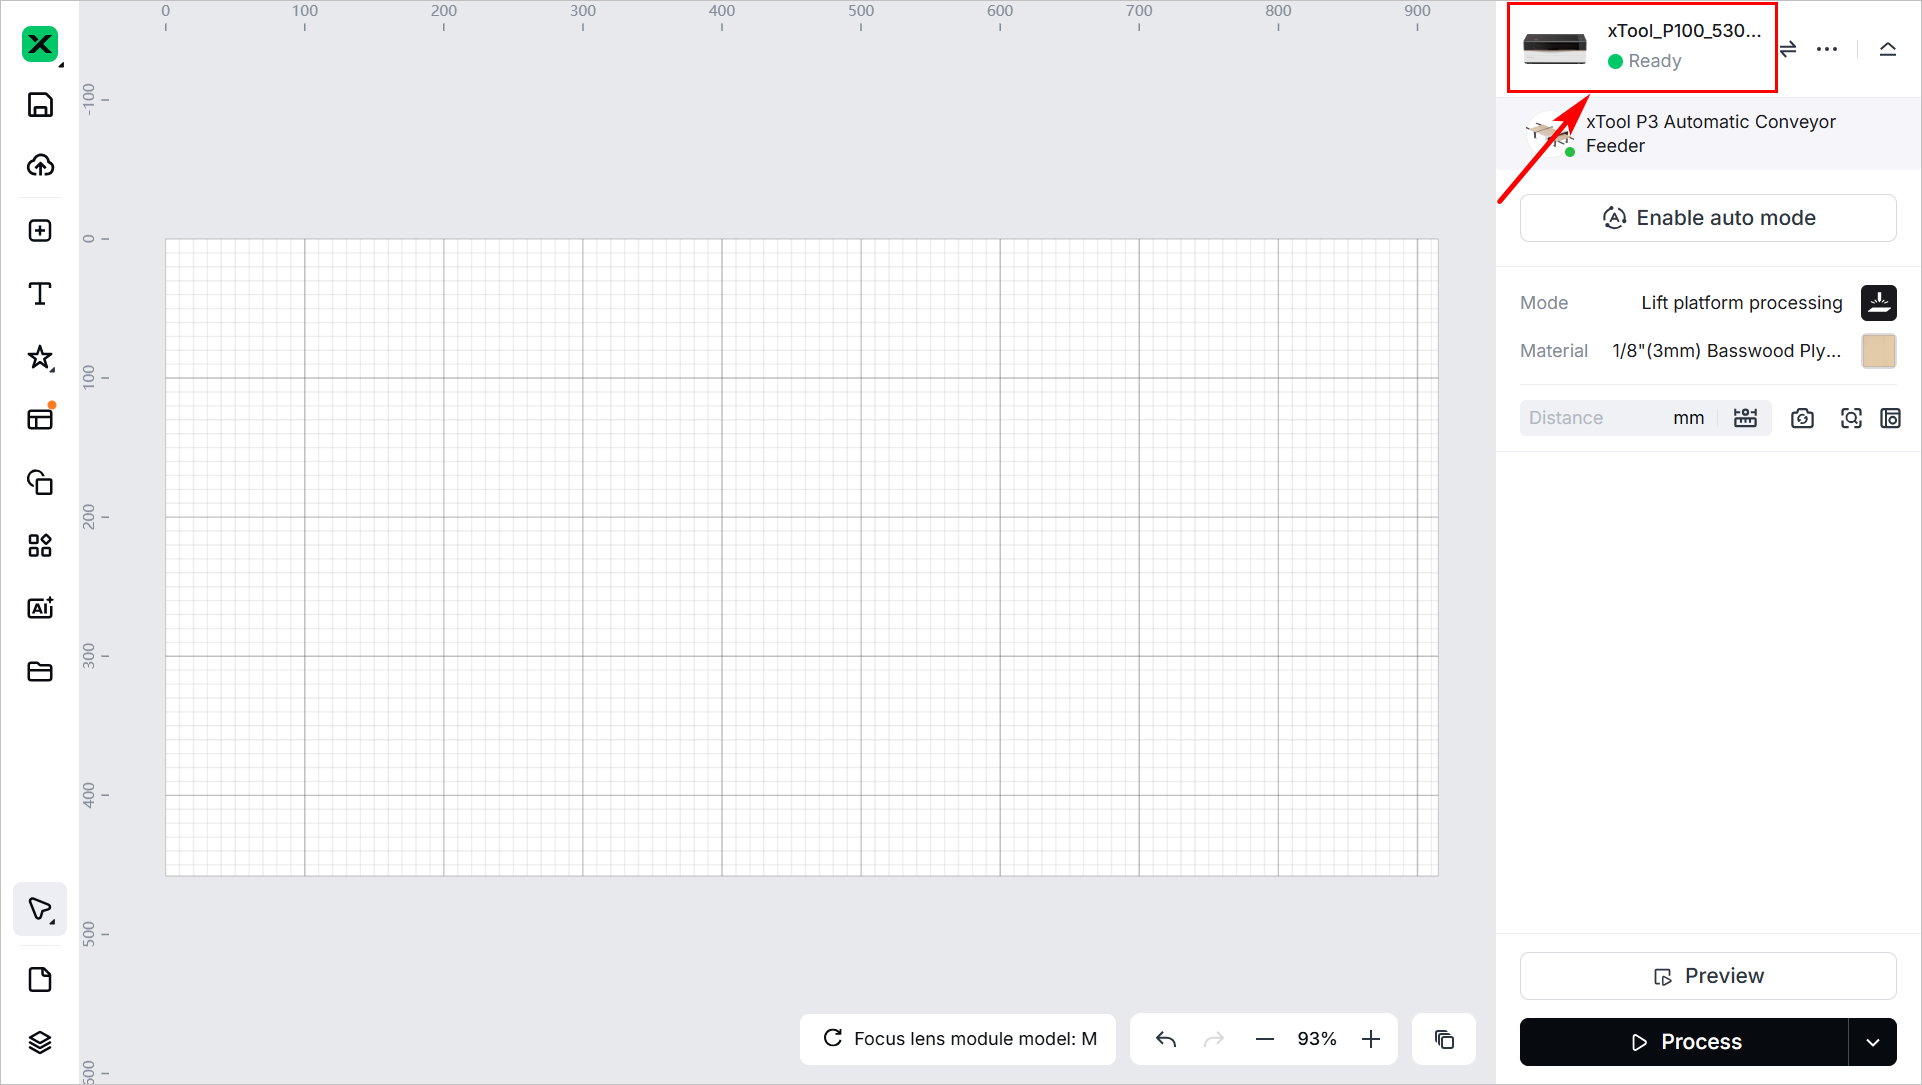
(4) In the Connect device dialog box, select the desired device in the USB tab page. After connected, you can see your device in the canvas page.
3. Select the processing mode and material
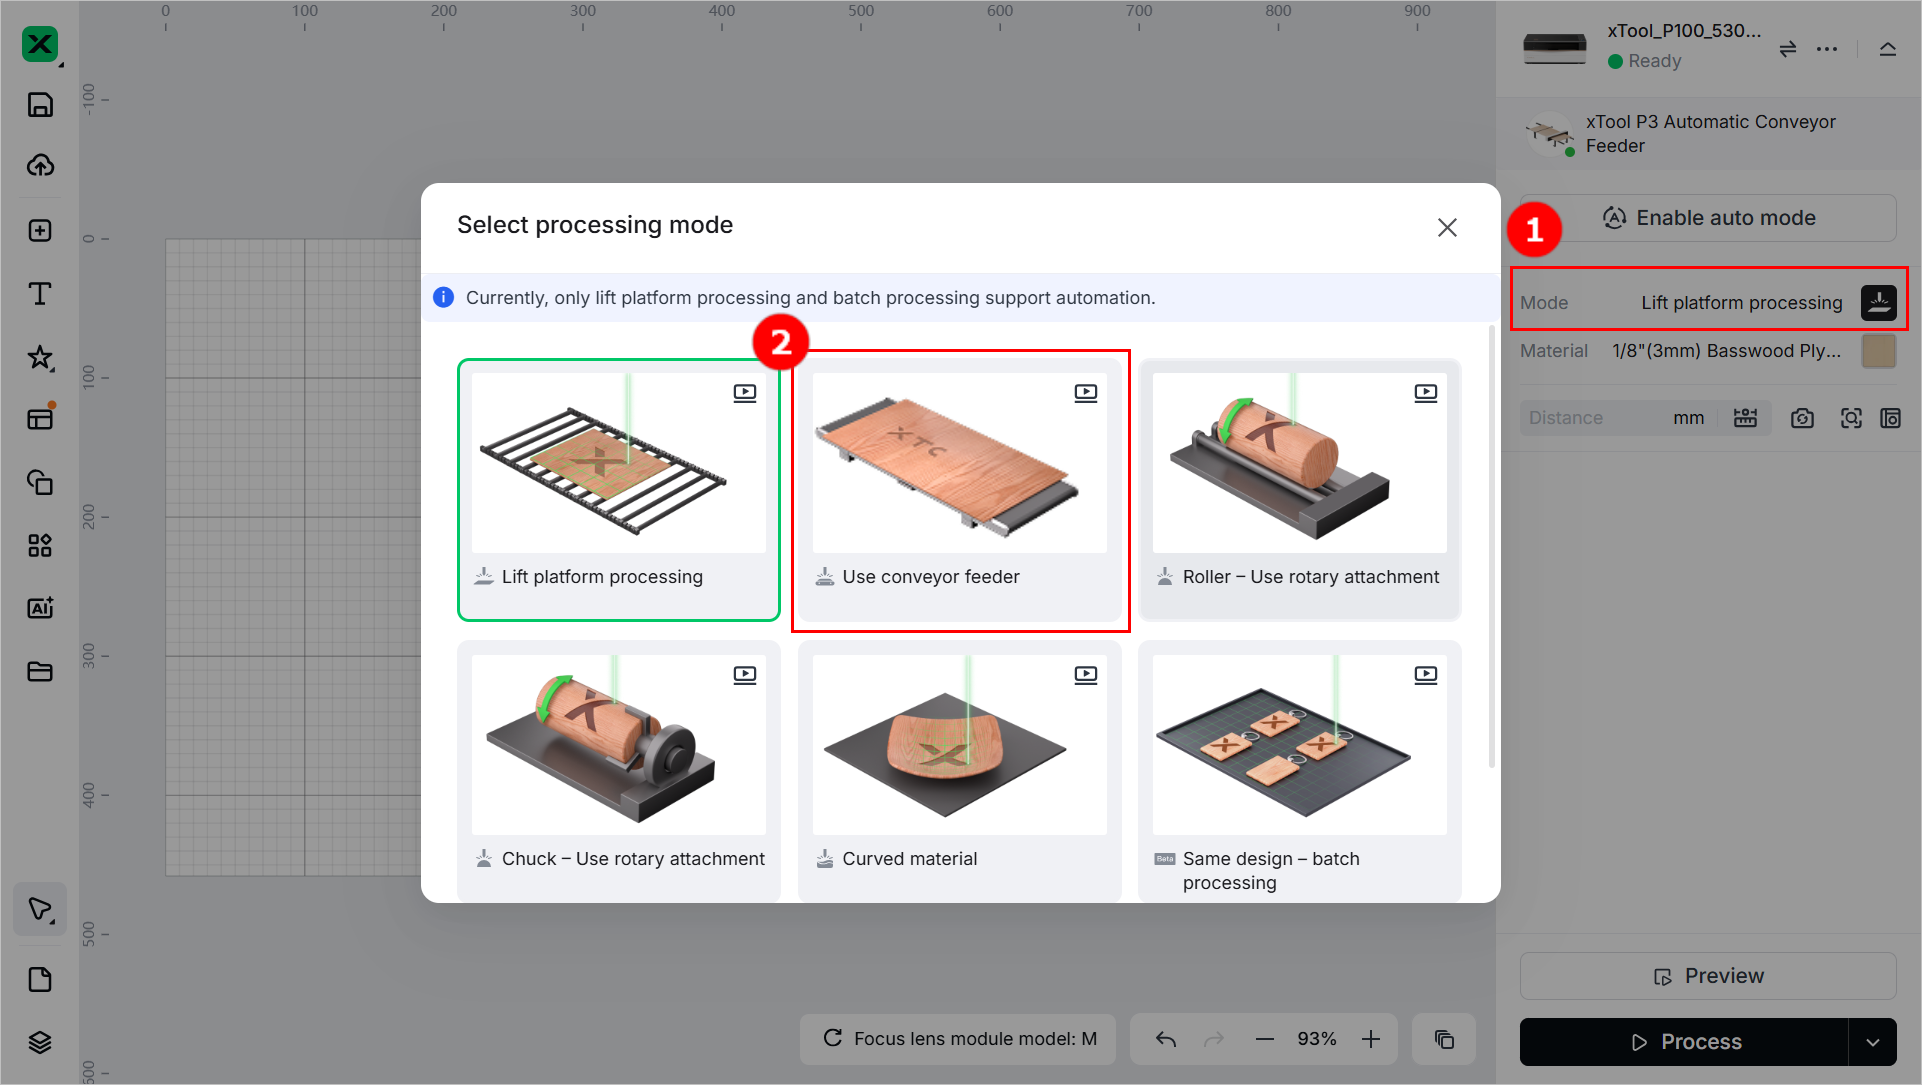
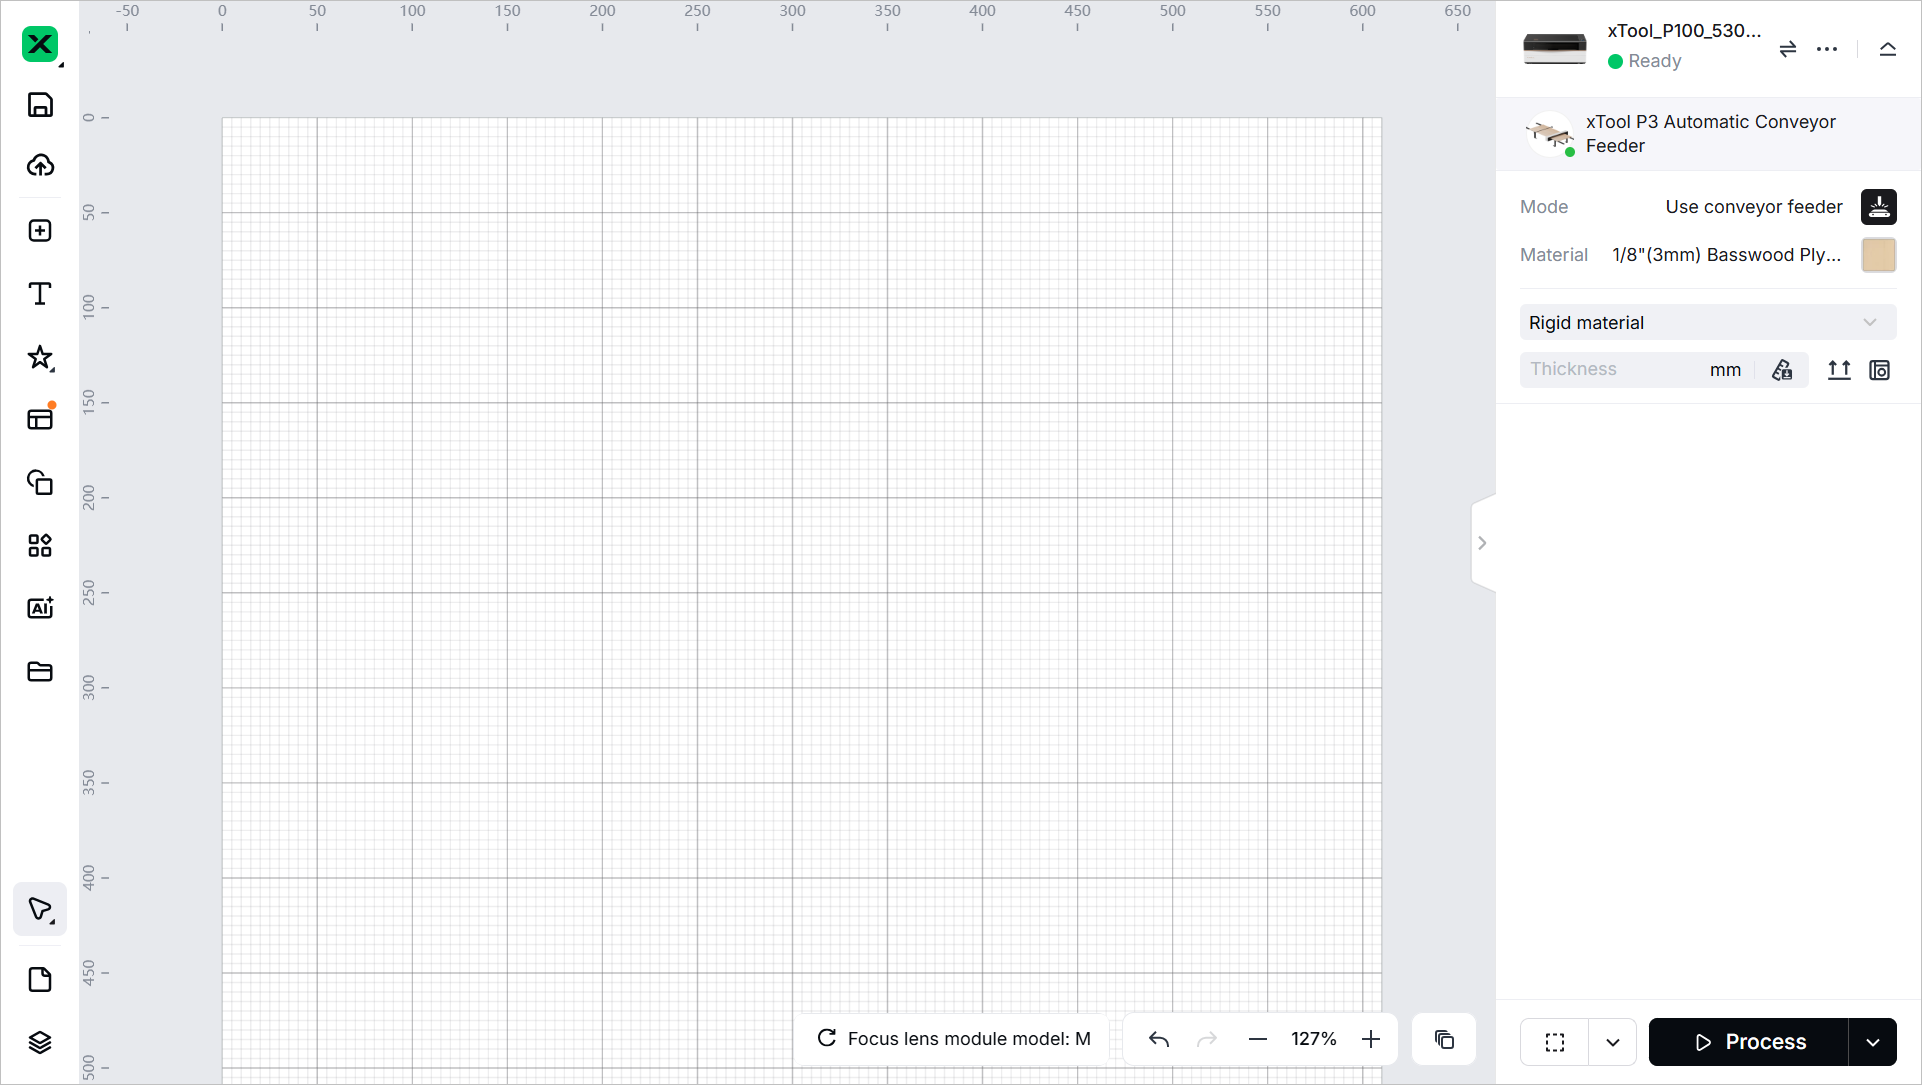
(1) Click the current mode, and select Use conveyor feeder.
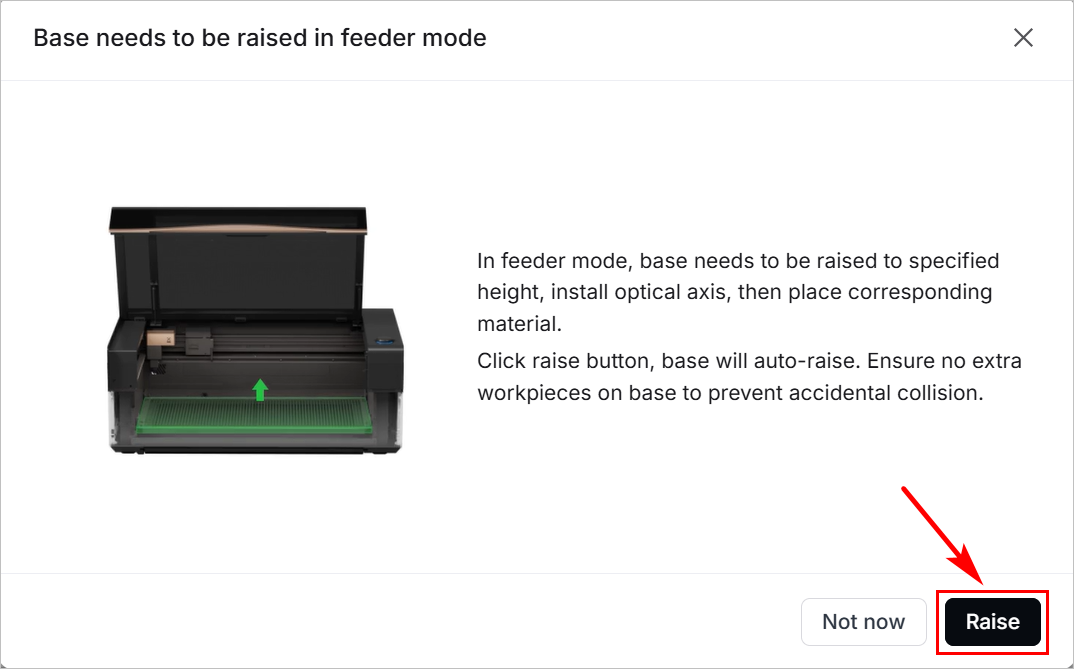
(2) In the dialog box that is displayed, click Raise.
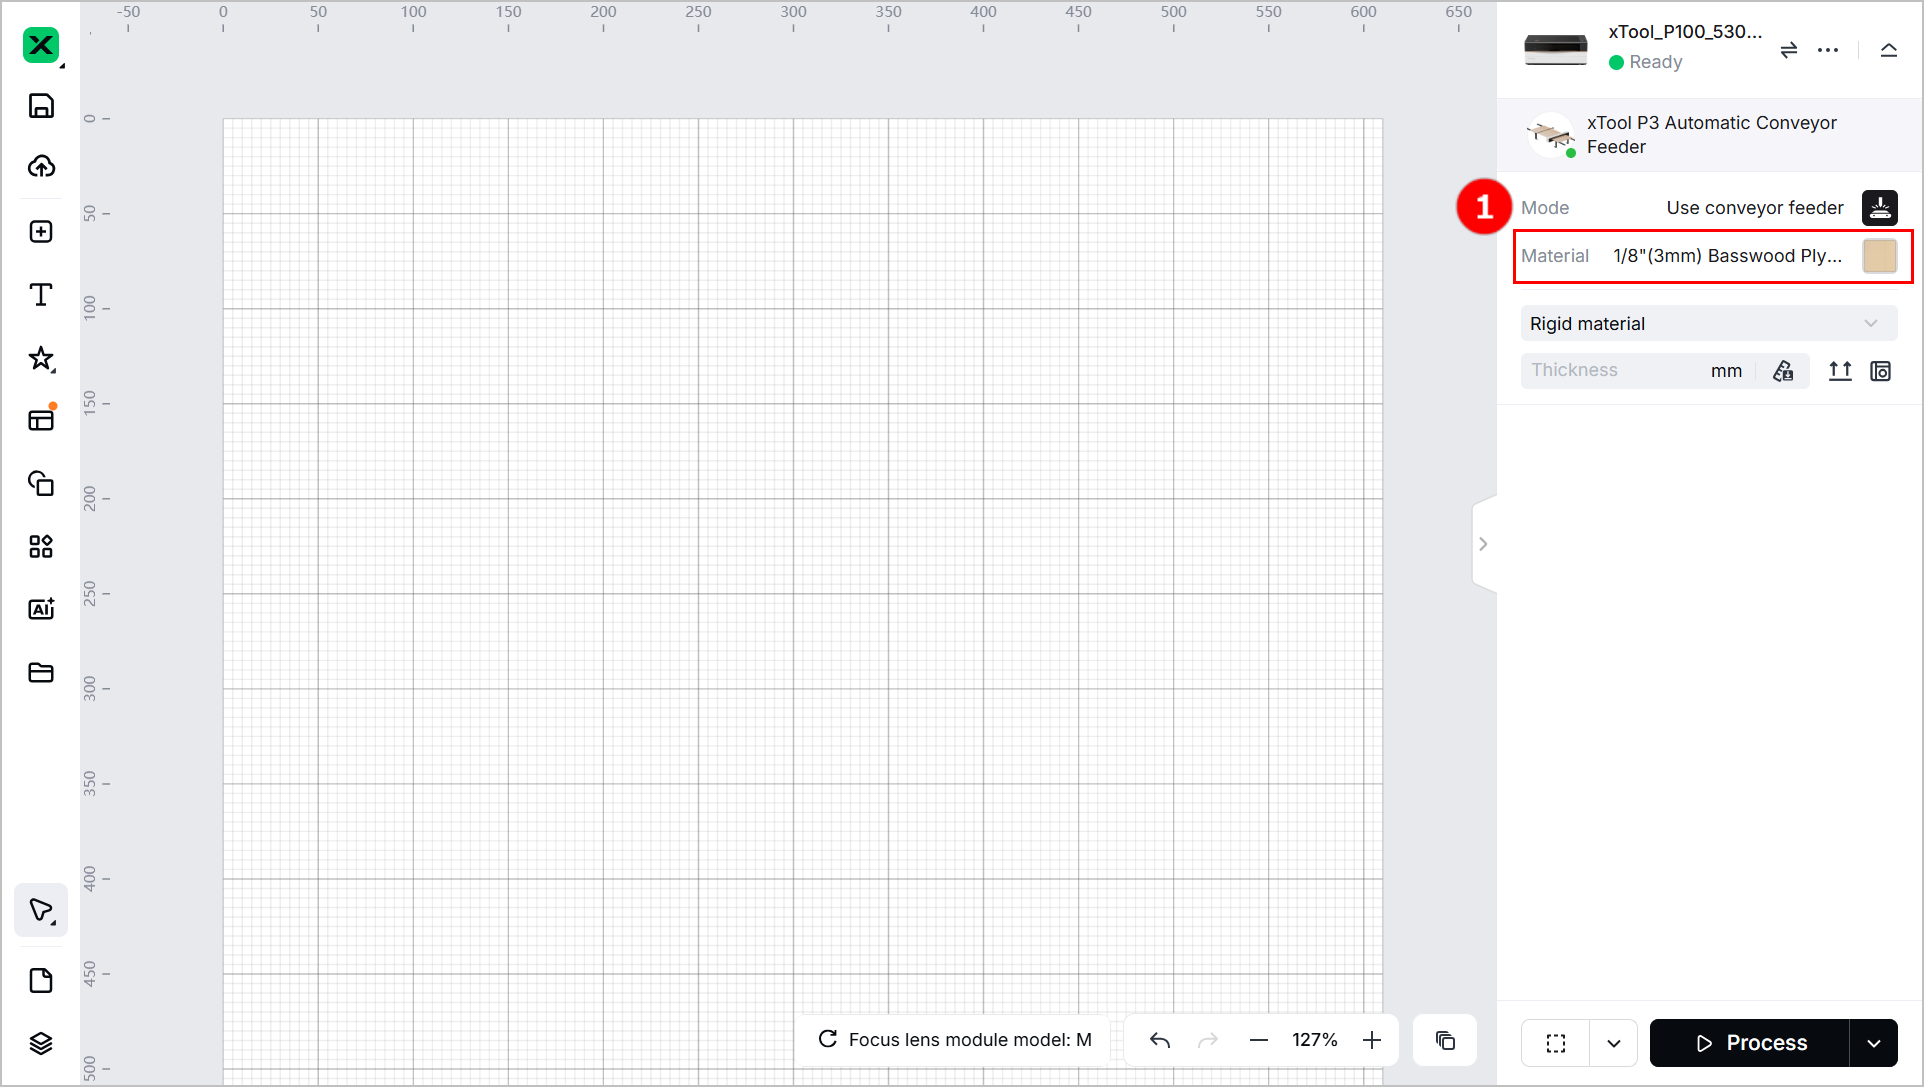
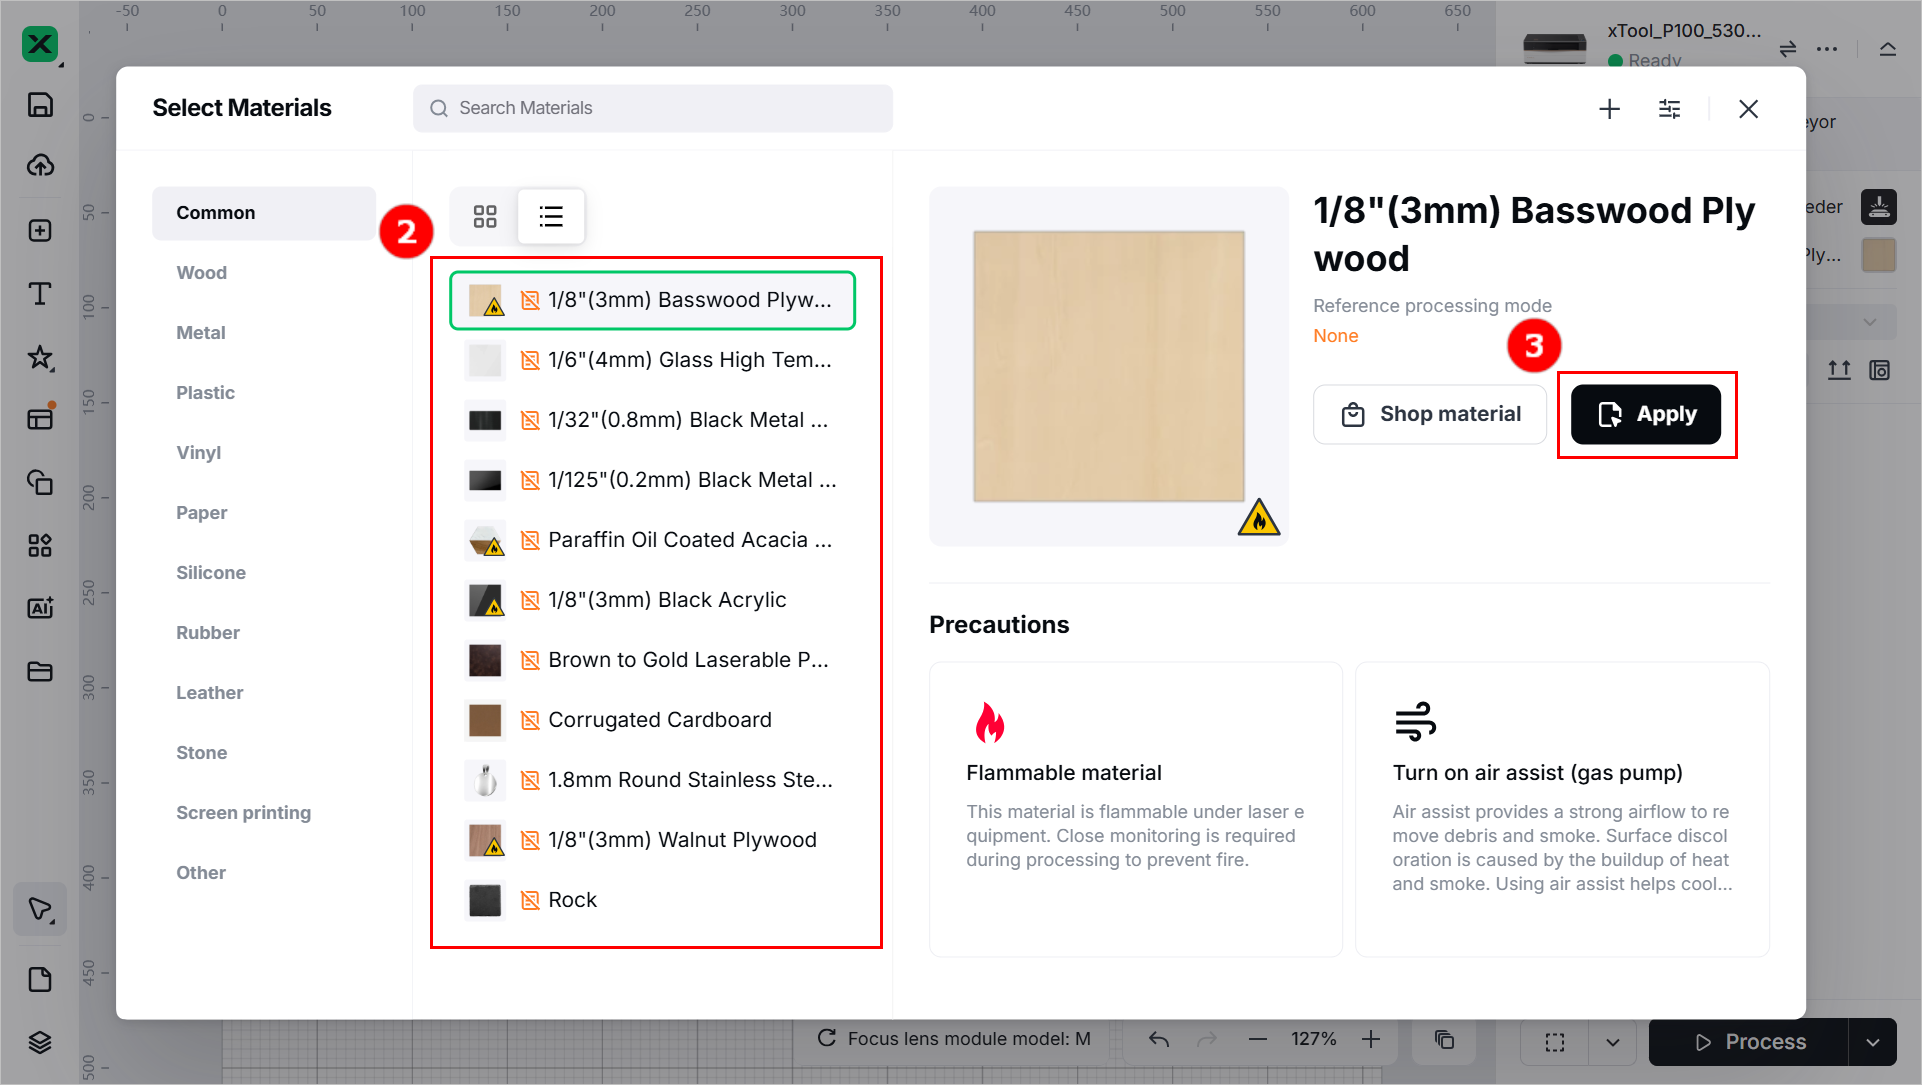
(3) Click Material, select the type of the material to be processed, and click Apply.
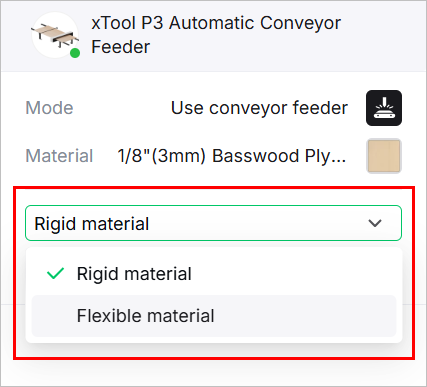
(4) Select the pressure level.
Rigid material: If the material to be processed is hard, select Rigid material, which indicates strong downward pressure.
Flexible material: If the material to be processed is soft, select Flexible material, which indicates weak downward pressure.
4. Measure the material thickness and shoot the background
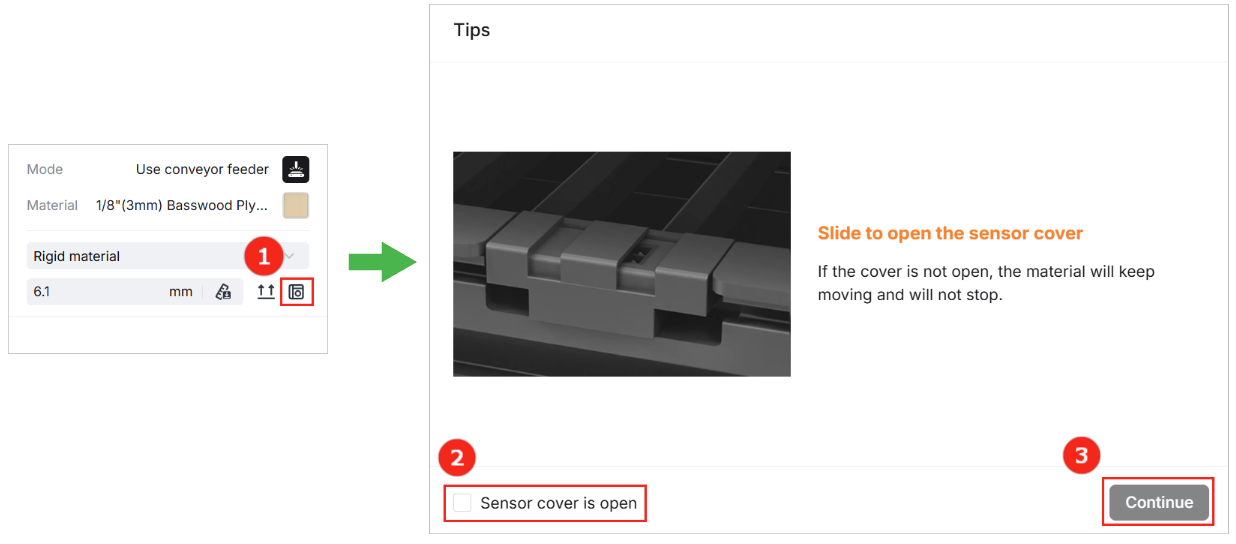
🔔 After you click , the device will automatically measure the material thickness and clamp the material tightly. To ensure subsequent processing proceeds smoothly, check that the sensor cover in the front of xTool P3 is open before performing this step.
(1) Click to measure the material thickness.
(2) Click the Feeder stitching icon ( ). In the dialog box that is displayed, check the checkbox of Sensor cover is open and click Continue. Wait until the background shooting is complete.
5. Design processing objects
🔔 You can position the designs based on the background shot in step 4.
(1) Use tools in the left side to create objects.
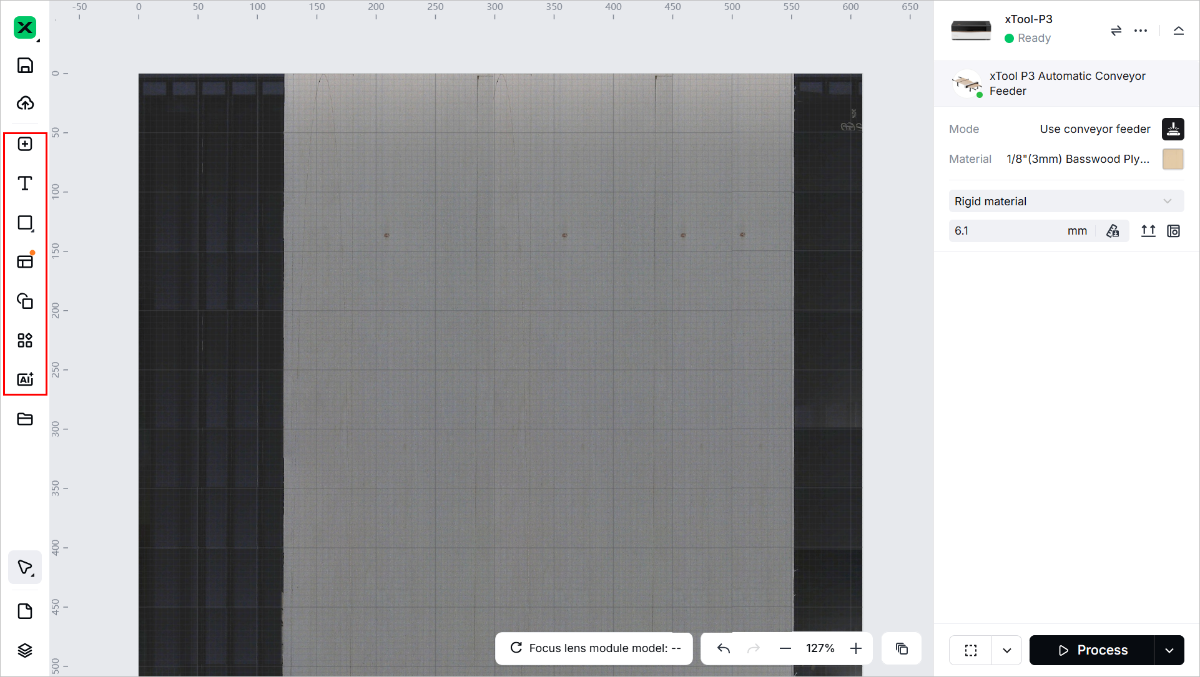
🔔 Note: You can import file, insert shapes, enter text, draw vector graphics, and so on.
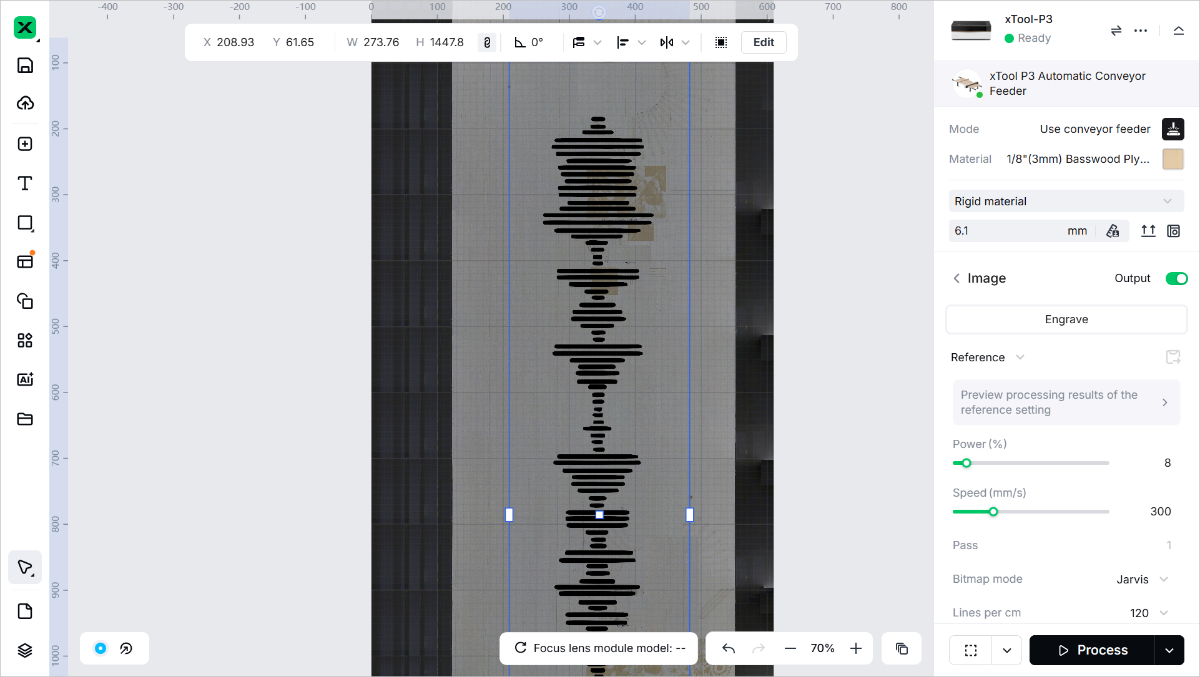
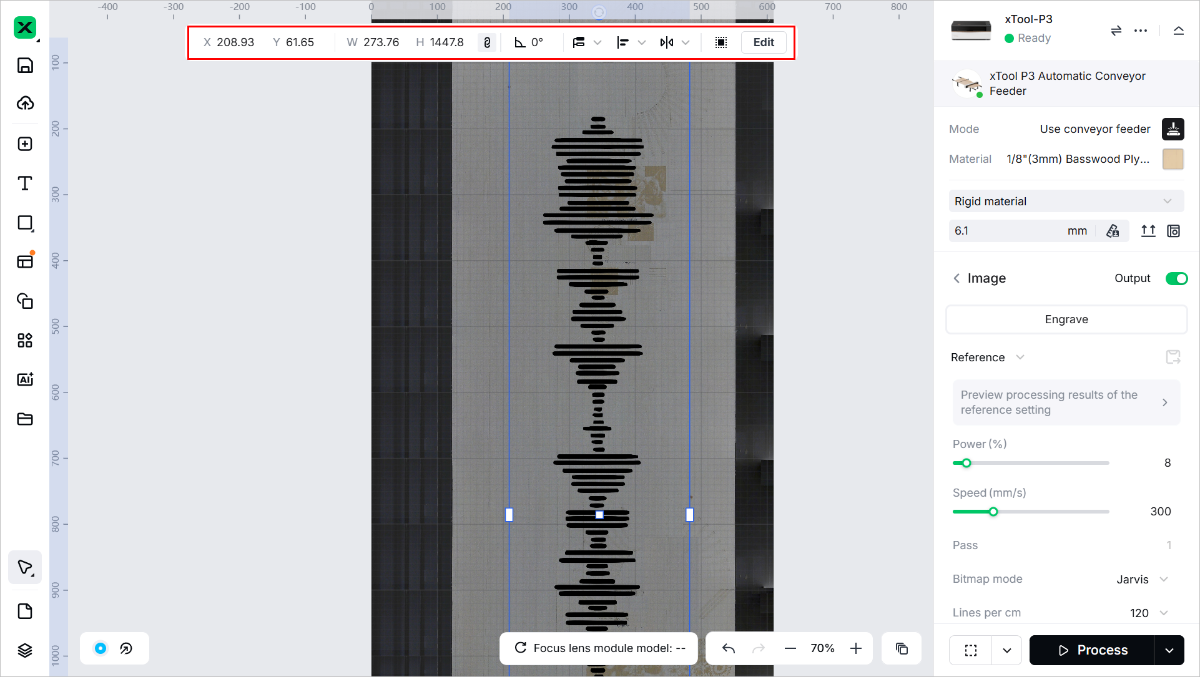
(2) (Optional) Select the objects on the canvas and use the tools on the top to further edit them.
6. Set the processing parameters and processing path
(1) Select the objects and set parameters for them in the right side.
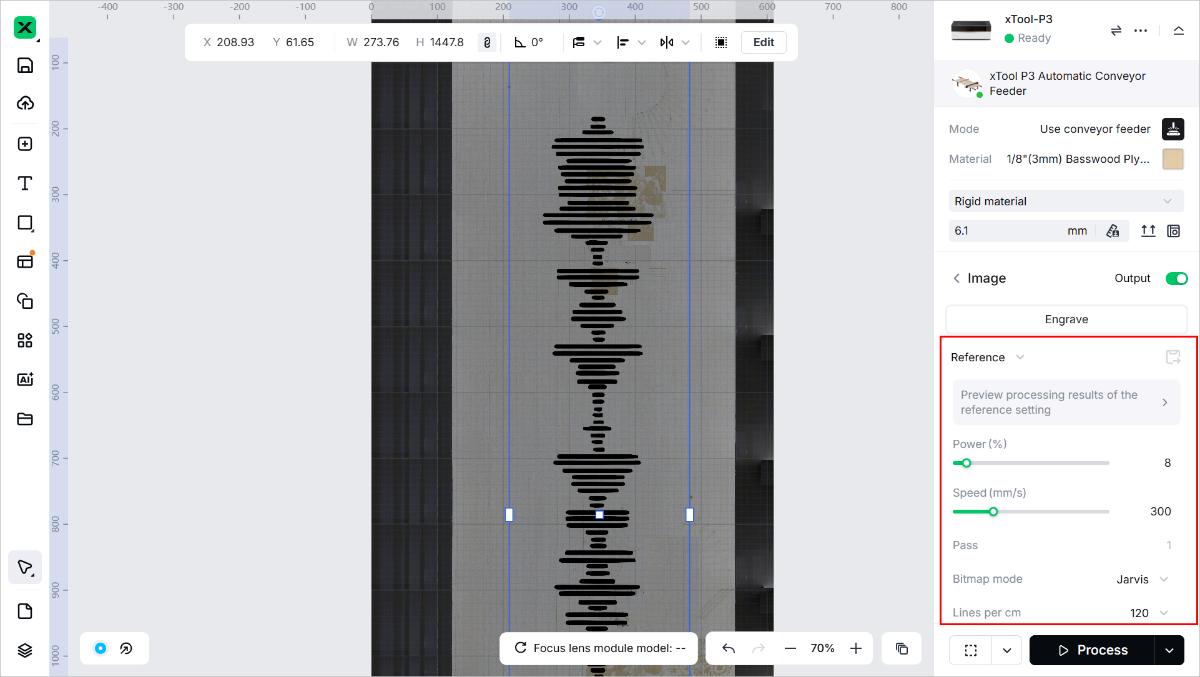
🔔 Note: You need to set parameters for every object. A missed object may fail to be processed. The parameters that can be set for bitmap objects and vector objects are different. You can select multiple objects of the same type and set parameters for them at once.
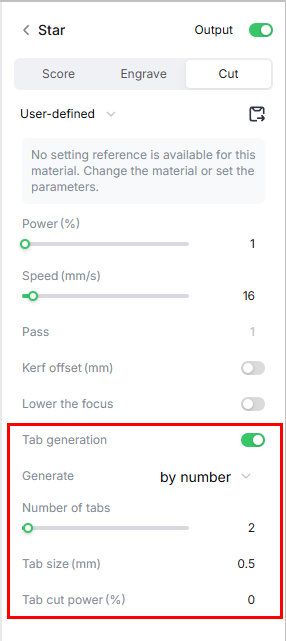
If you are cutting a material, set the number of tabs based on the length of the material to prevent it from falling out. By default, the number of tabs is set to 2.
(2) In the bottom-right corner of the software, click  on the right of Process and set the processing path.

7. Preview the processing path
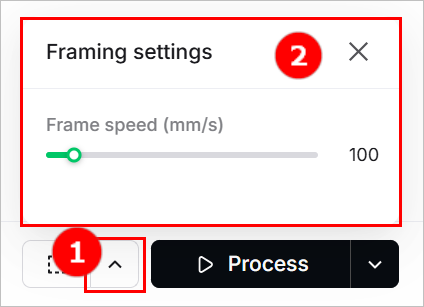
(1) Click  in the bottom-right corner and set the parameters for framing.
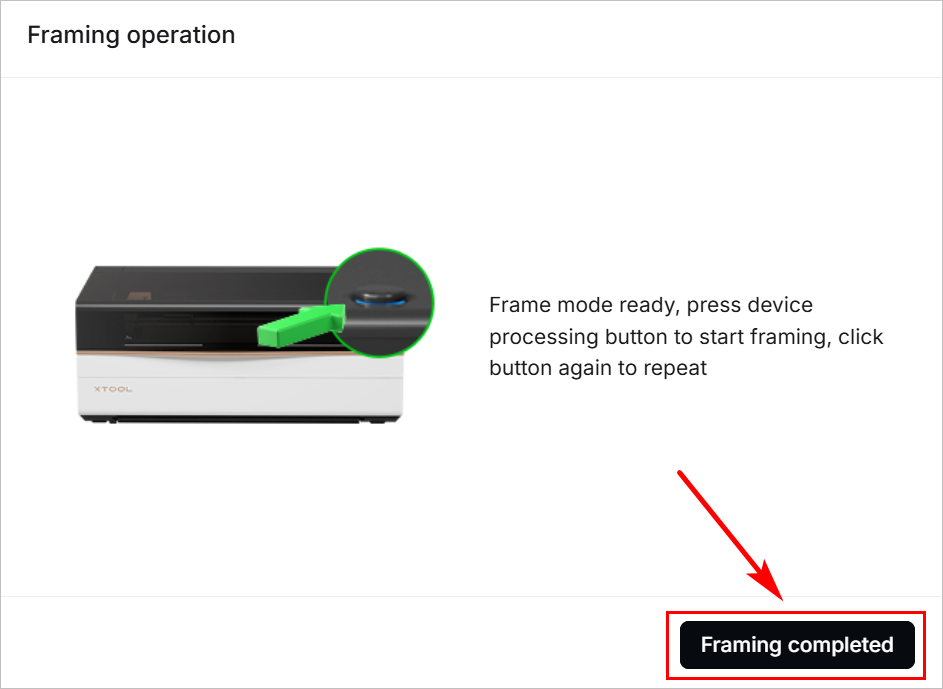
(2) Click  and then press the knob of xTool P3 to start framing. The laser dot will move along the boundary of the processing objects, allowing you to see the processing area.

(3) After the framing is complete, click Framing completed in the software.
8. Start processing
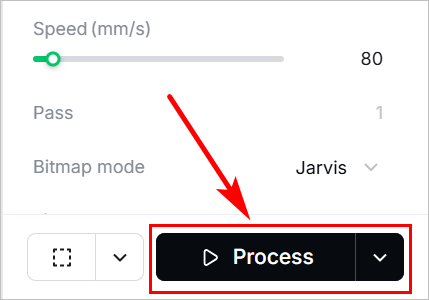
(1) Click Process in the bottom-right corner of the software.
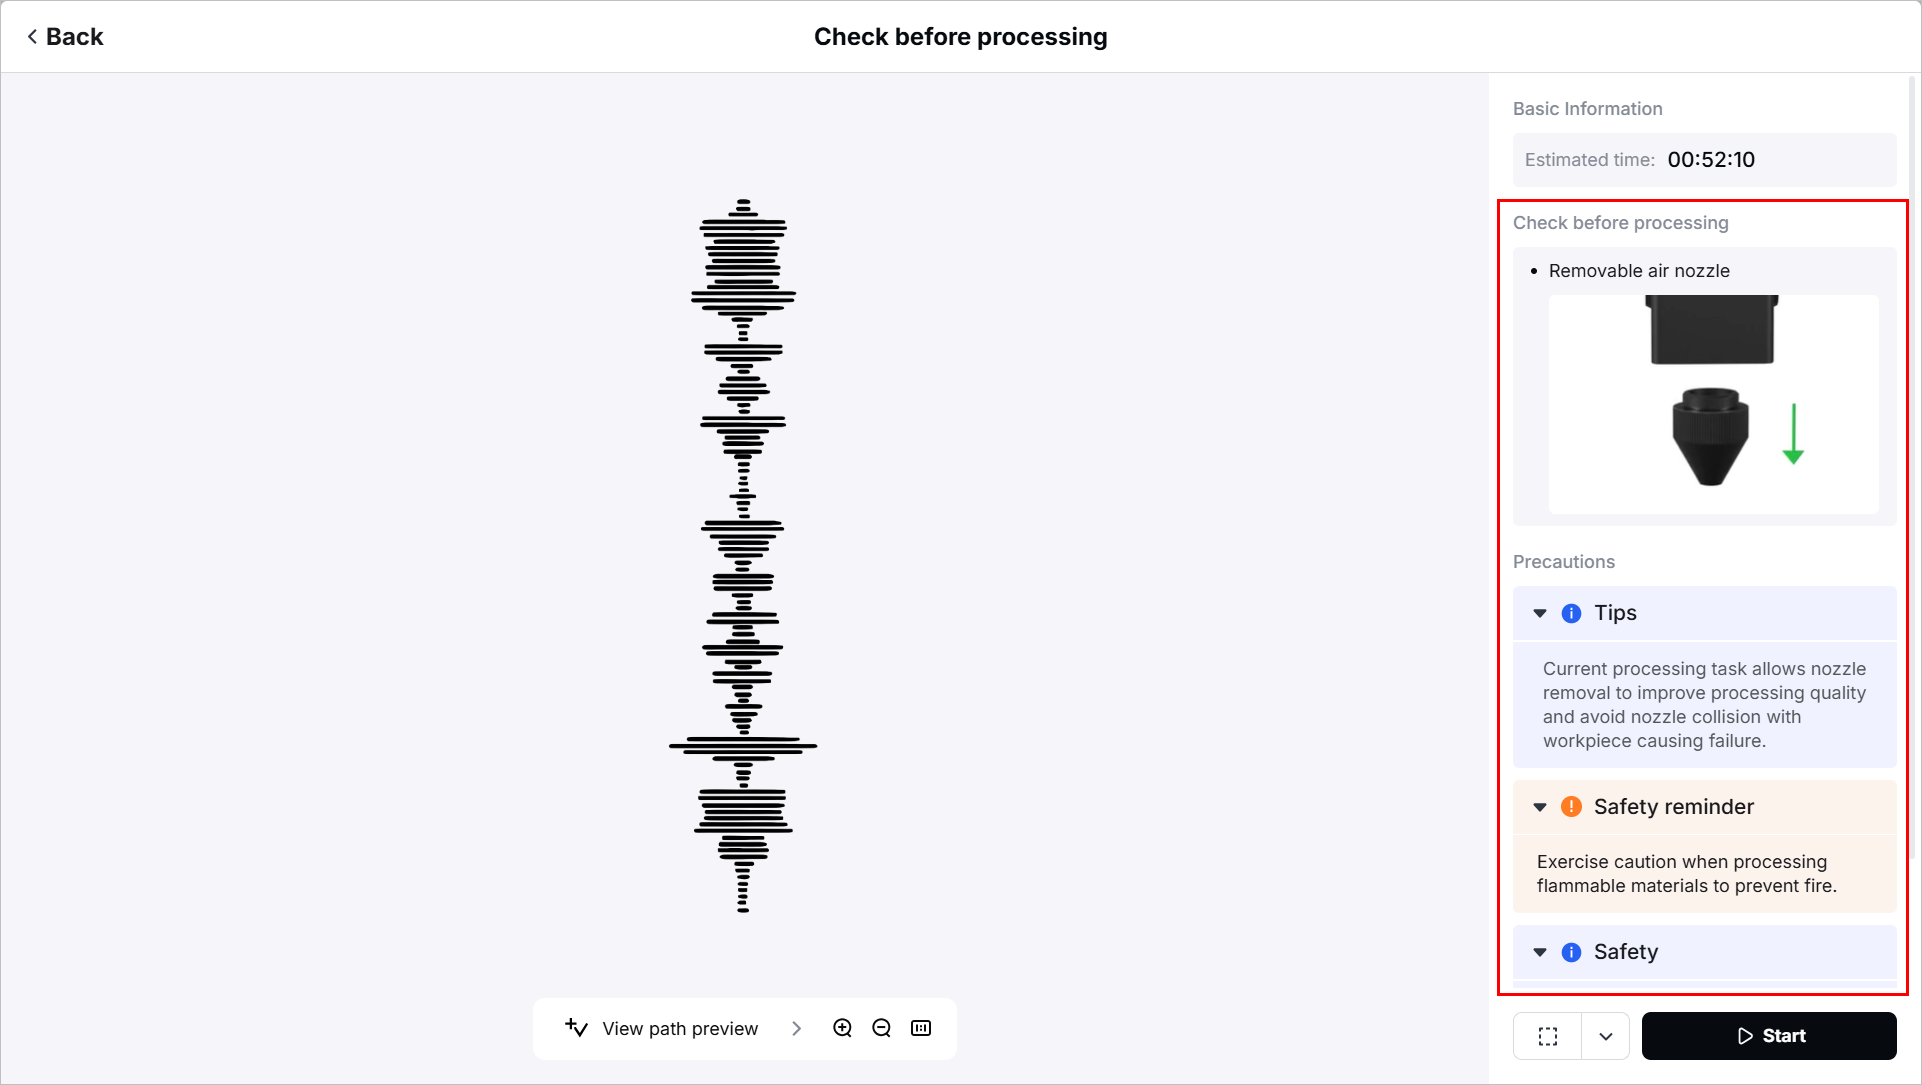
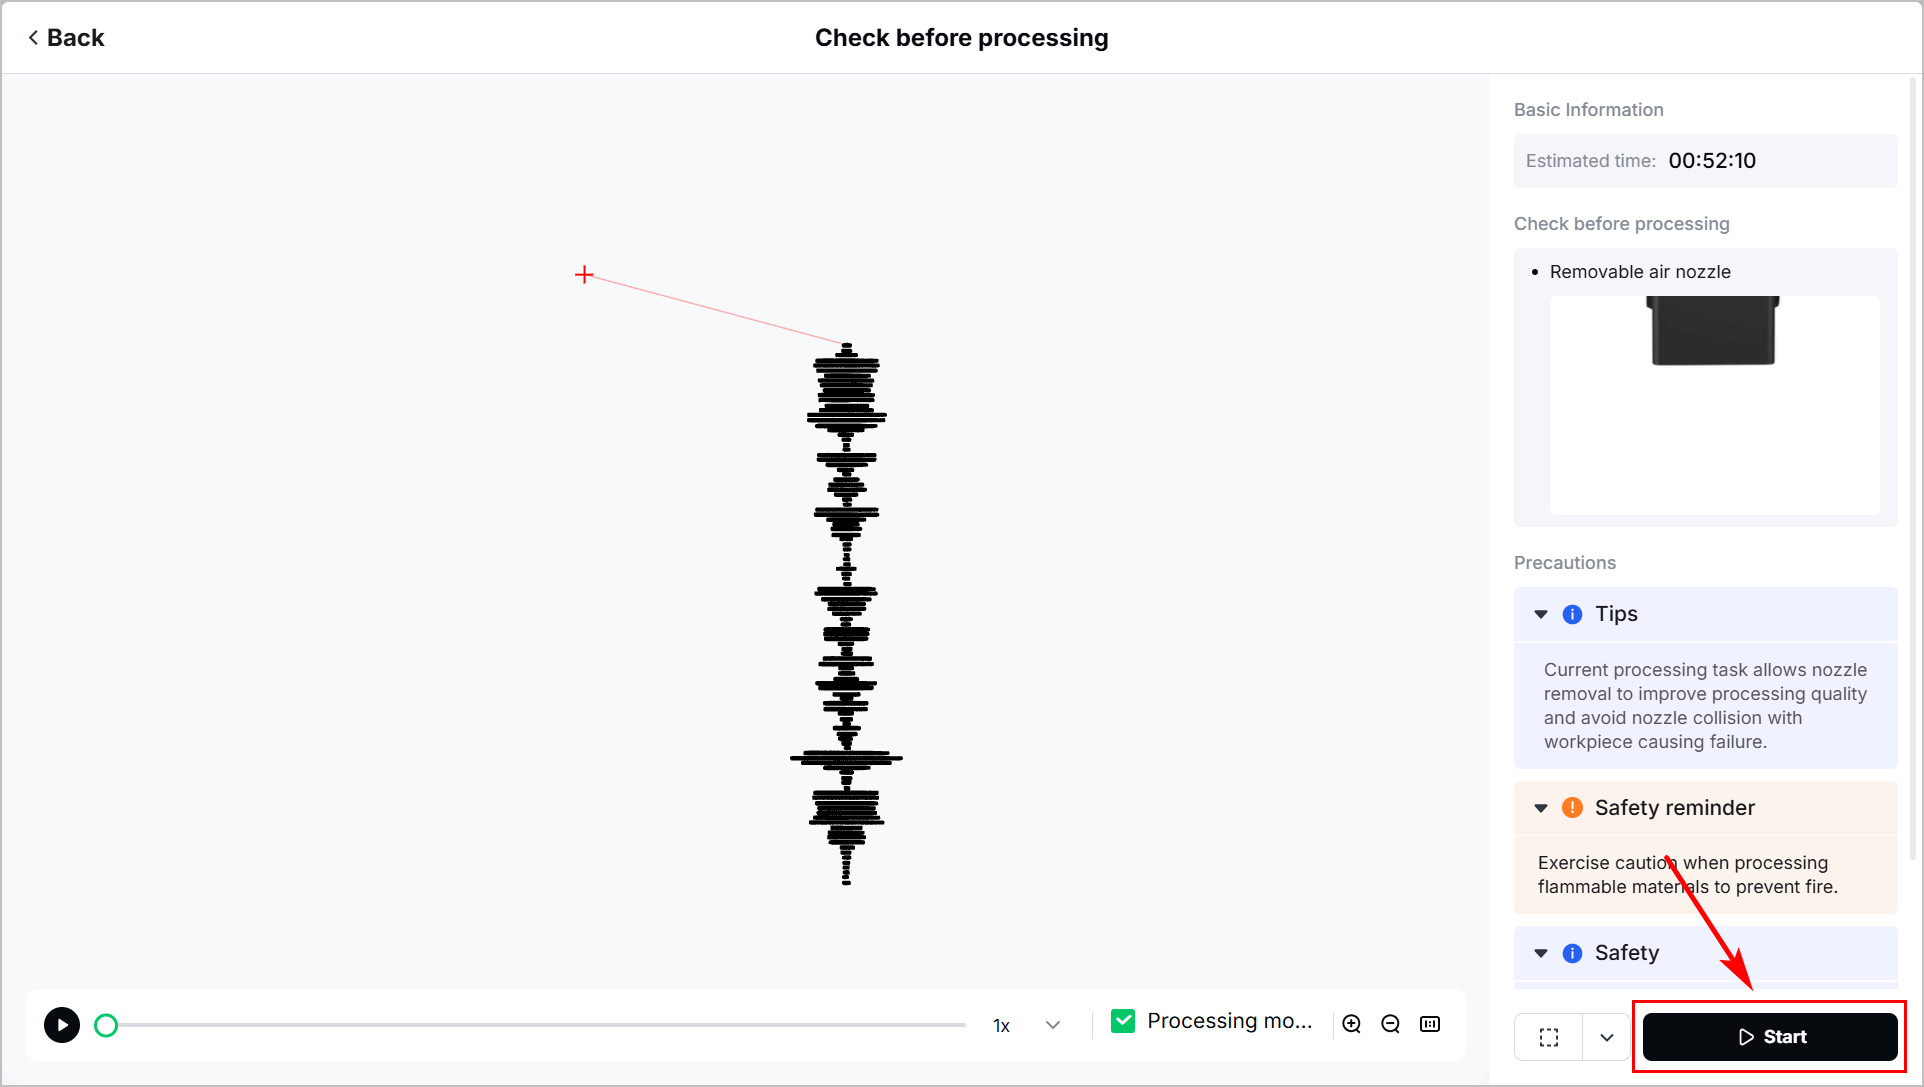
(2) Check whether the accossories are prepared and carefully read the precautions in the right side before processing.
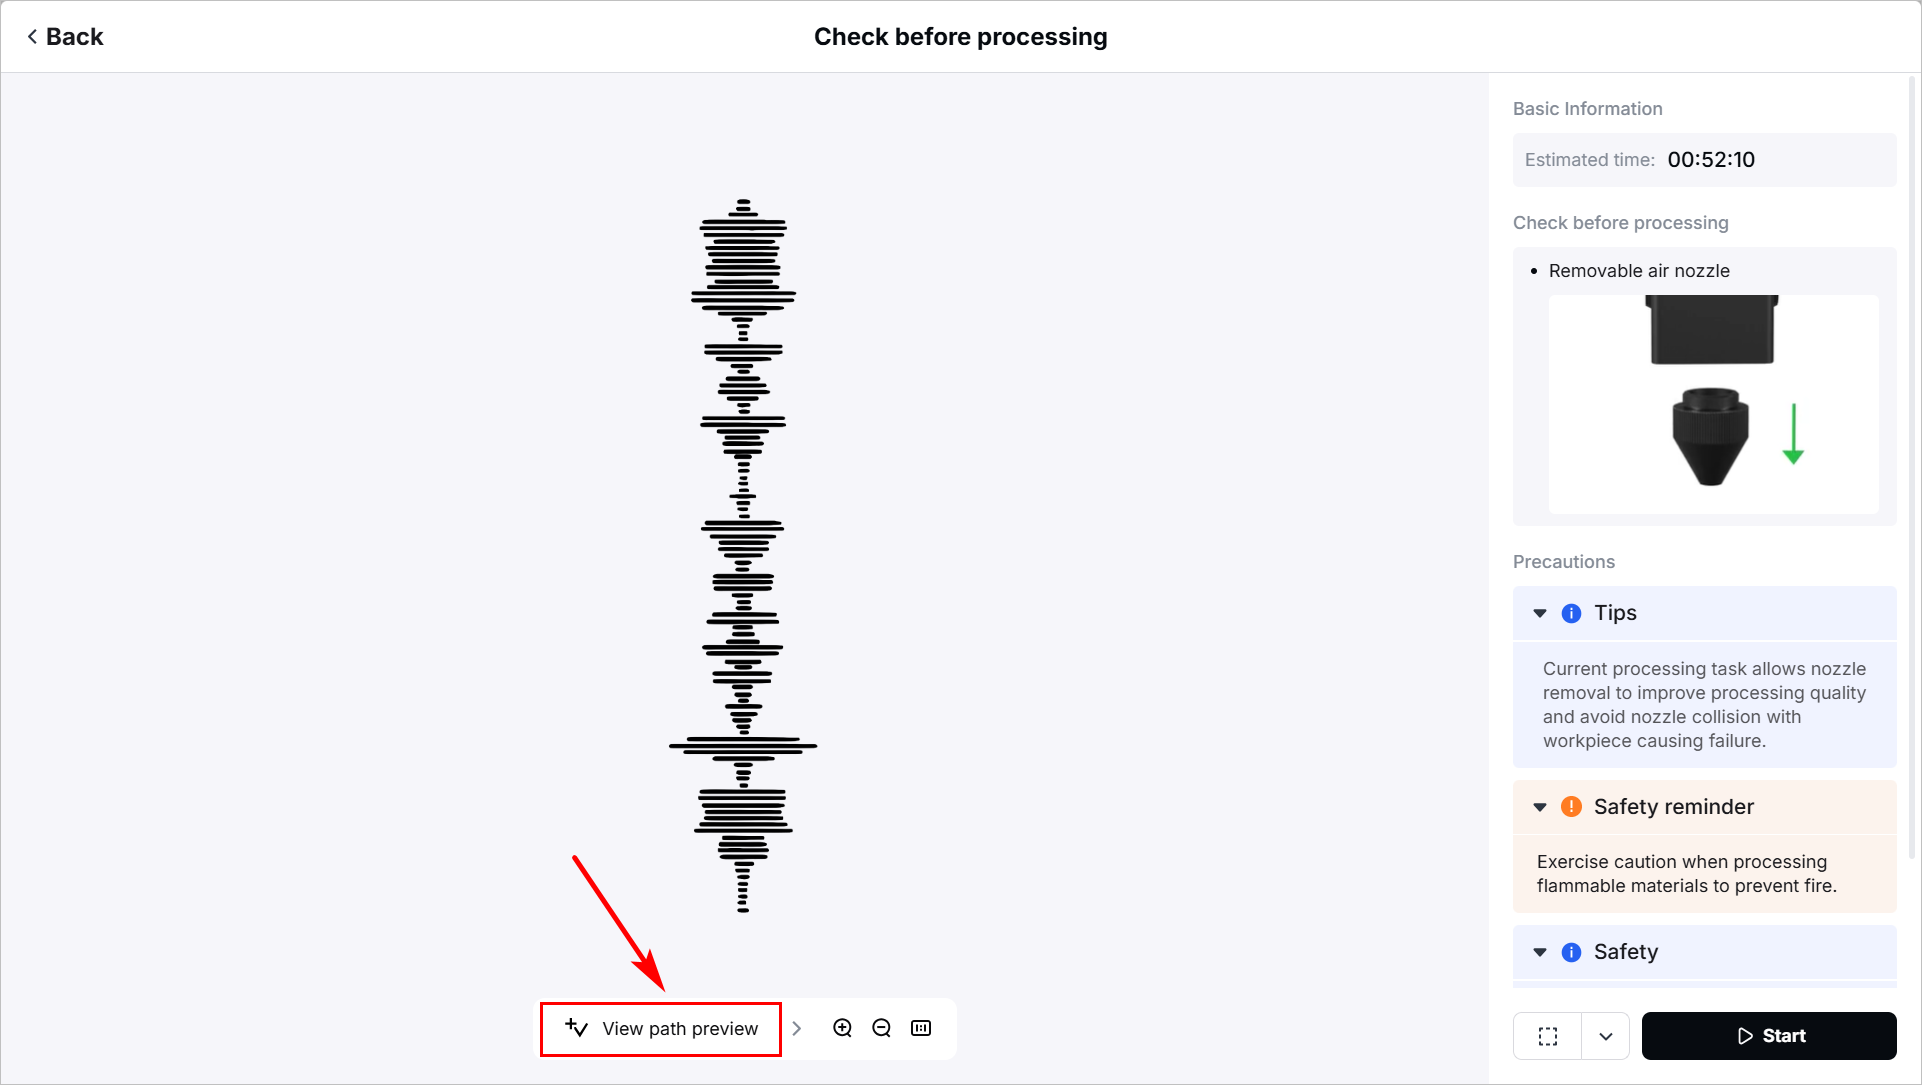
(3) Click View path preview to preview the processing path.
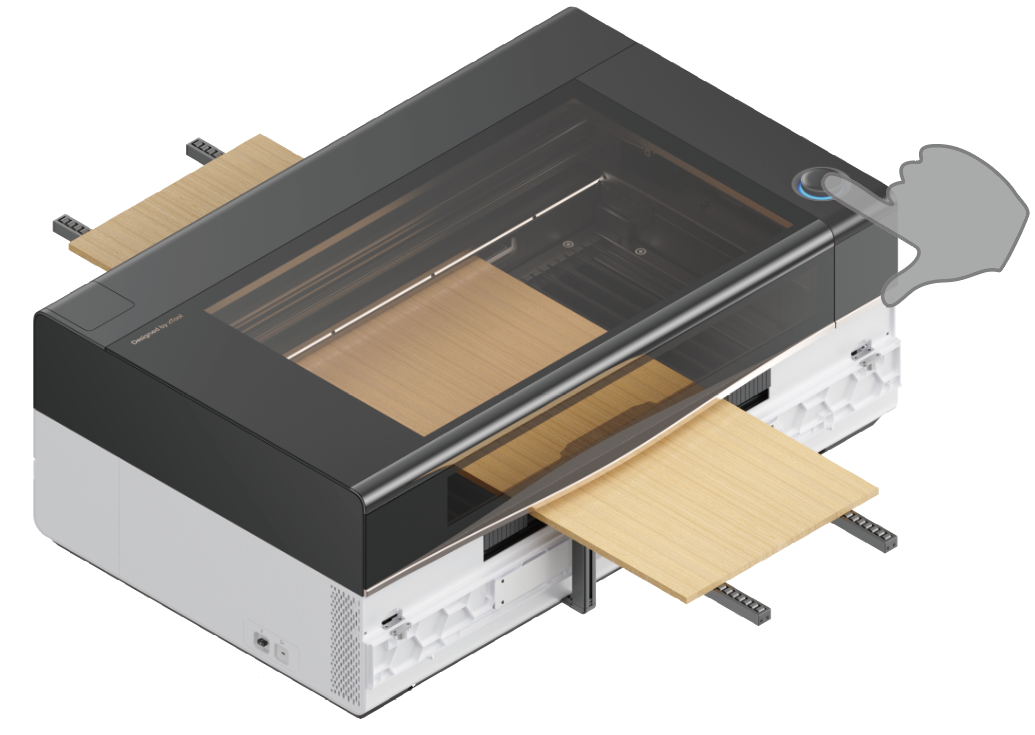
(4) Click Start, close the lid, and then press the knob of xTool P3 to start processing.
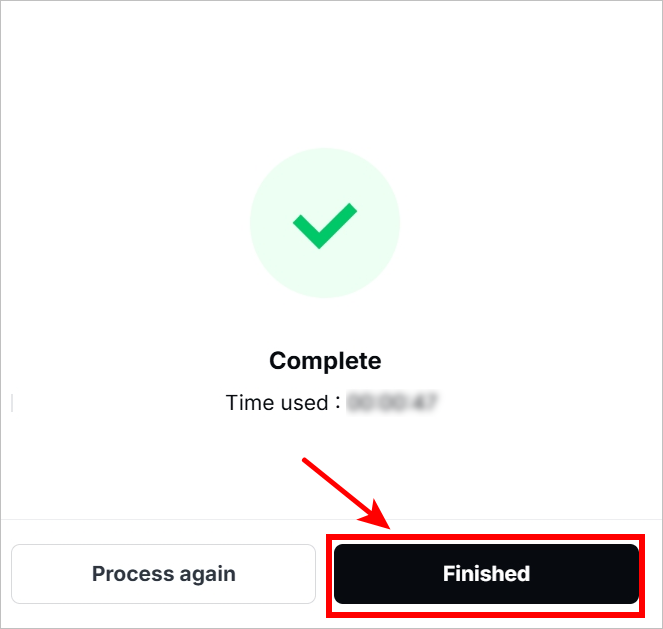
(5) After the processing is completed, click Finished.