Conclusion and Next Steps
Throughout this guide, you’ve learned the basics of photo engraving, including how to prepare images, adjust settings, and work with various materials. Now it’s your turn to put this knowledge into action. Use what you’ve learned to create your own engravings, and we’re excited to see your results!
Frequently Asked Questions
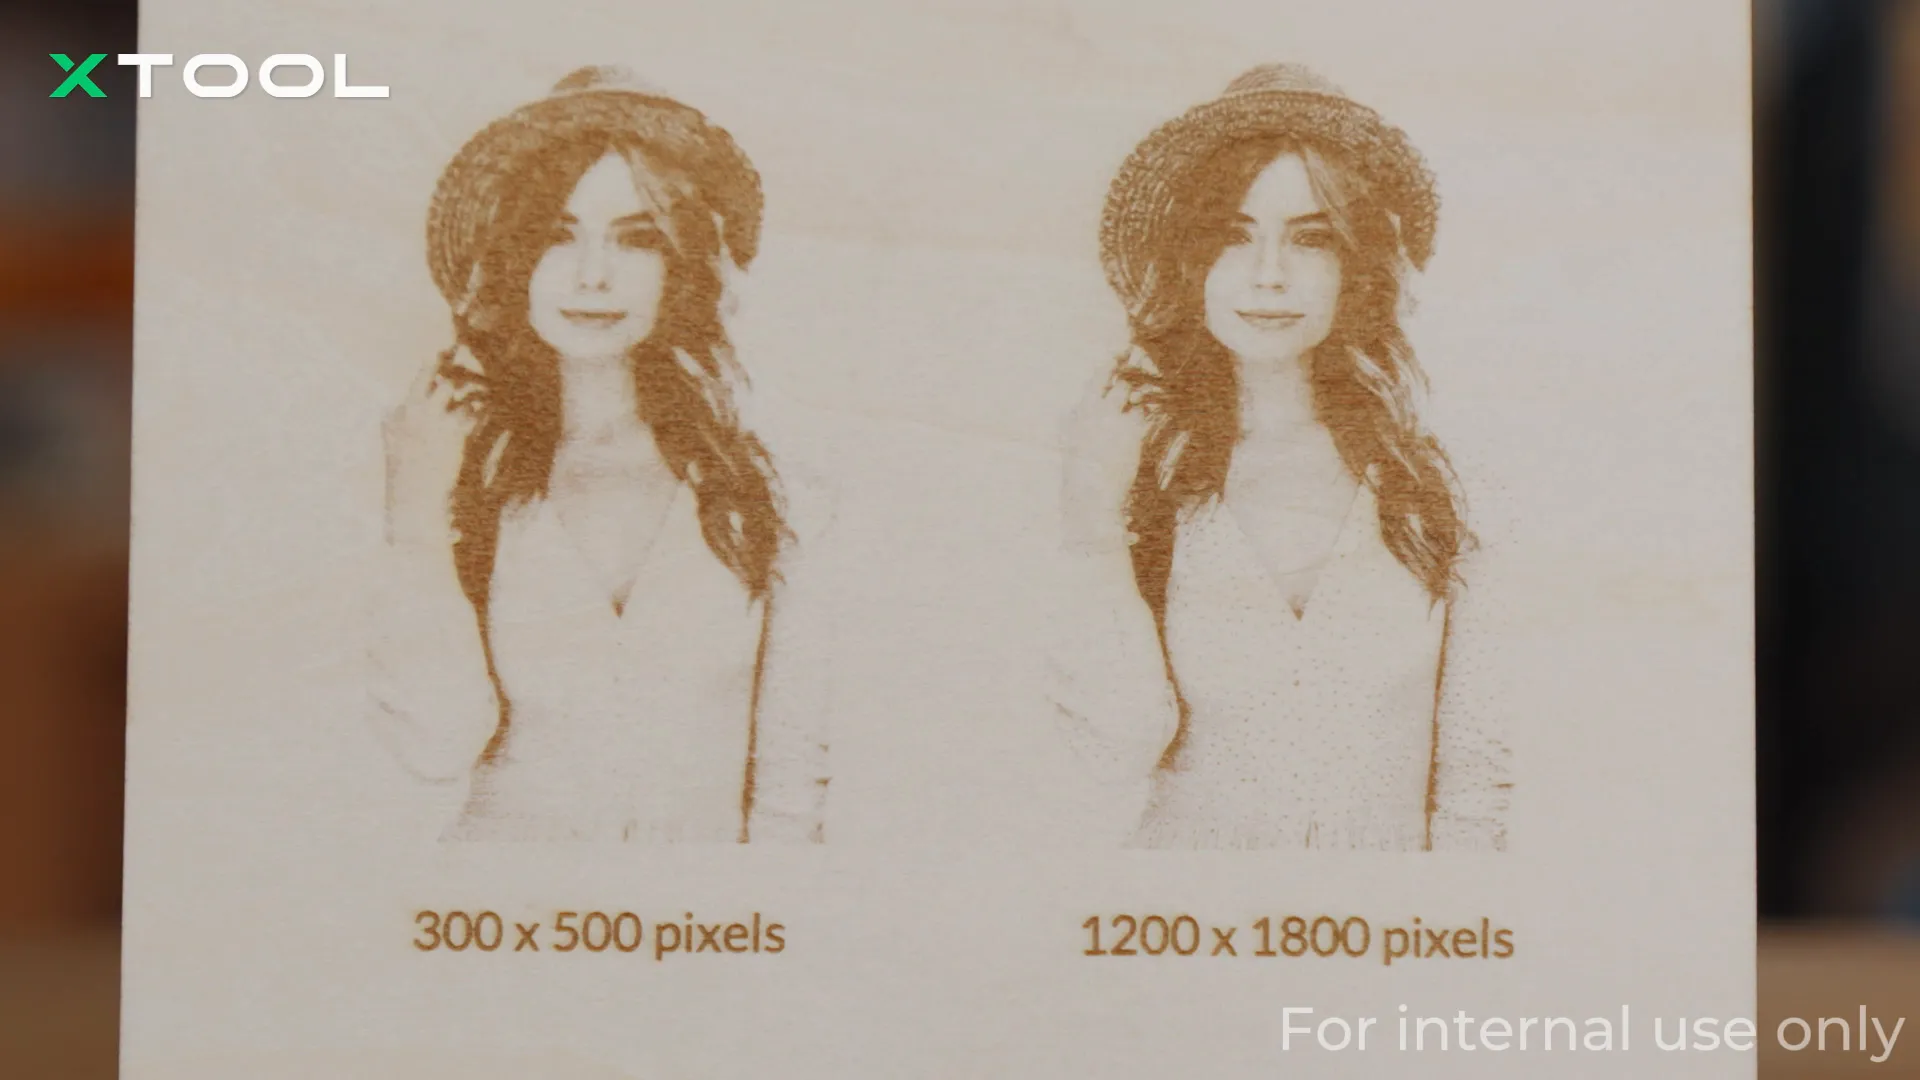
Why should I use high-quality images for engraving?
Using high-quality images helps preserve more detail during the engraving process, resulting in sharper and more detailed engravings.
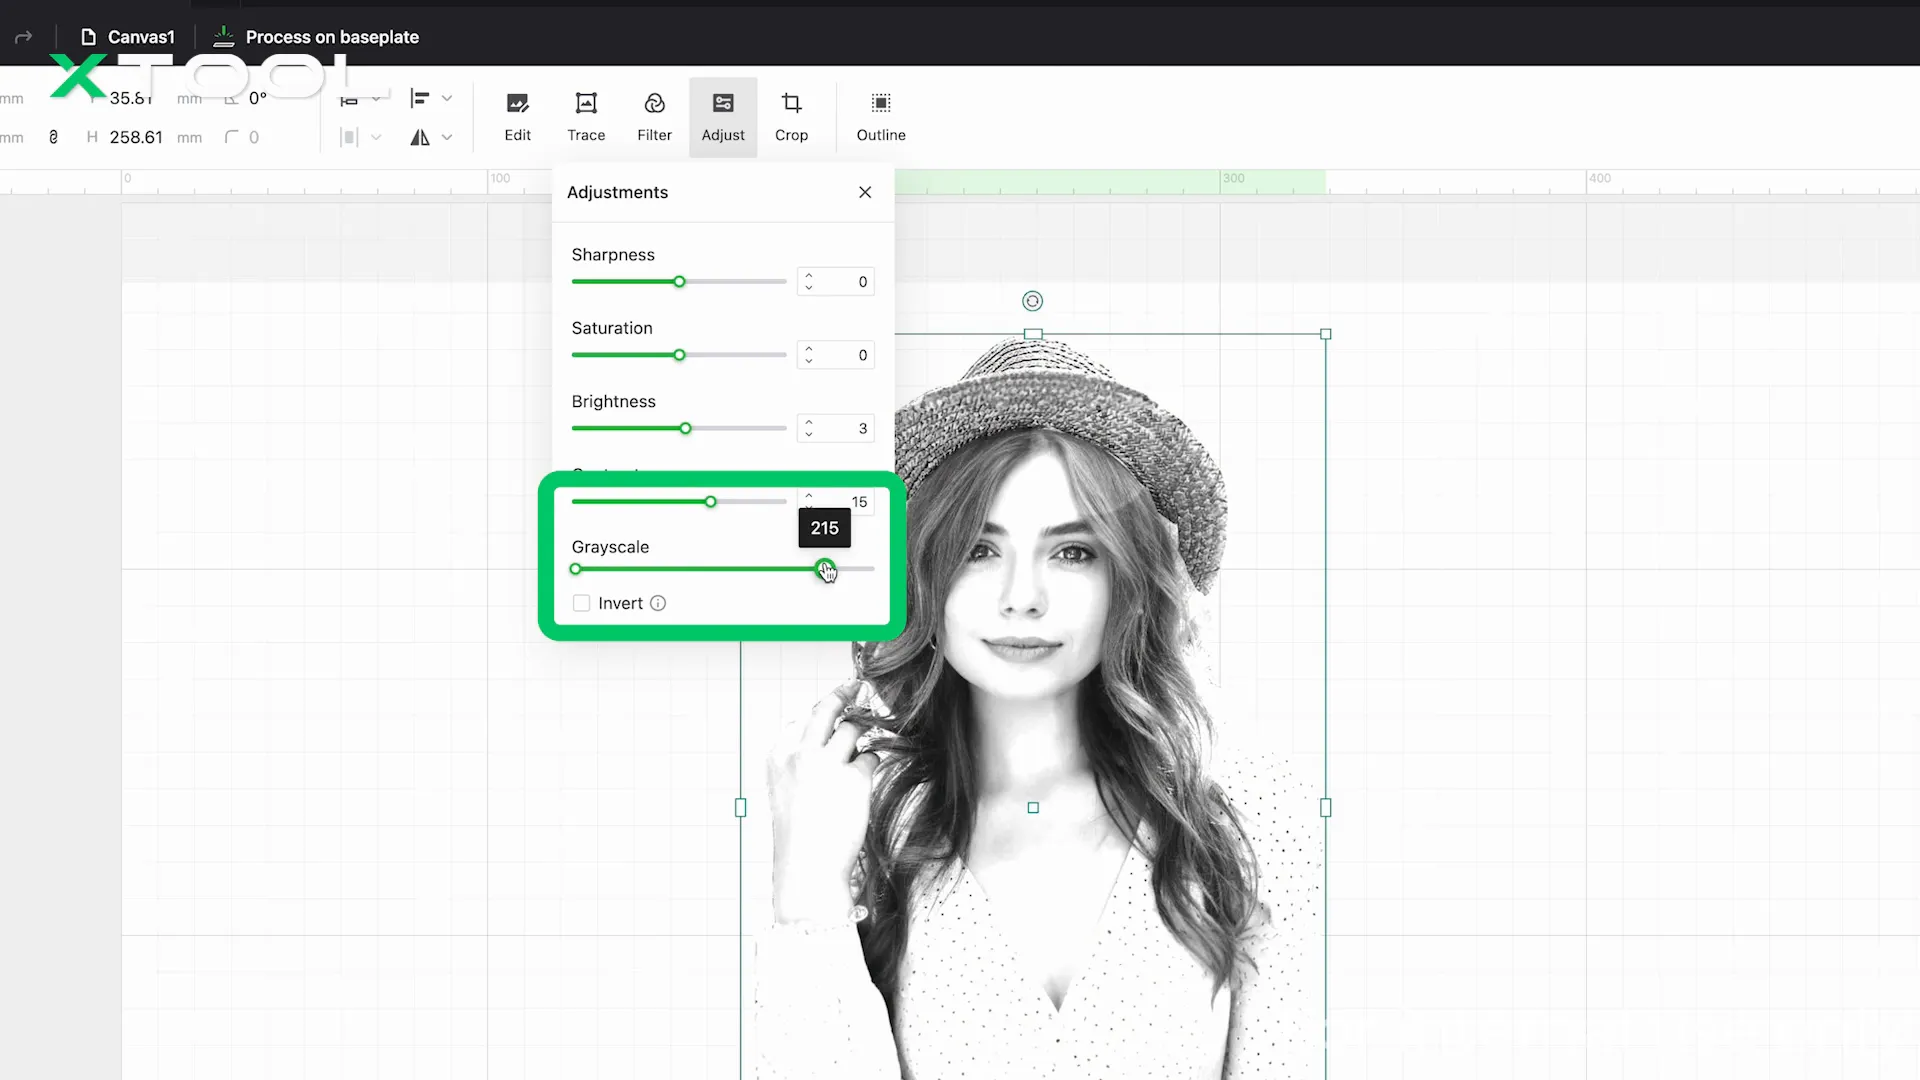
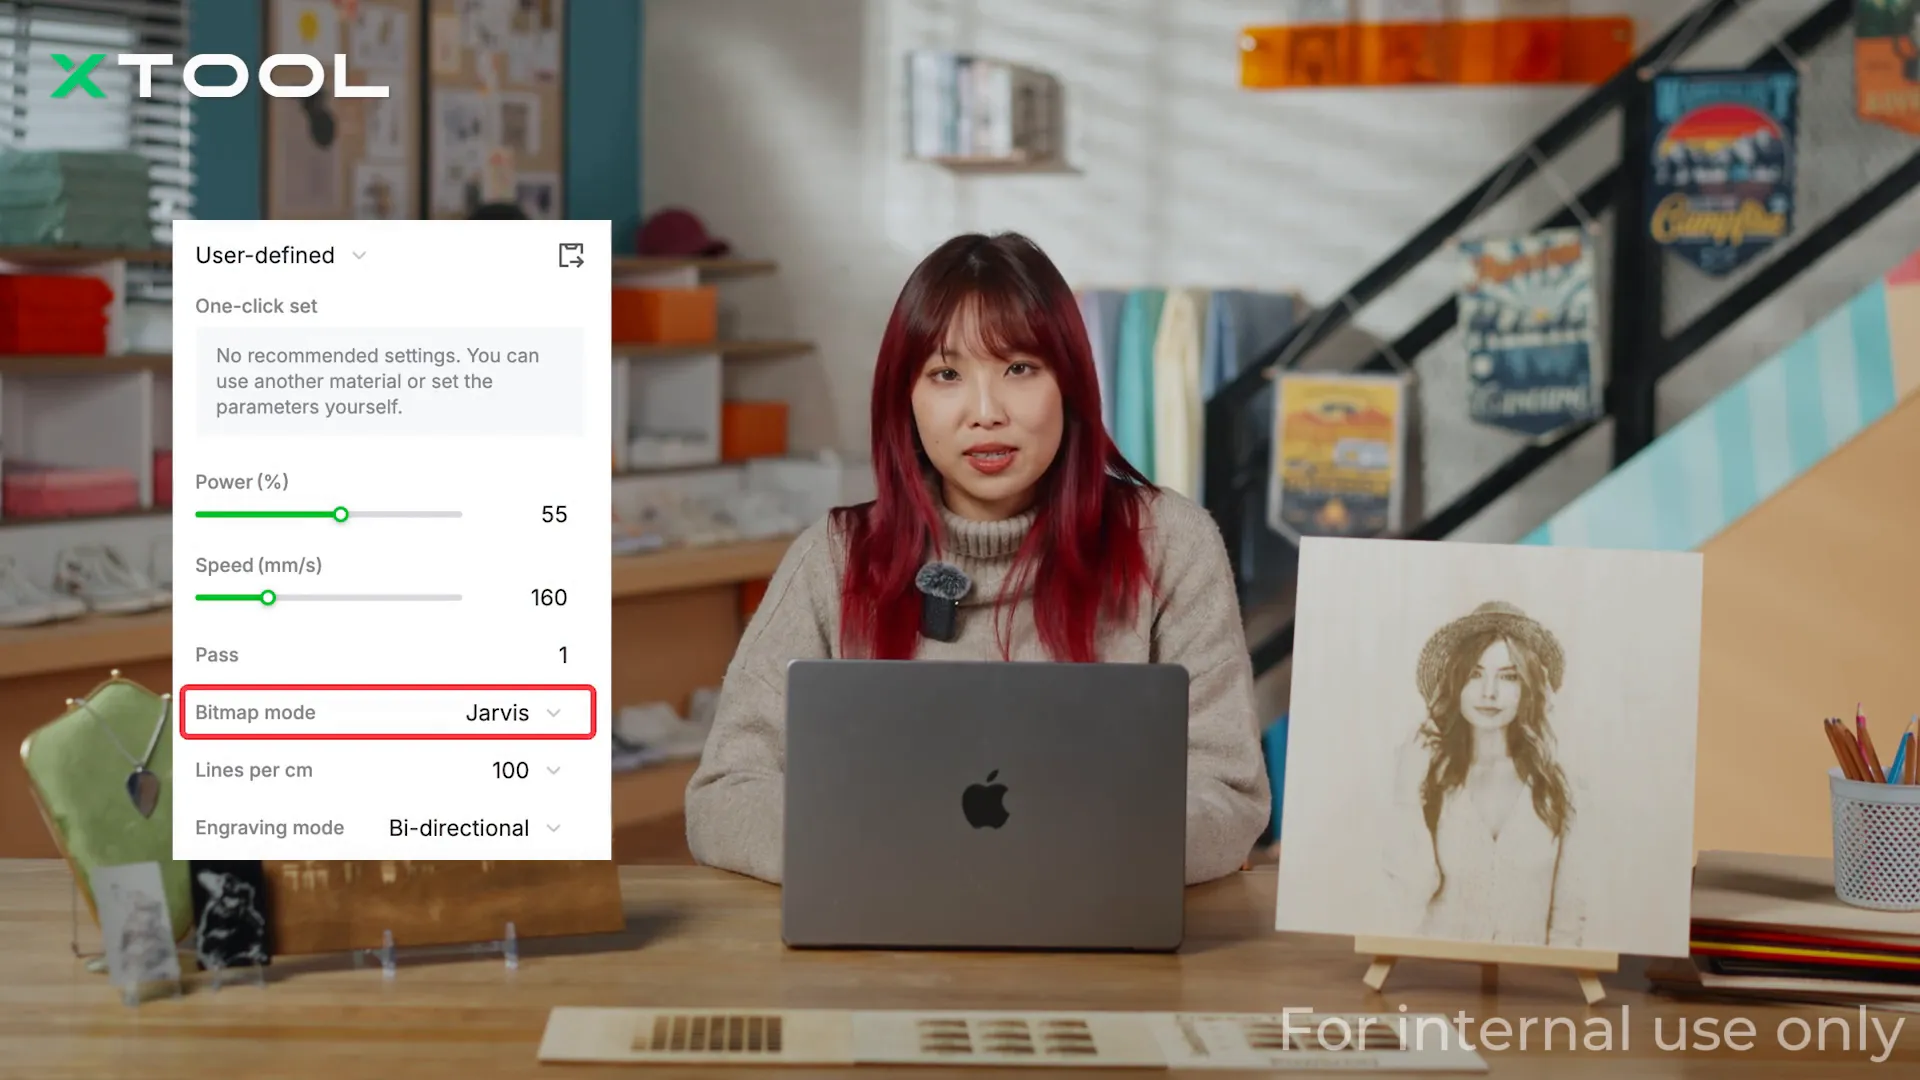
How do I choose the right bitmap mode?
The choice of bitmap mode depends on the image type. The default grayscale works for most images, while Jarvis or Stuckey is ideal for smooth gradients. For bold black and white designs, try Floyd or Atkinson.
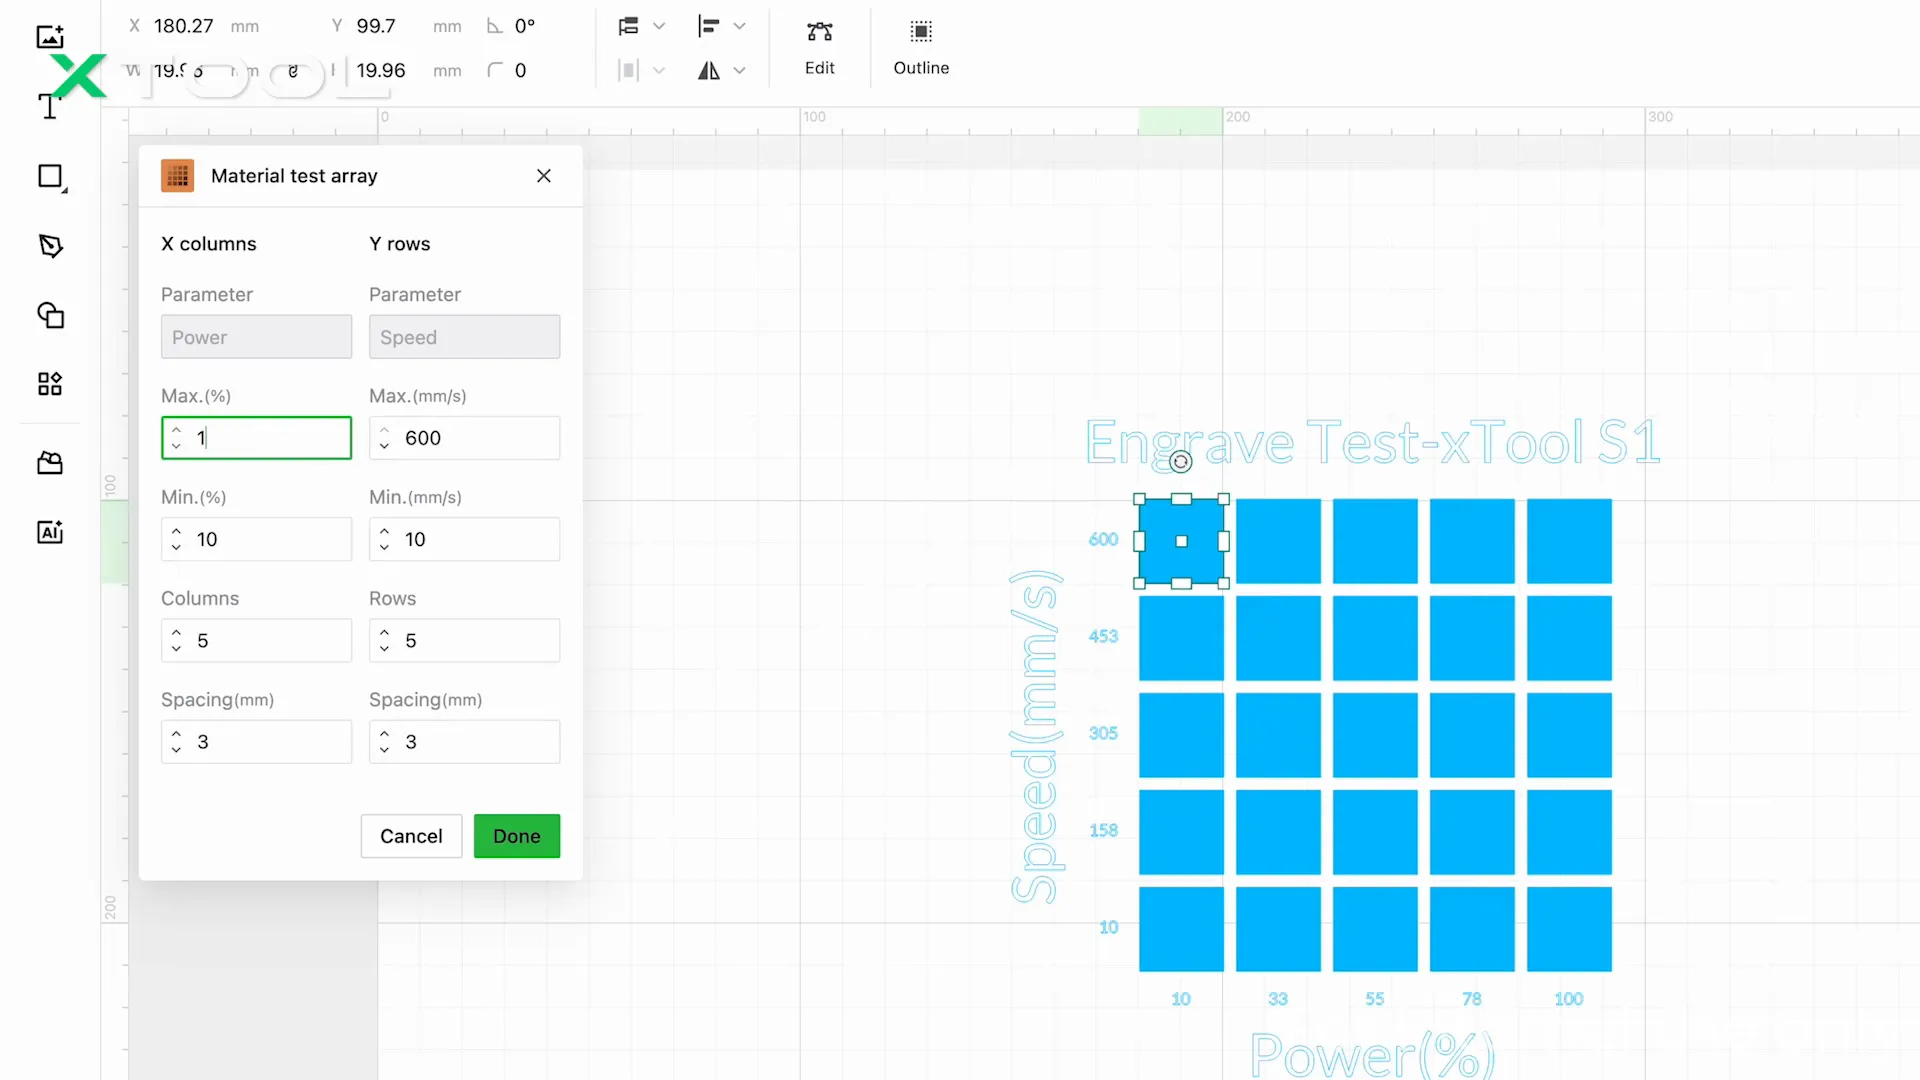
What is a test matrix, and why should I use it?
A test matrix is a grid that tests different combinations of speed and power on your material. It’s essential because different materials react differently to laser engraving, helping you find the perfect balance for your project.
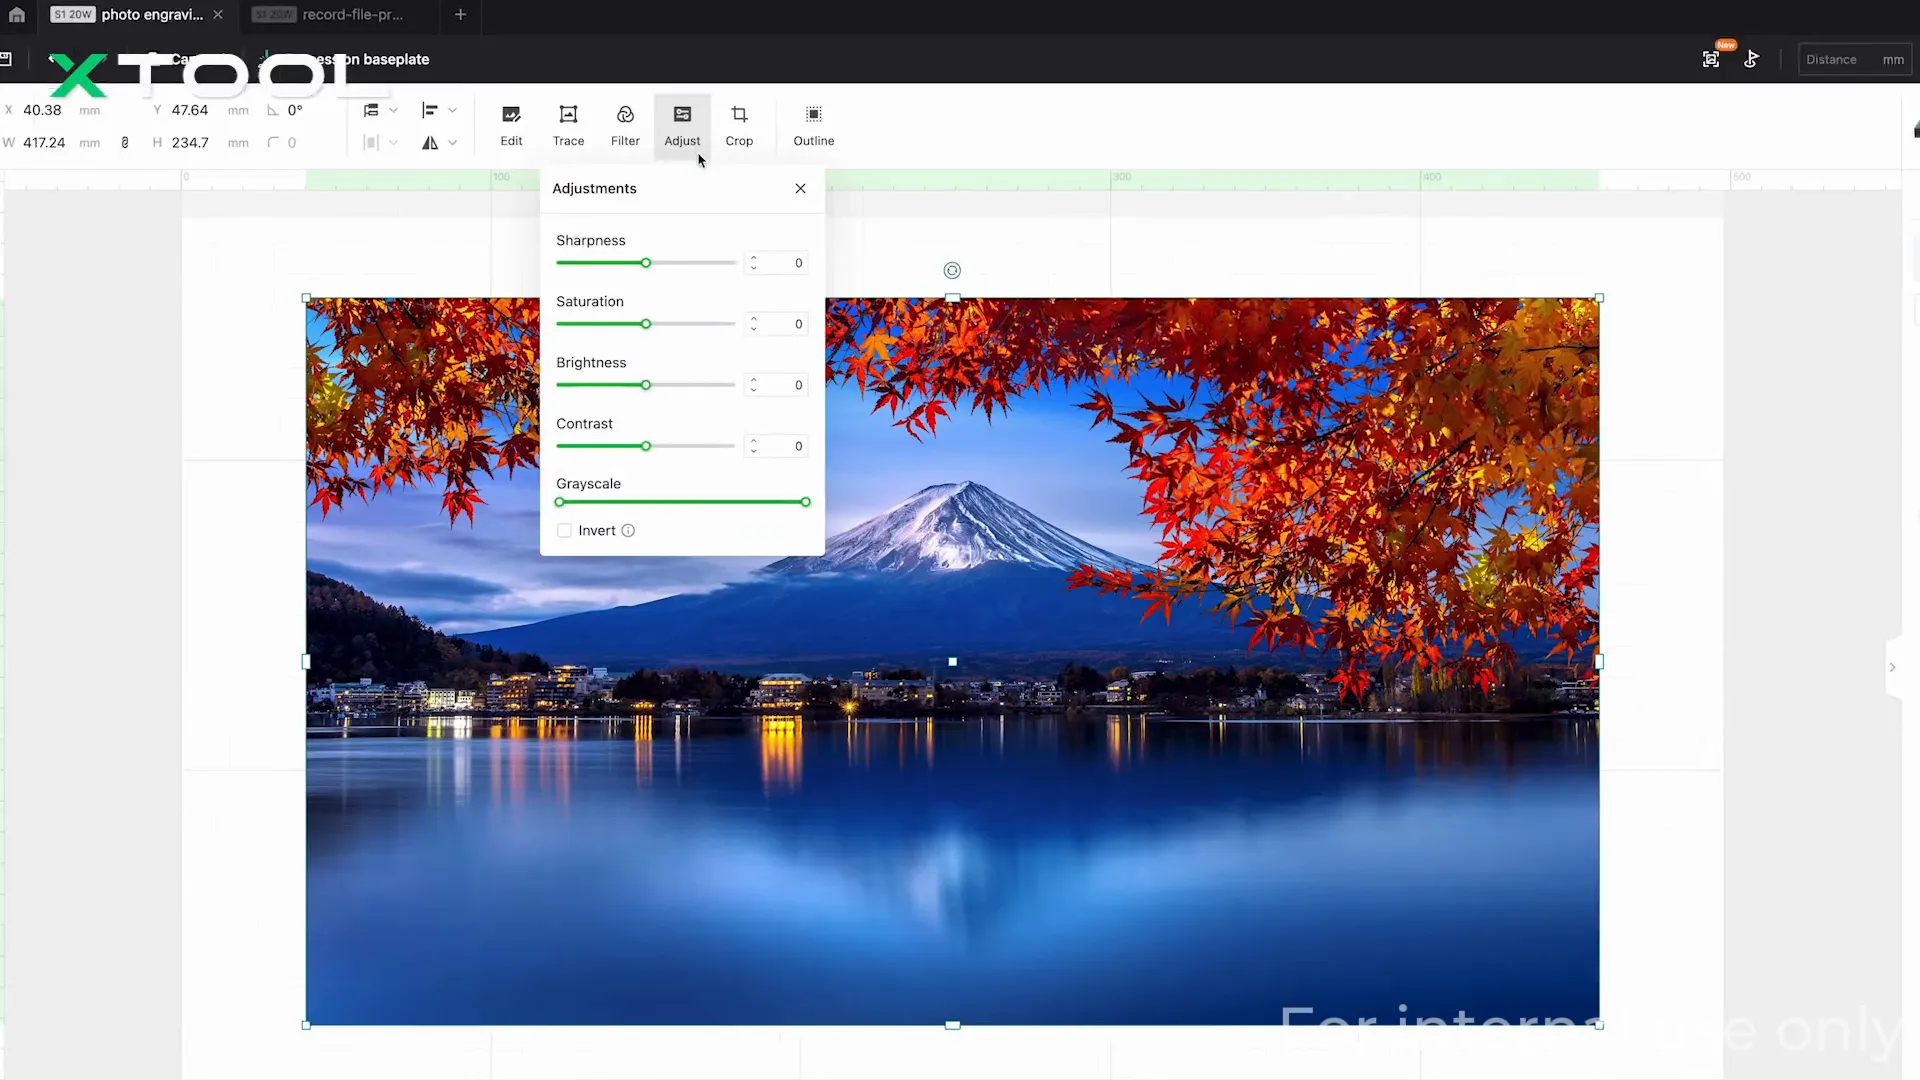
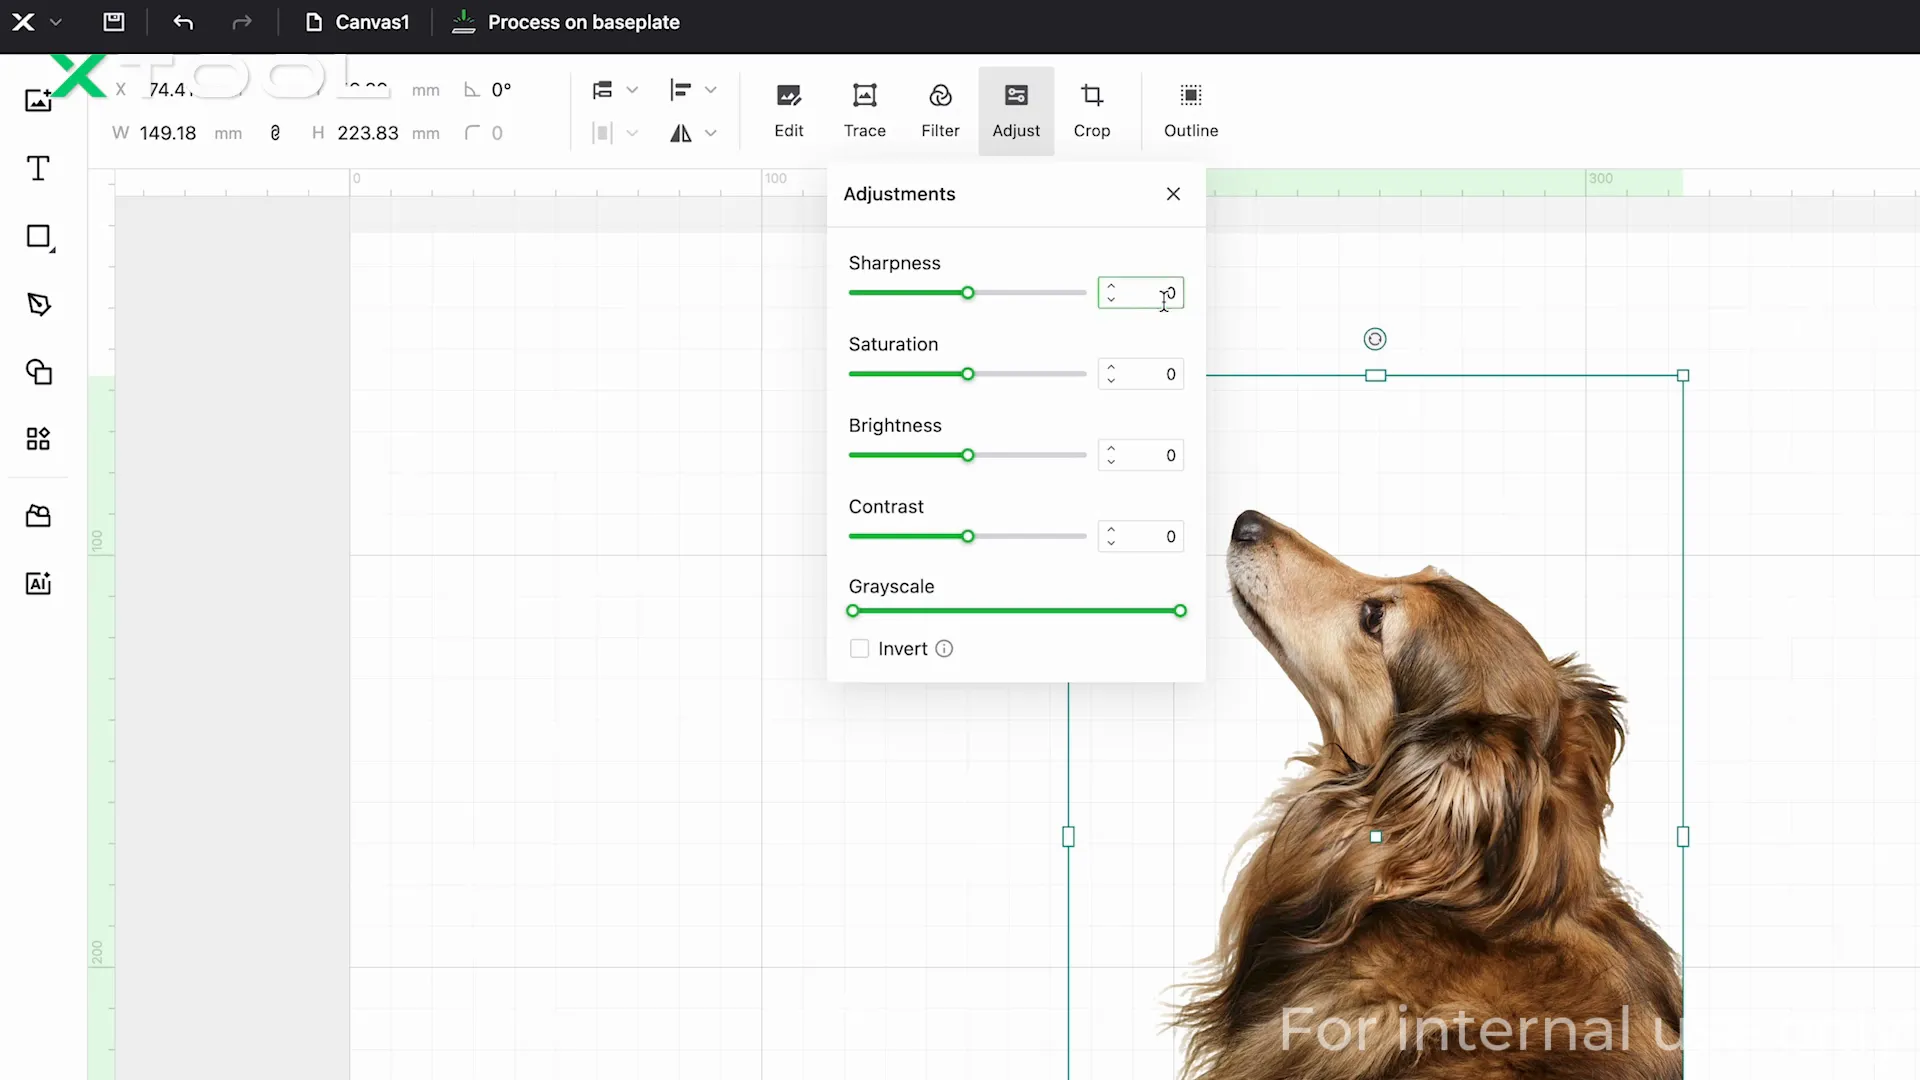
What if my image has a complicated background?
Complex backgrounds can distract from the main subject. Use software to remove the background or reduce its brightness to help the subject stand out.
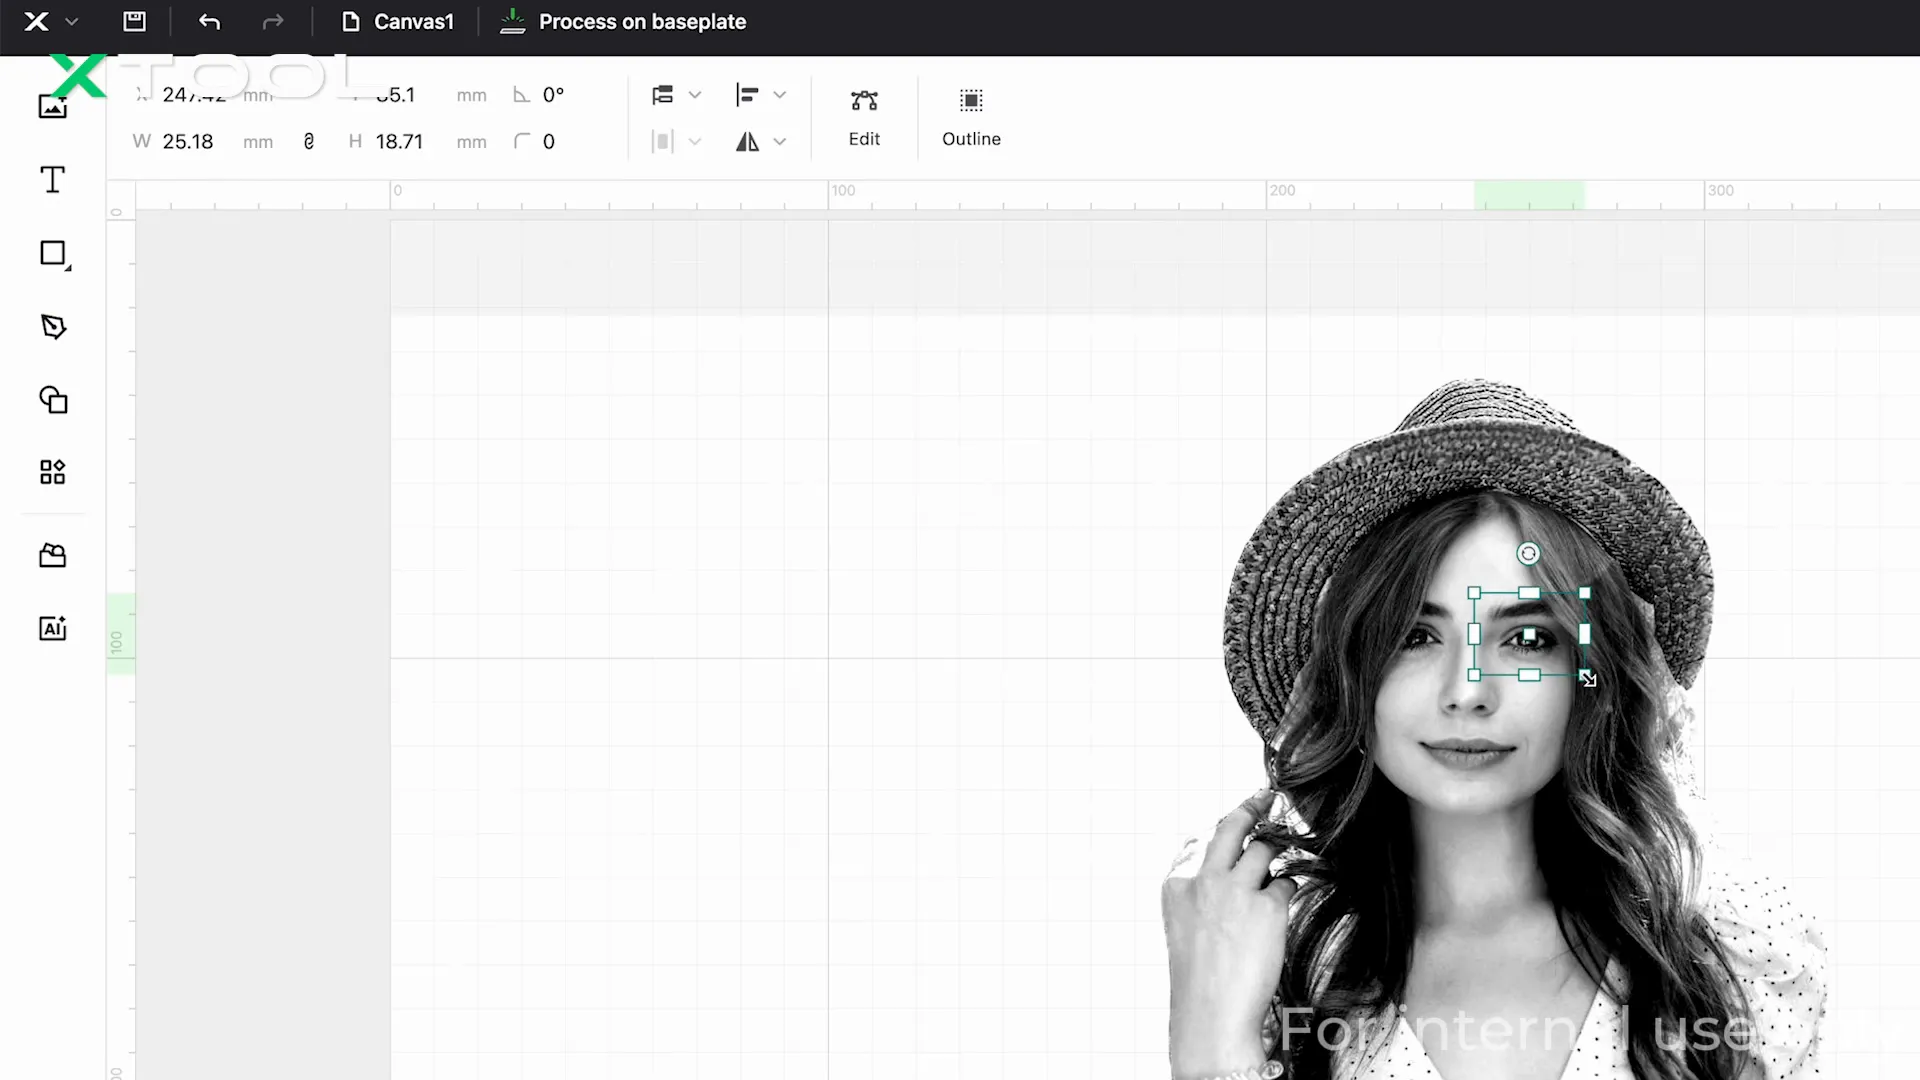
Why test the engraving on the eye area?
The eyes are the most detailed part of a photo. Testing here provides a quick way to assess how well your engraving captures fine details like contrast and sharpness.
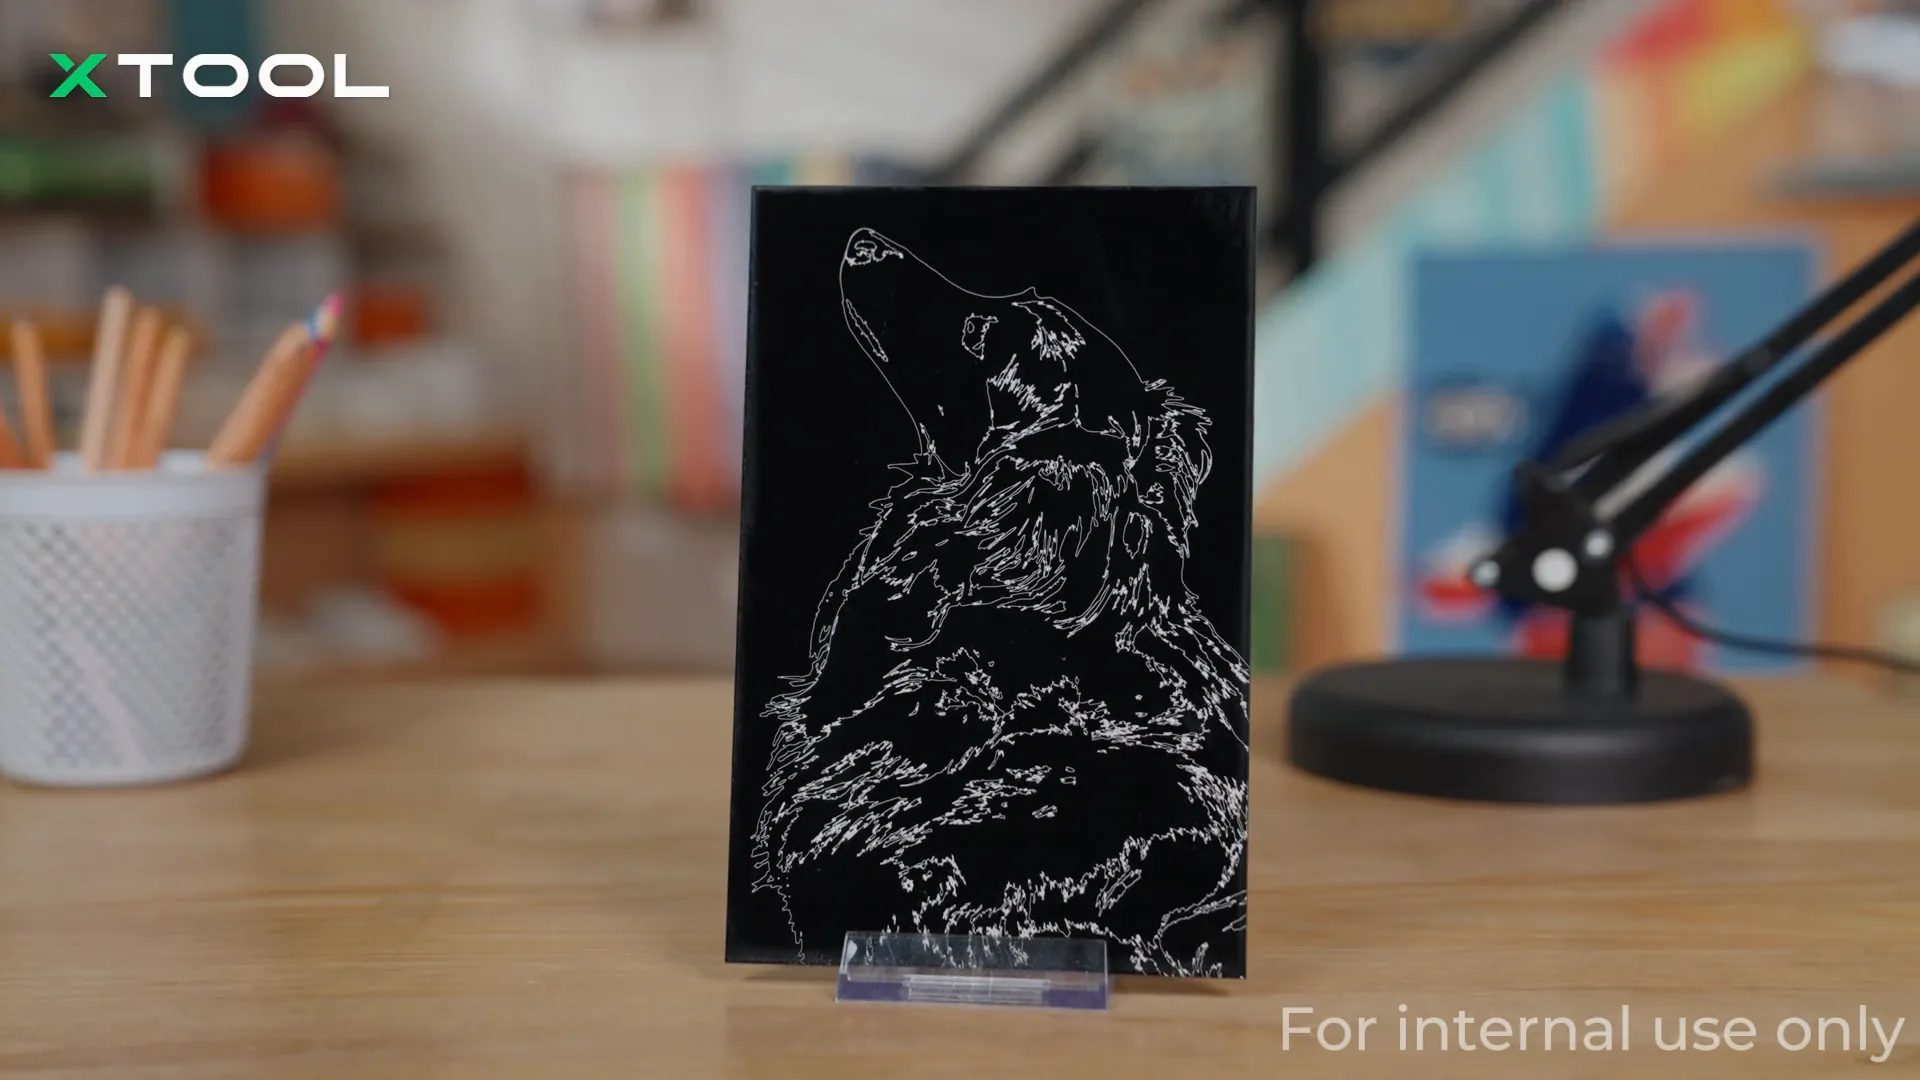
Why simplify images for engraving on metal or acrylic?
Metal and acrylic don’t handle gradients well. Simplifying your image allows for sharp black and white contrasts, ensuring clean and sharp engravings.
This wraps up our guide on crafting perfect laser photos! If you have any more questions or need assistance, feel free to reach out. Now, let’s get started on creating your masterpiece!