Note : The Process on baseplate mode is a processing mode for Class 1 laser device. You can identify whether your device is a Class 1 or Class 4 one based on the sticker on the back of the device.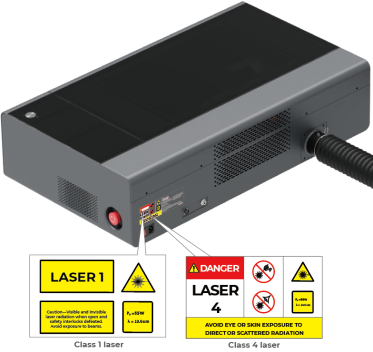
STEP 1 Connect the xTool P2 to XCS


Note: After connecting xTool P2S to XCS using a USB cable, you can connect in Wi-Fi or IP mode. Whichever way you choose, you need to connect it to your computer with the USB cable first. After connecting your device to XCS in Wi-Fi or IP mode, you can search for your device on XCS next time without USB connection.
STEP 2 Place the material

STEP 3 Select the processing mode and material name


Note: If you can't find your material in the list, you can click More xTool materials to search among more materials in the Material EasySet Library. If you still can't find the name of your material, you can select User-defined material.
Note: After you select a material from the material list or Material EasySet Library, the software will automatically set parameters for laser processing. The default settings apply to xTool materials. You can adjust the settings based on your needs.
Note: The recommended parameter settings can achieve the best results only when using xTool's materials. If you are using materials from third parties, it is recommended that you conduct a material test array on your own first to obtain the desired effects and parameters. Meanwhile, make sure that the materials are free from moisture or contamination, which may greatly affect the results.
STEP 4 Measure the thickness of the material

STEP 5 Shoot background and design a processing object
 icon to refresh background. Click the Close shot
  icon to capture a portion of the background in the current processing area.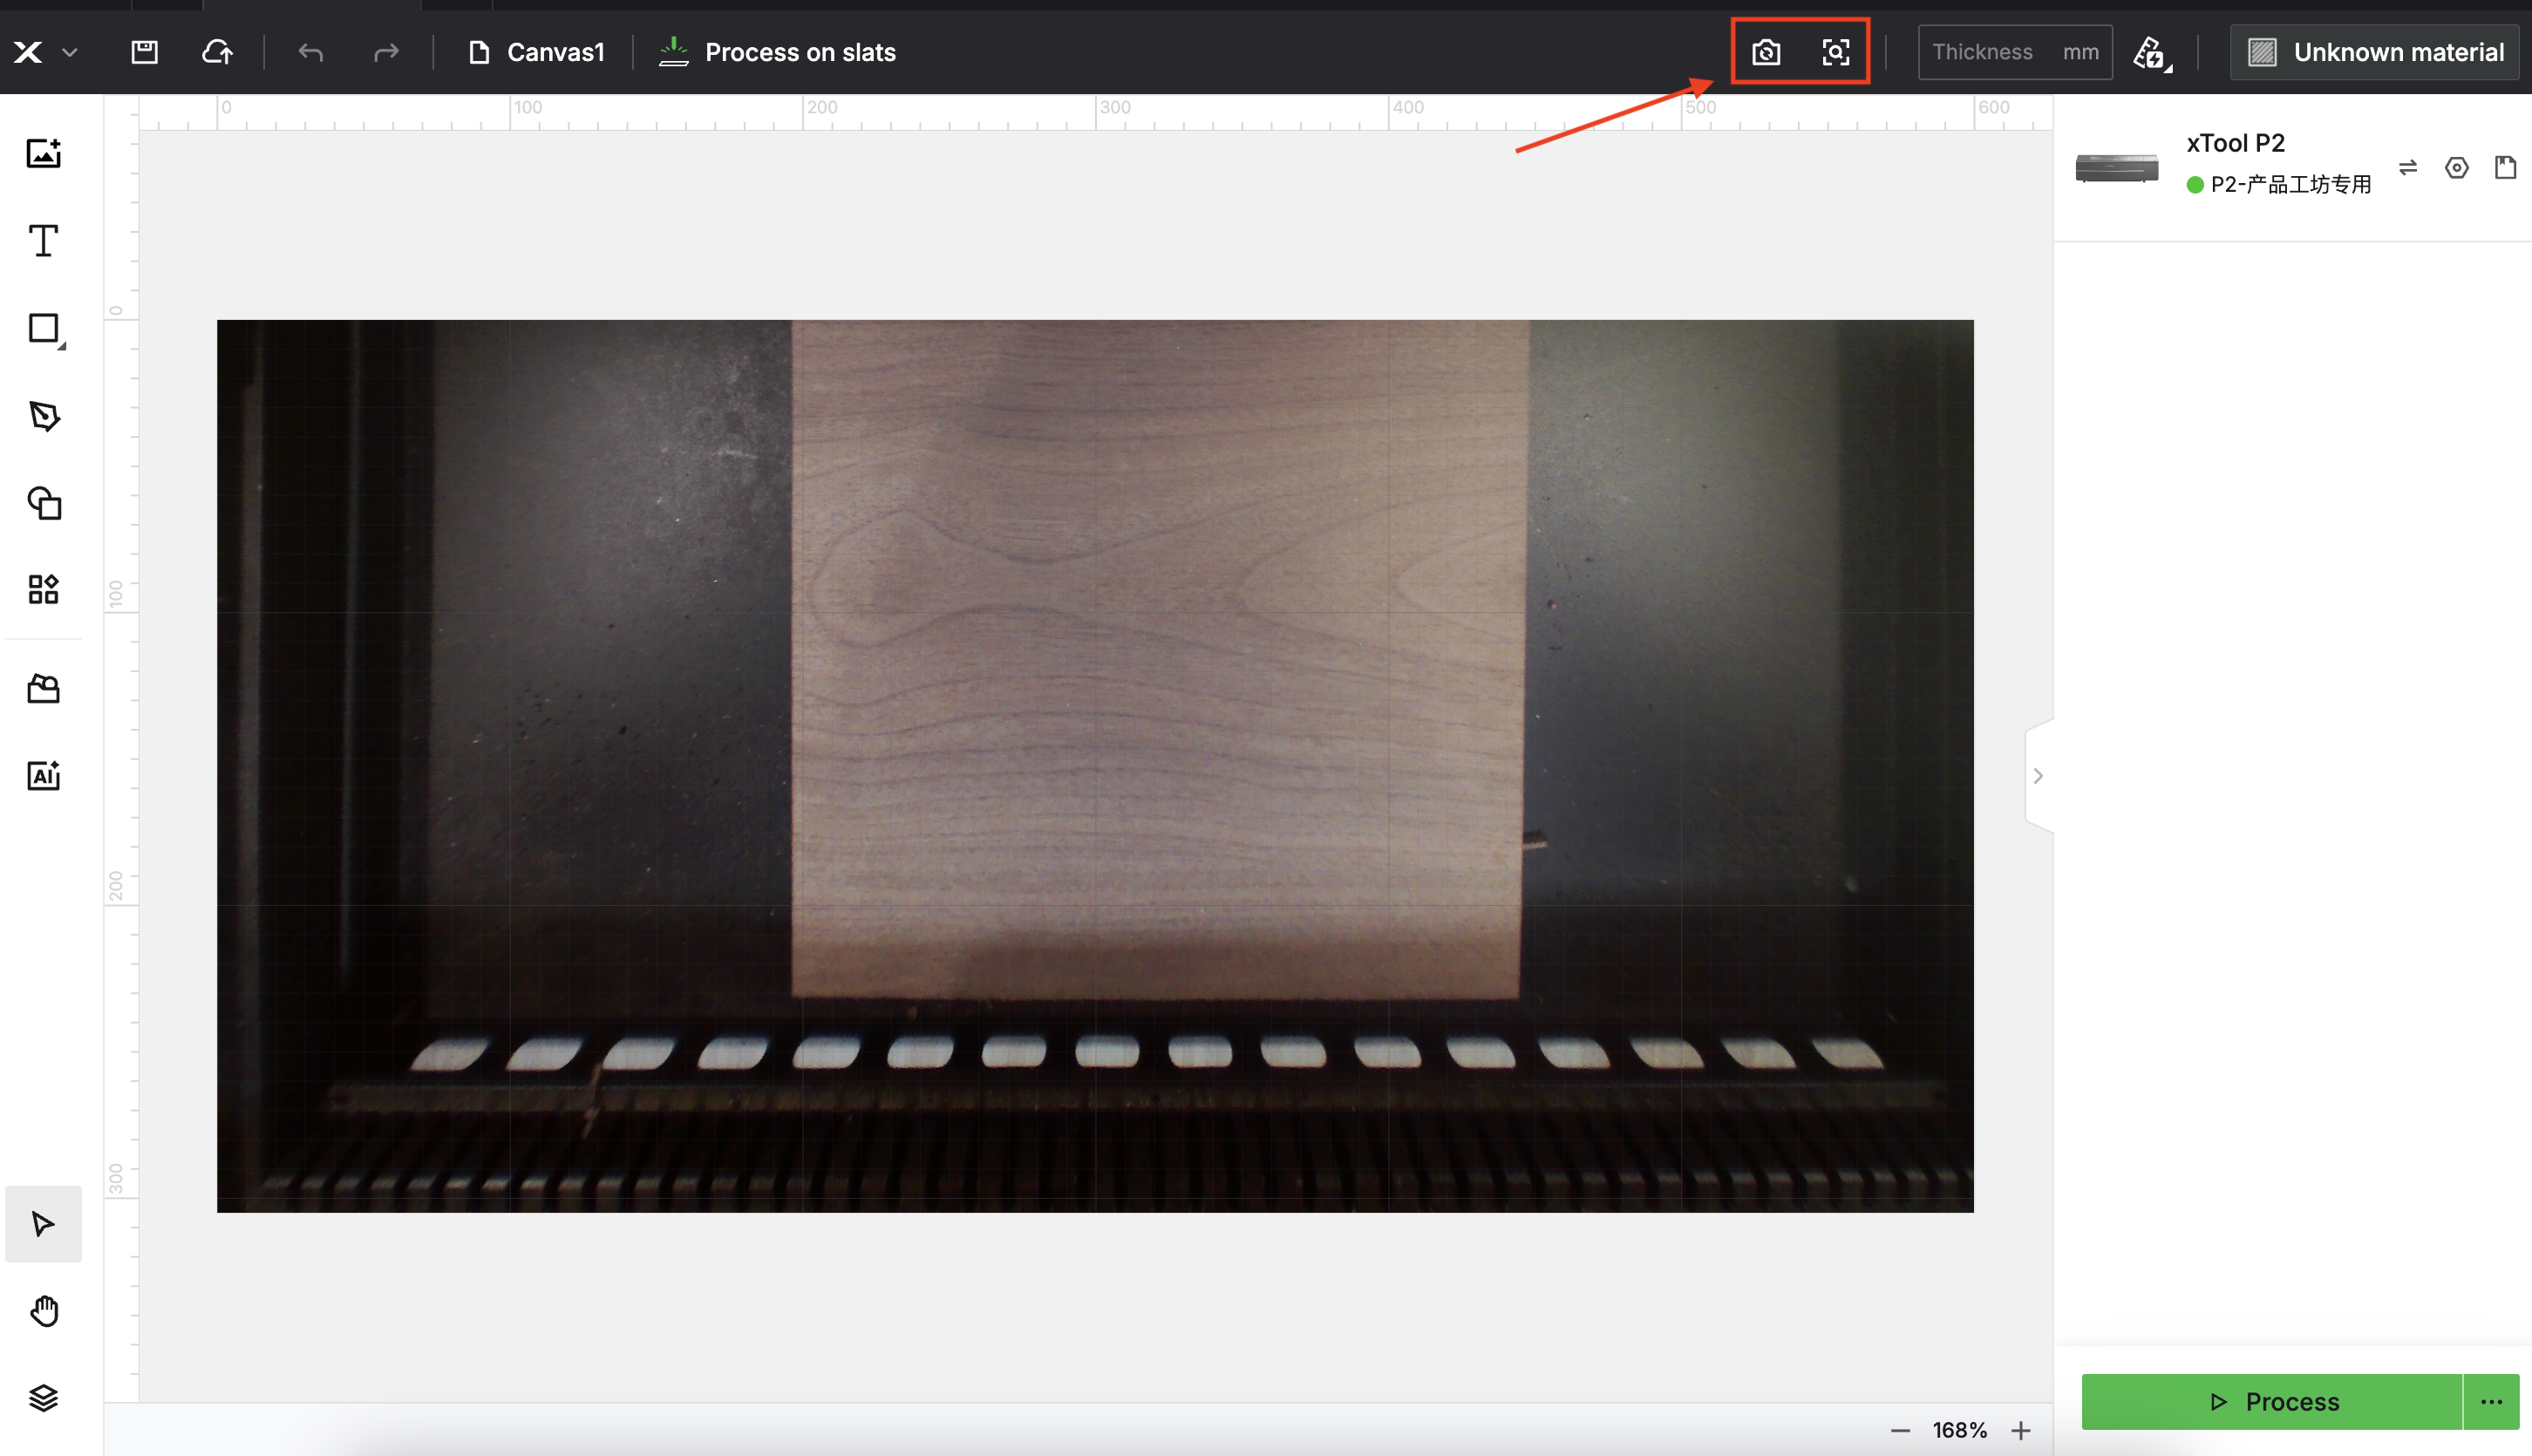
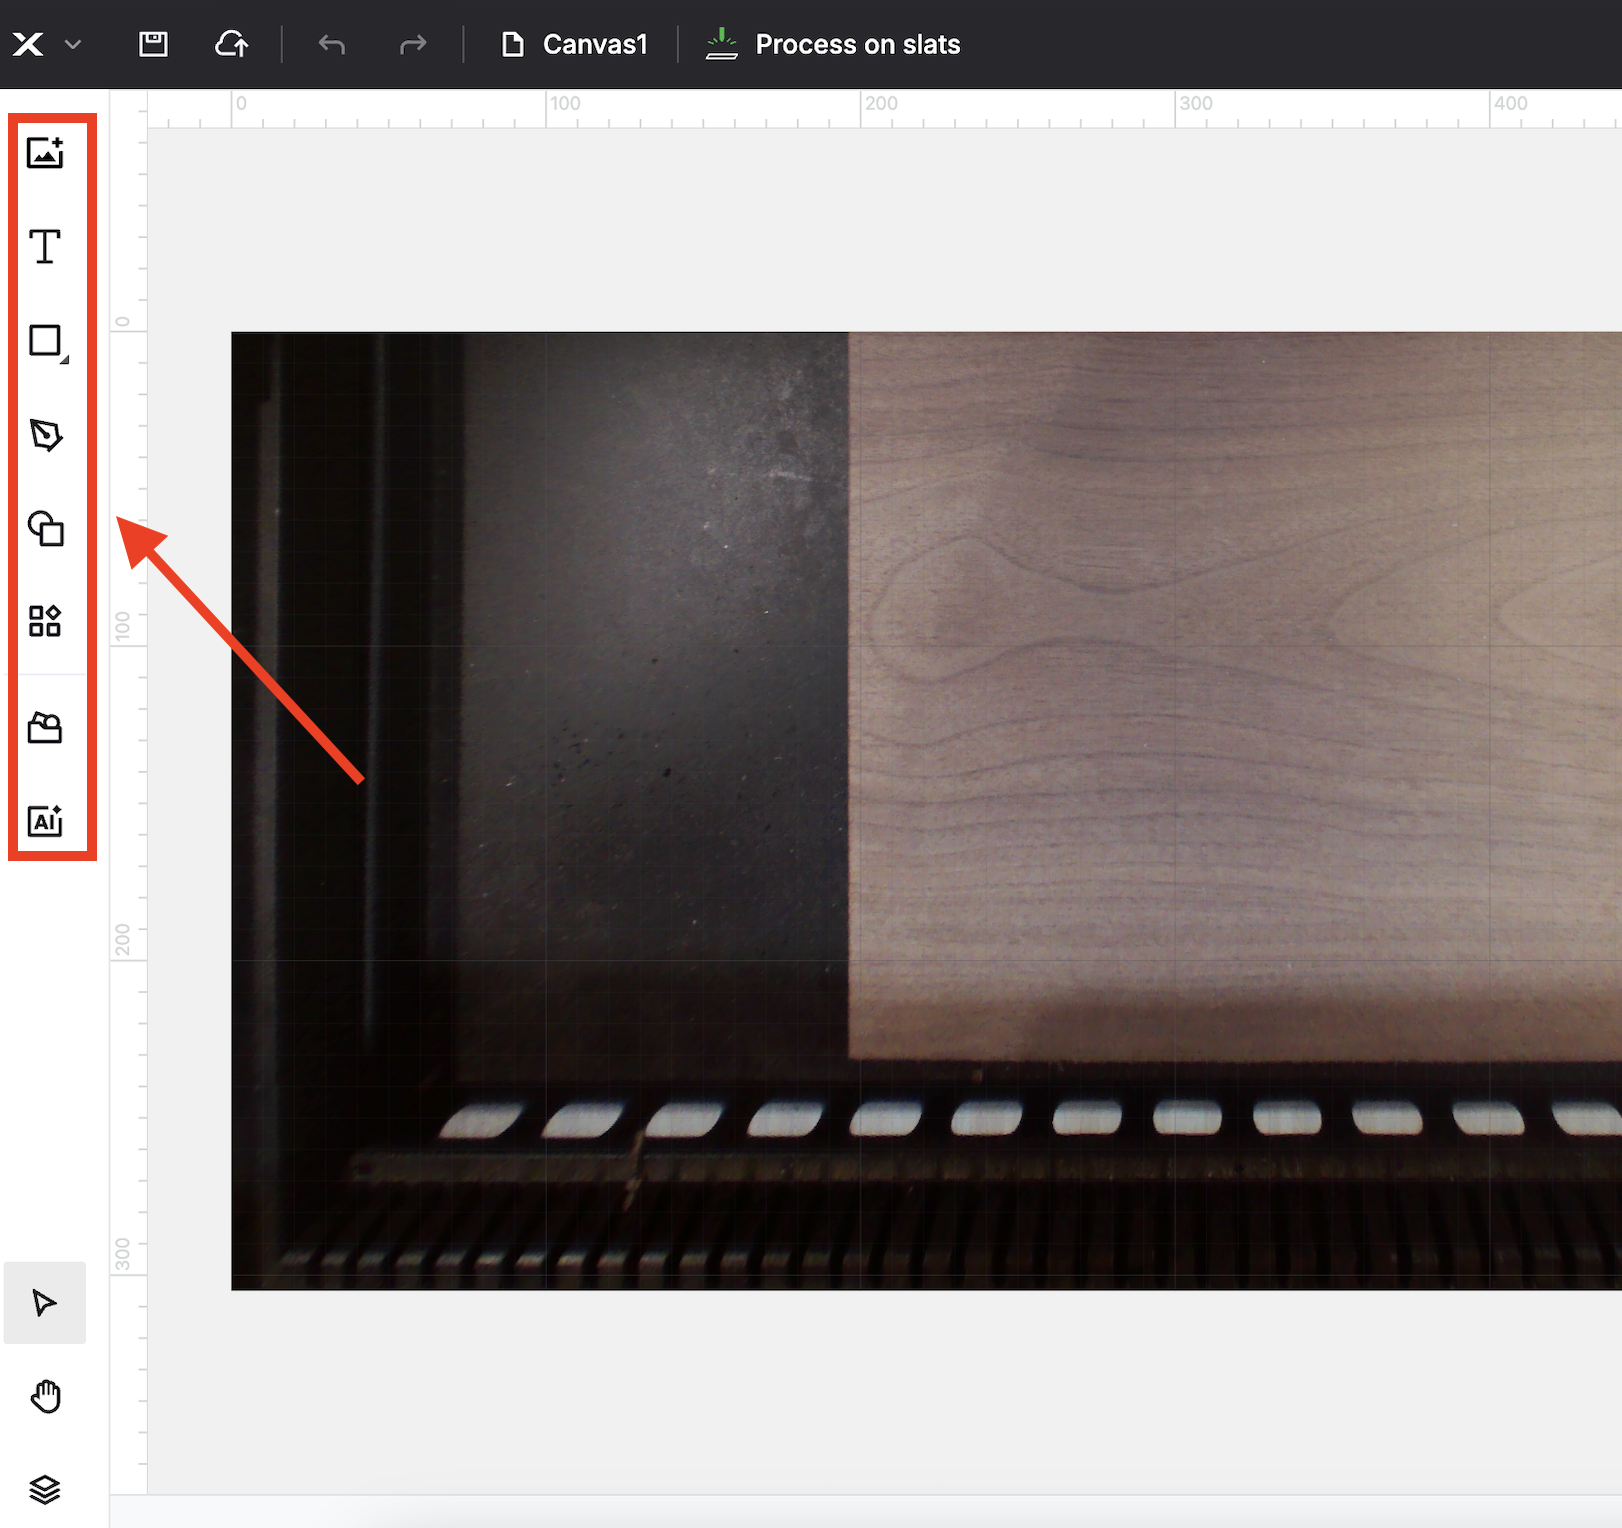
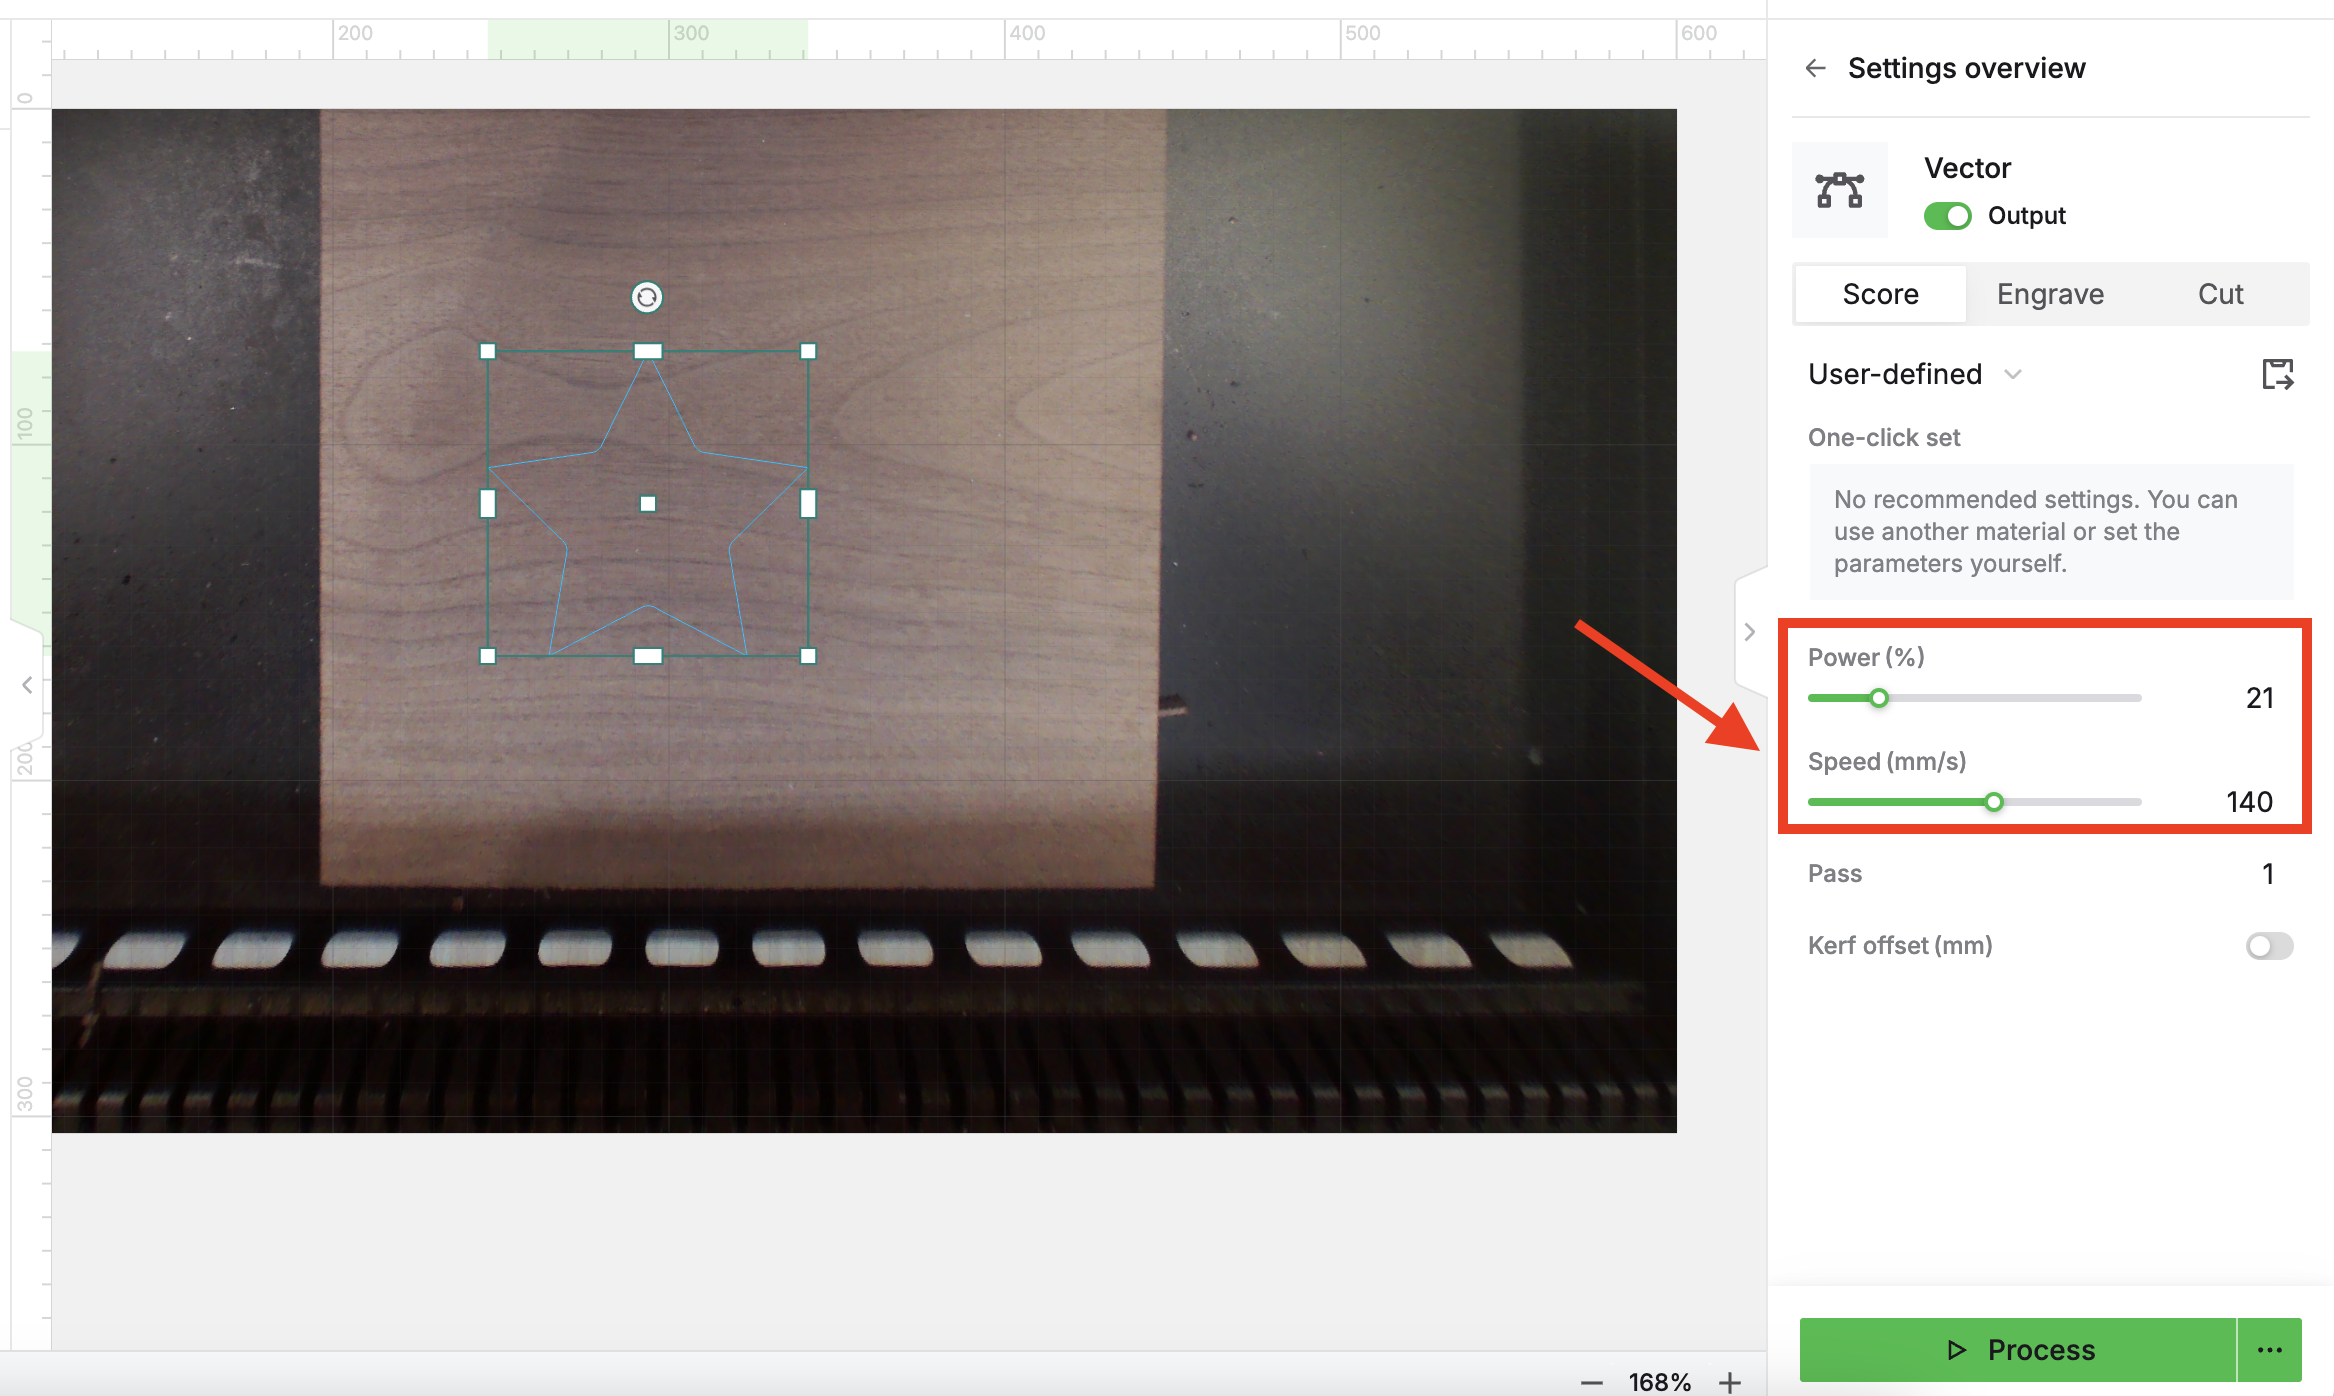
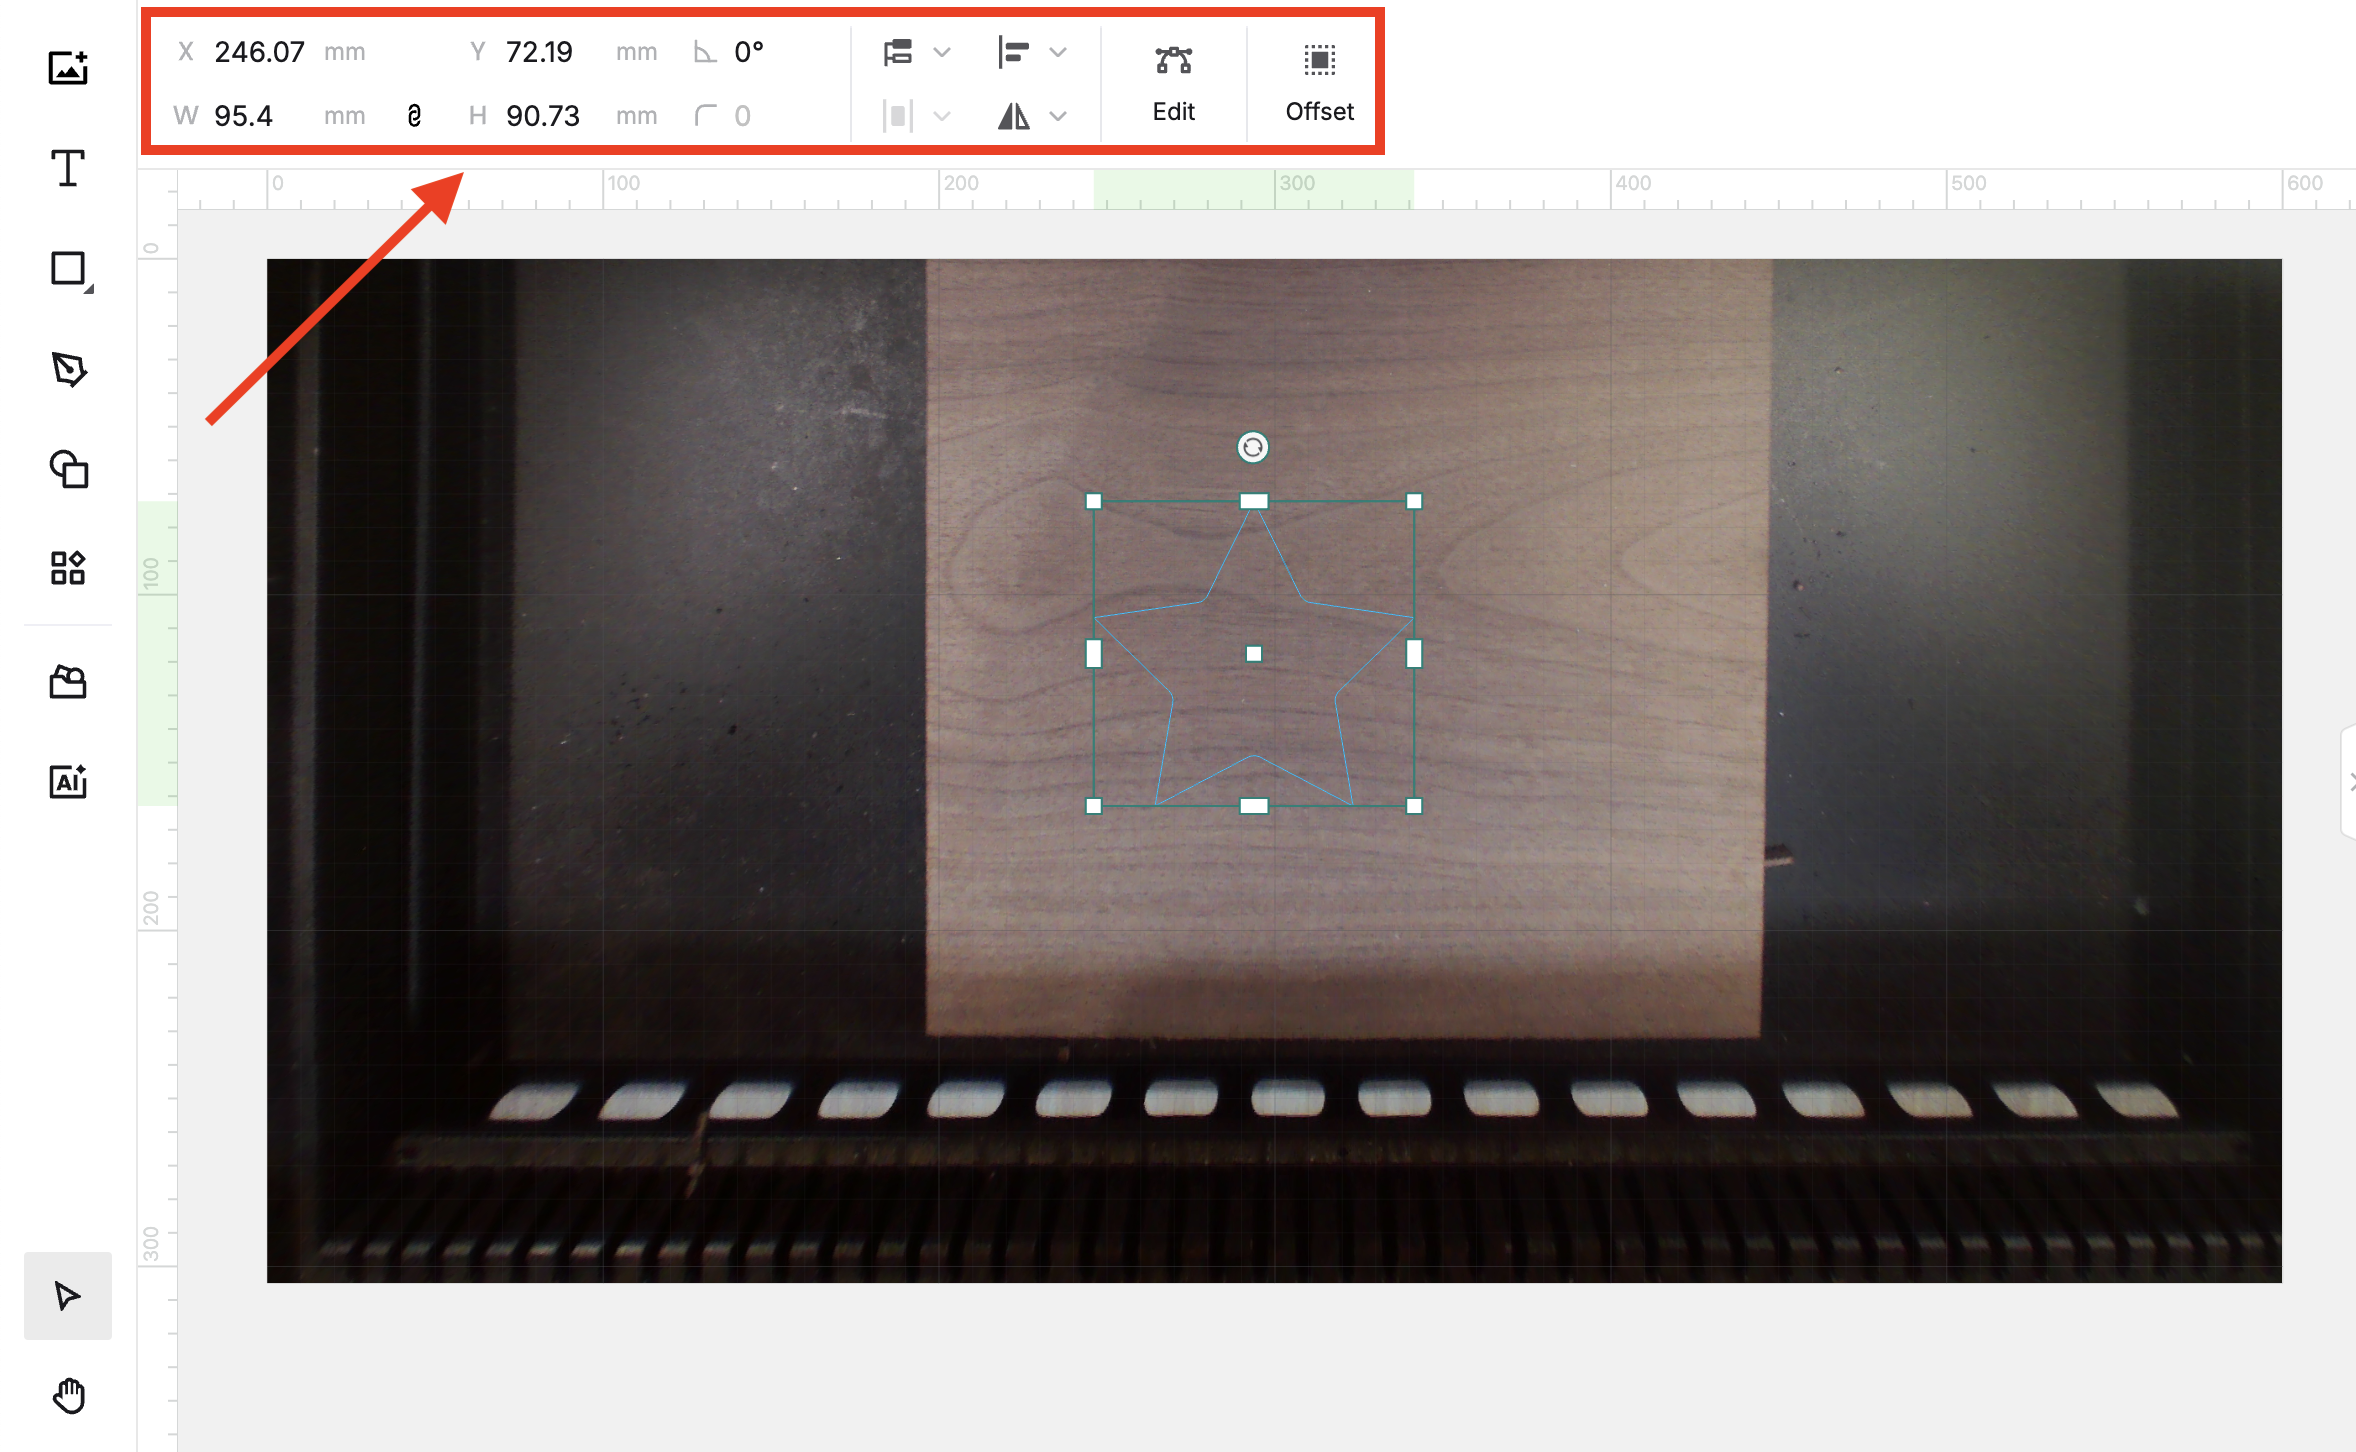
STEP 6 Edit objects and set parameters
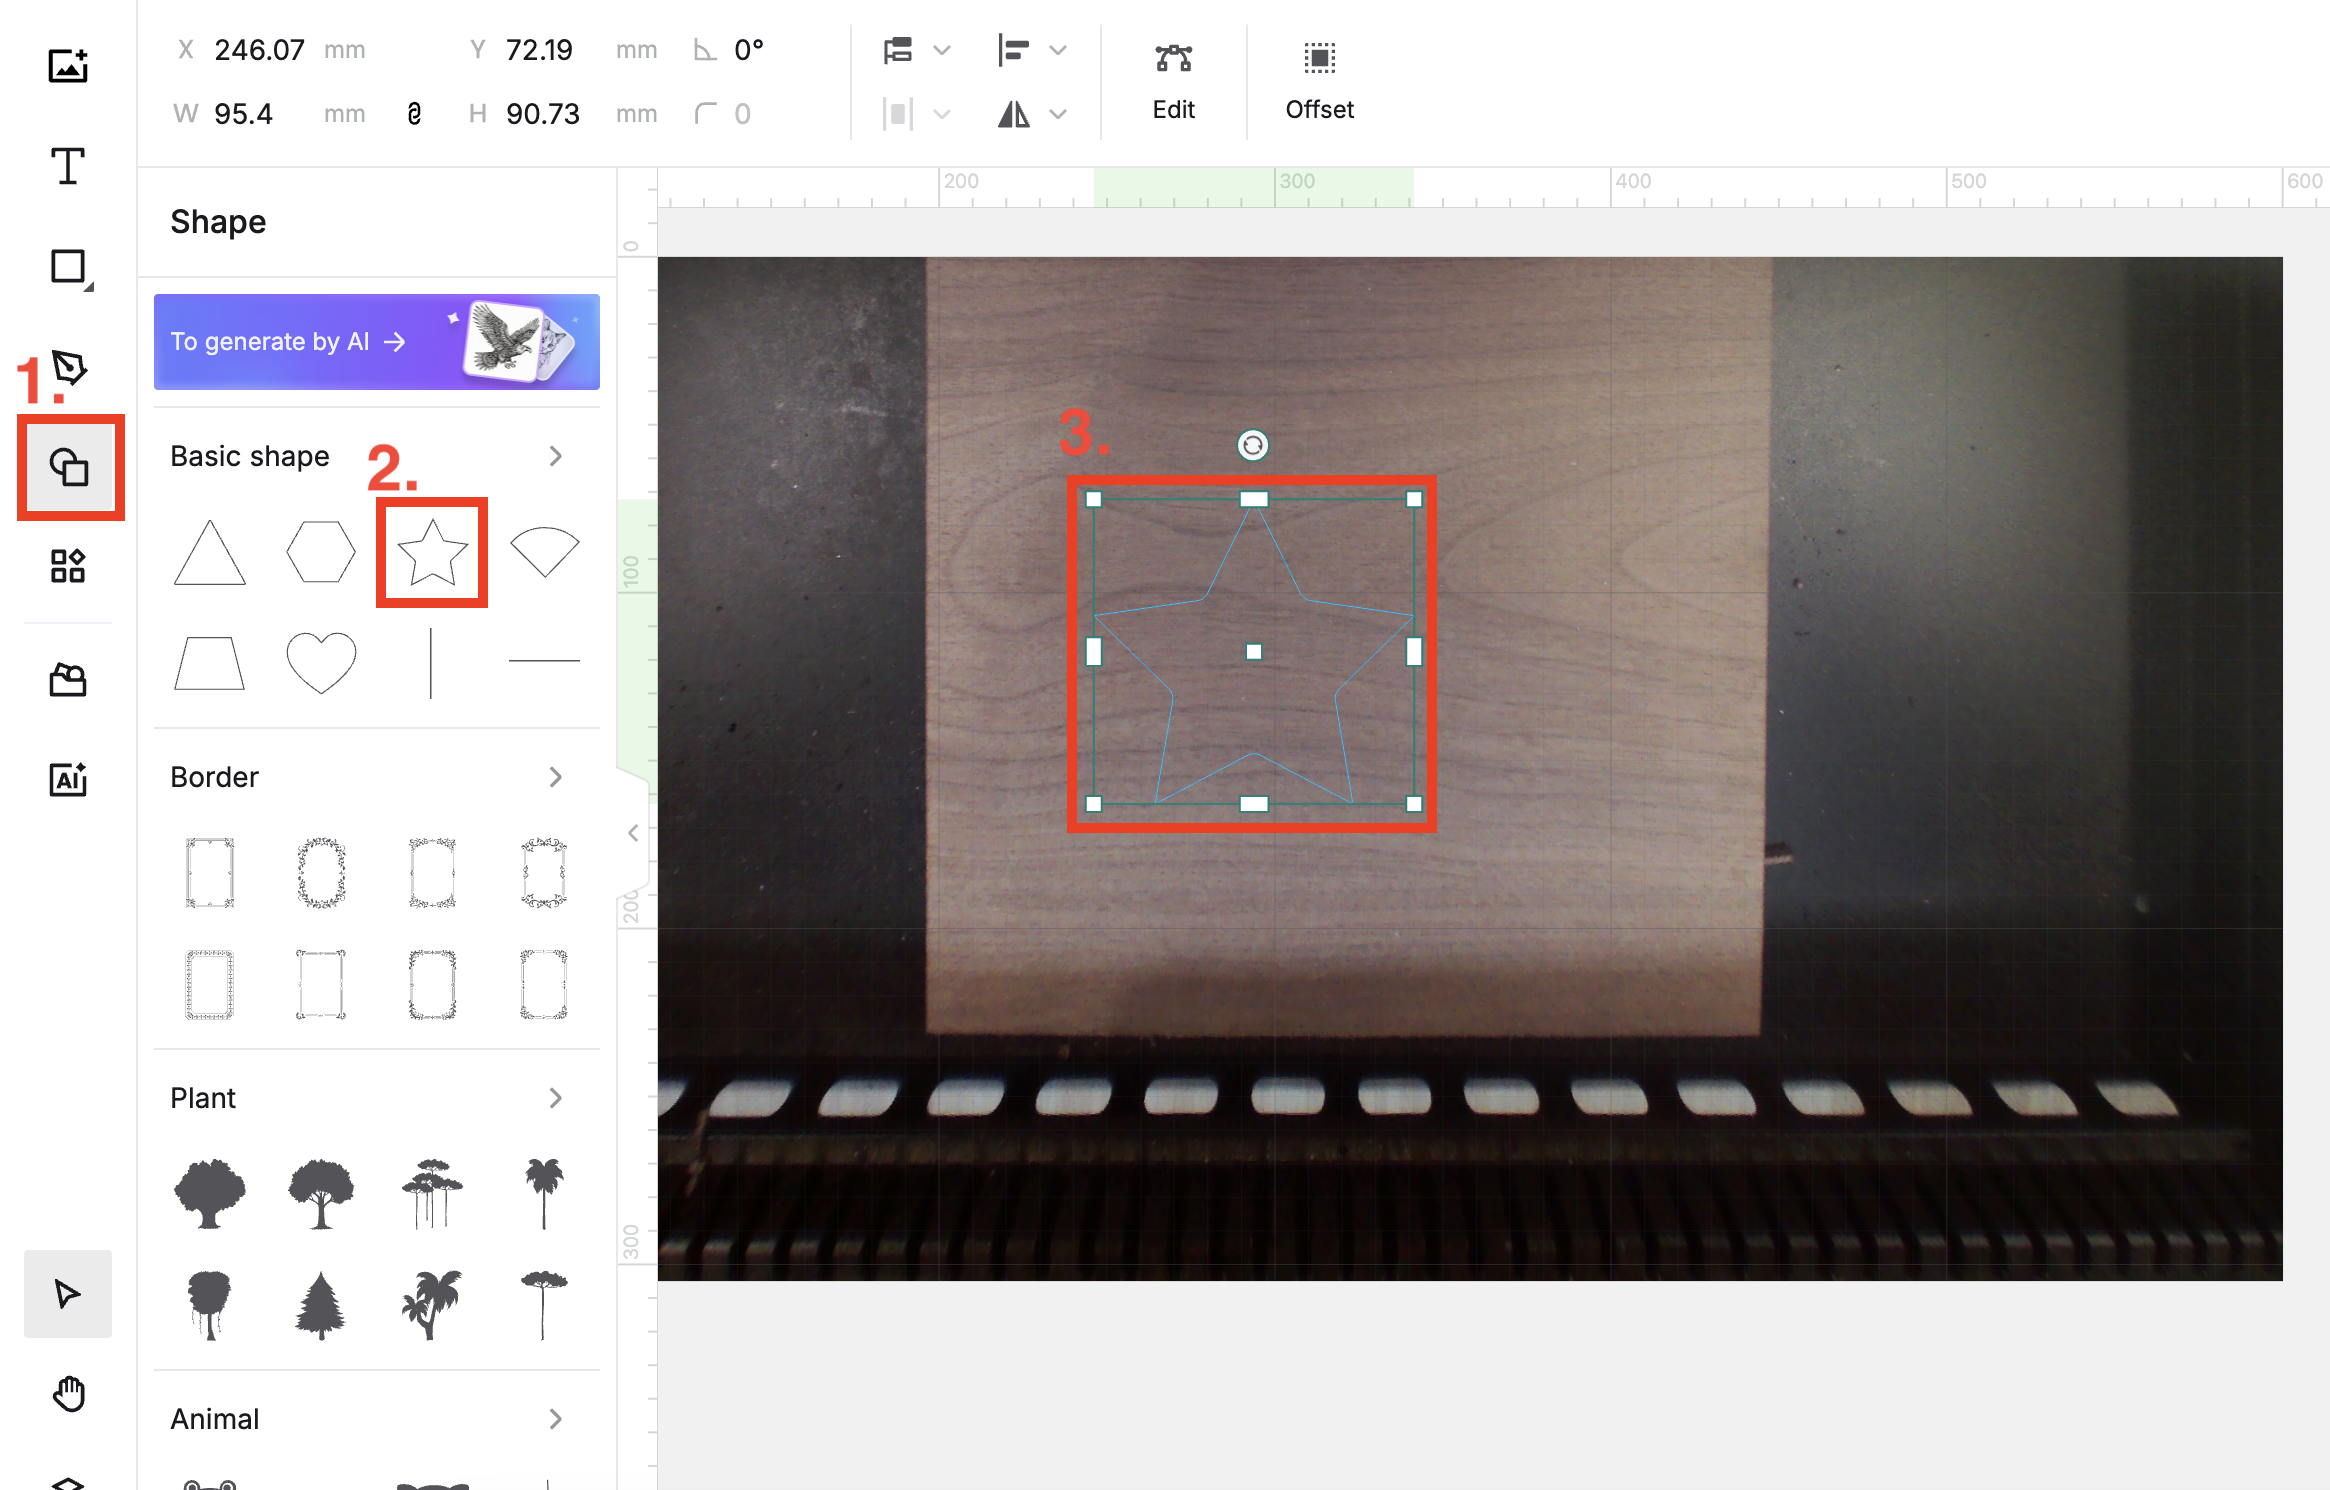
💡 Note: You can import images, insert shapes, enter text, draw vector graphics, and so on. For more information on how to use XCS to design objects, see Software Learning Center.
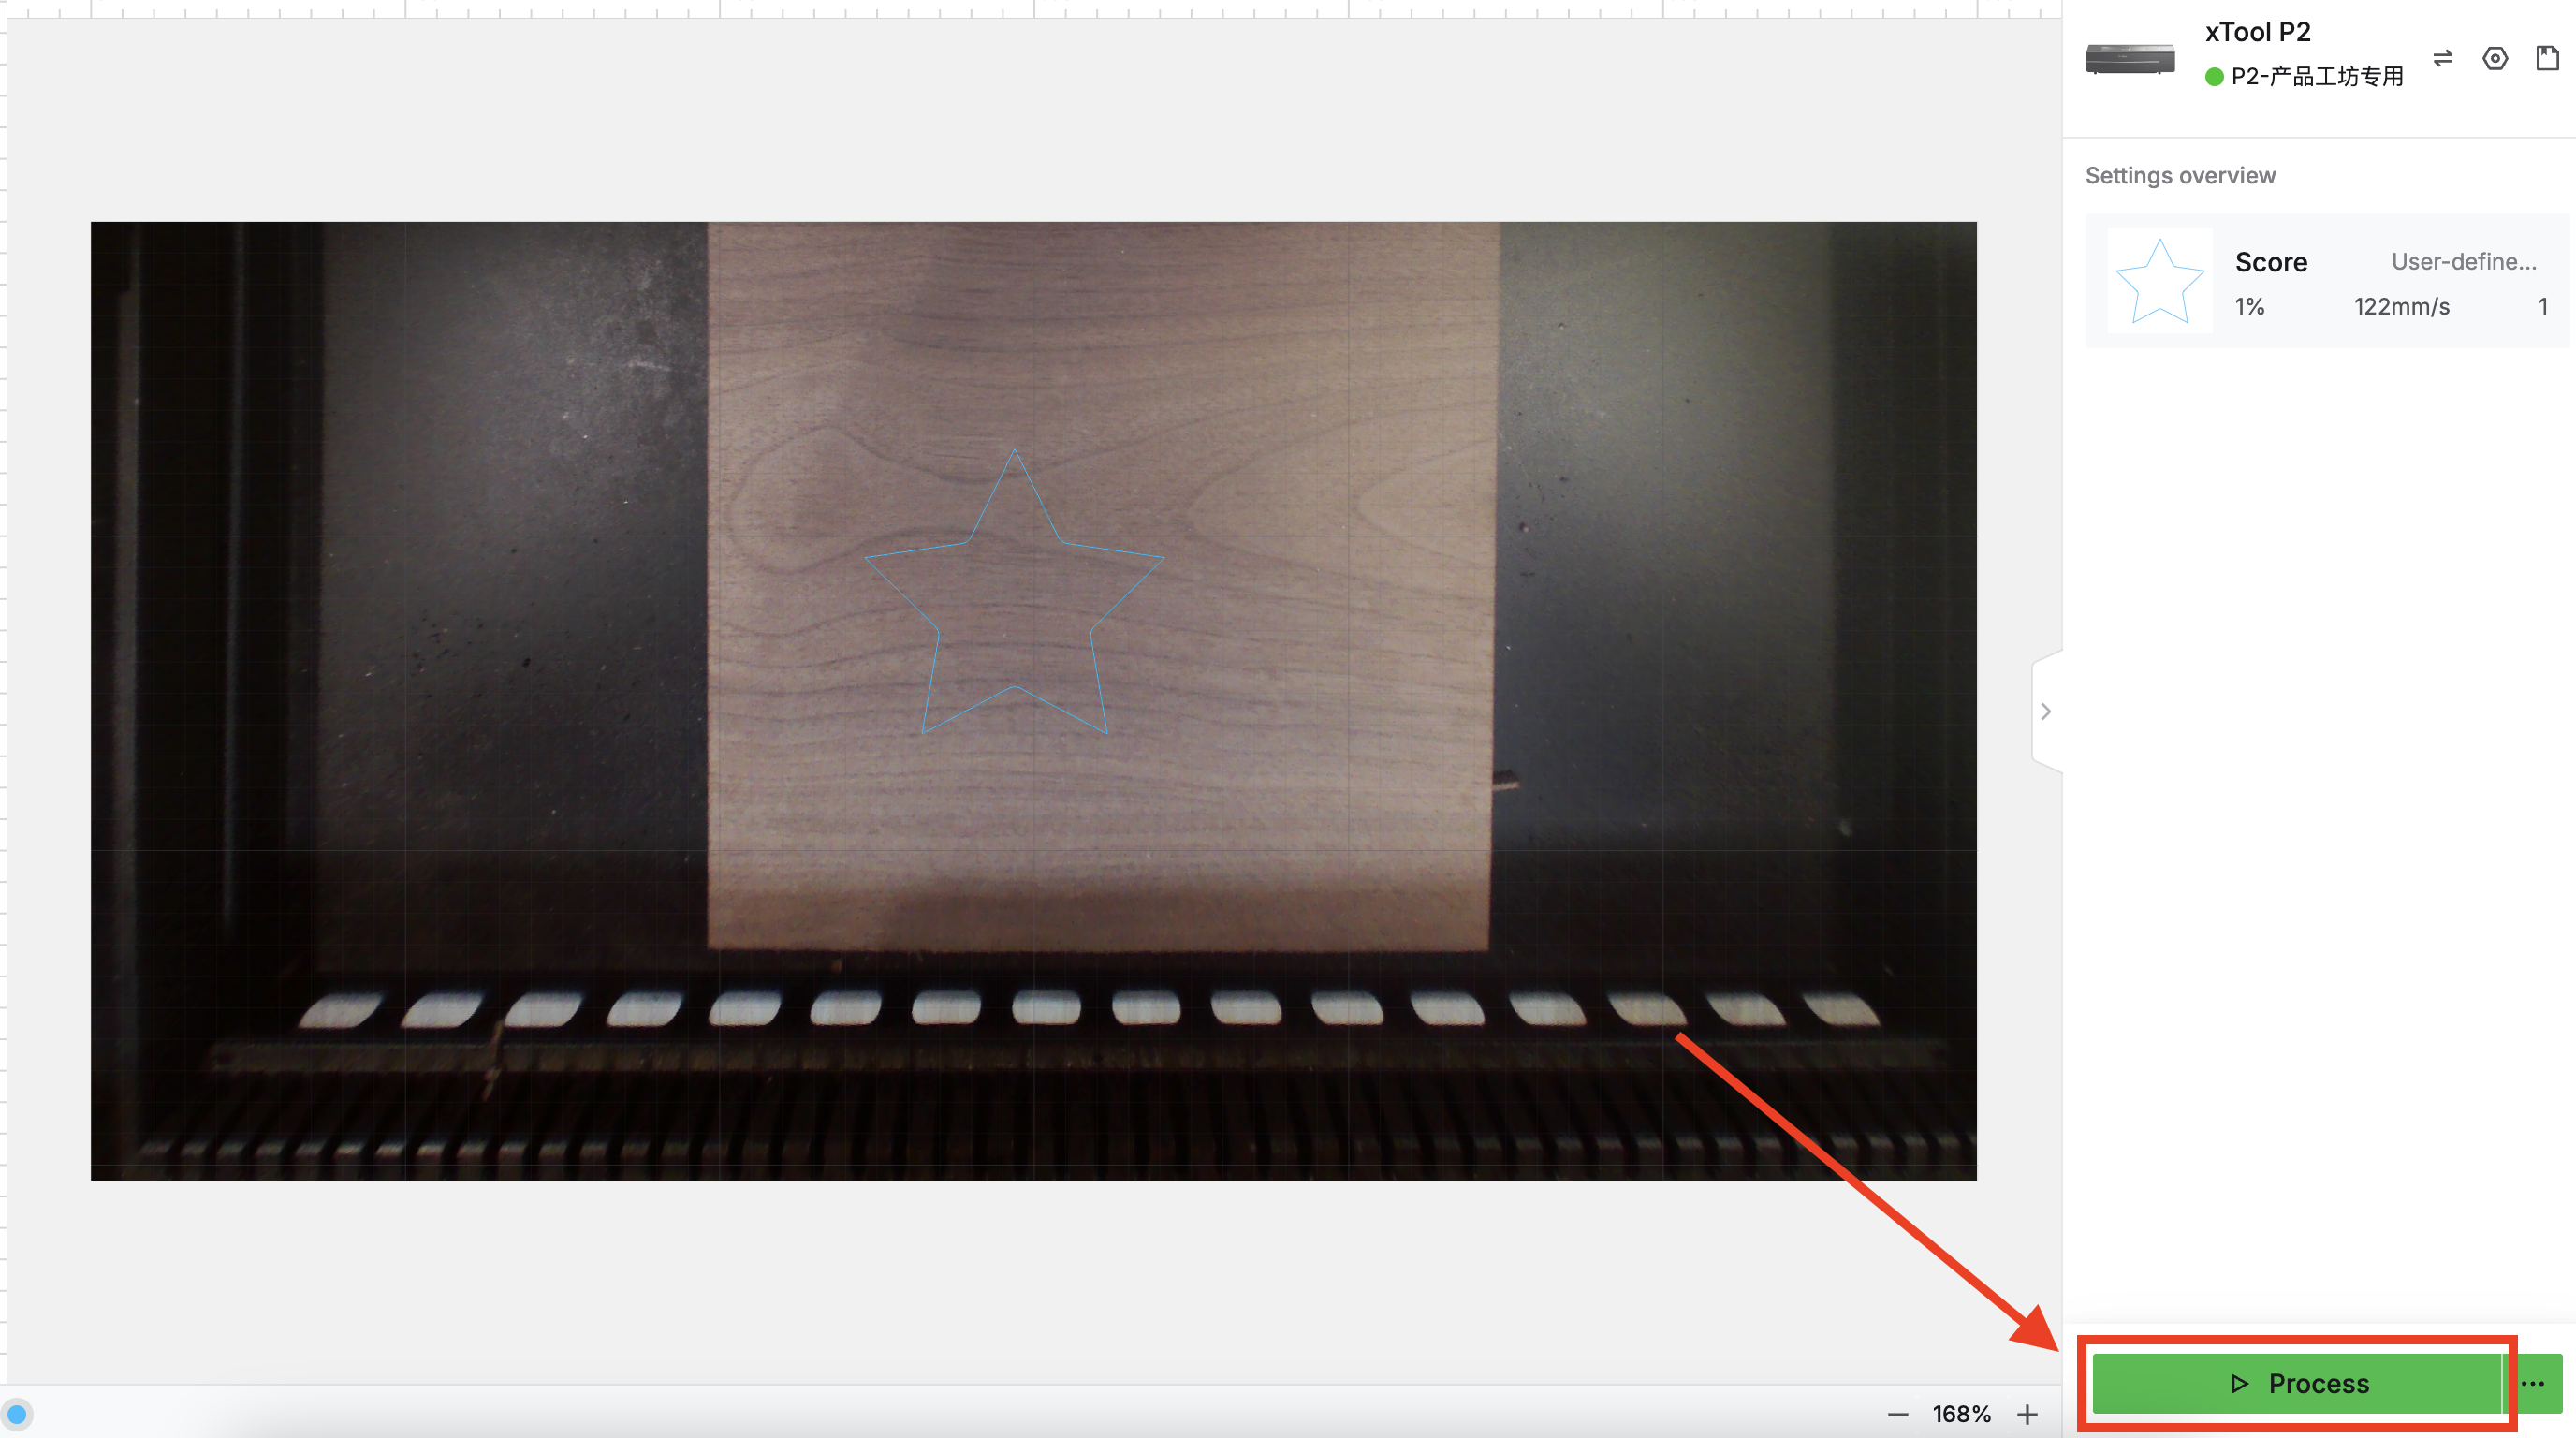
STEP 7 Start processing