Note:
xTool Creative Space (XCS) is legacy software and is no longer maintained. We recommend using the latest version of xTool Studio. The XCS screenshots and instructions in this article may differ from those in xTool Studio and are provided for reference only.
Screen printing mainly includes three steps: mount the screen, engrave the screen, and print the design. You can use xTool F1 to engrave the screen for printing.
For more information on how to start screen printing , see Reading Guide for xTool Screen Printer.
1. Mount the screen and place it in the working area
(1) Follow the instructions in support.xtool.com/article/1737 to mount the screen on the frame.
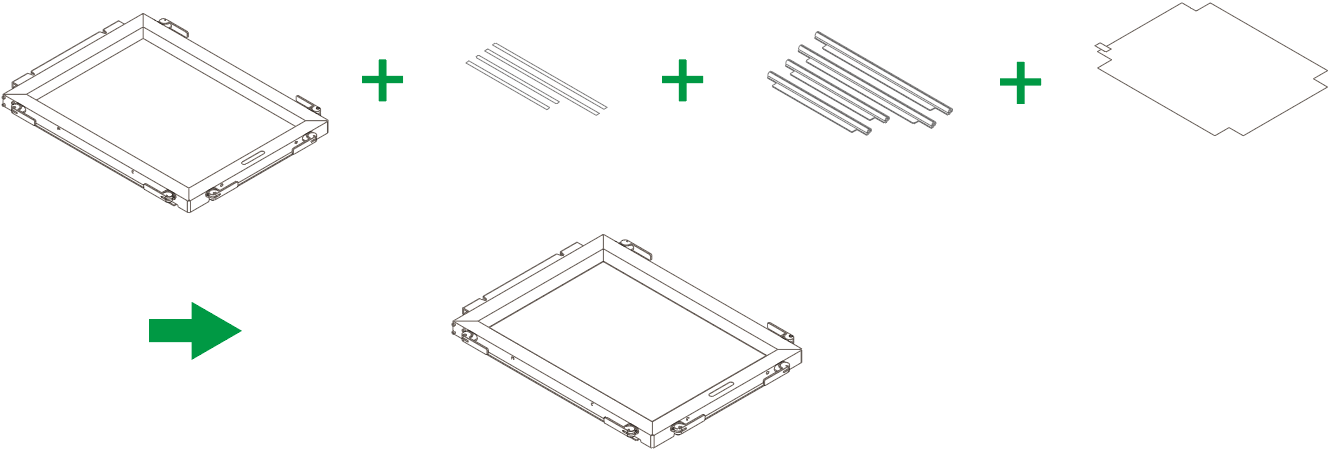
(2) Turn over the screen assenbly, with the back of the screen facing up.

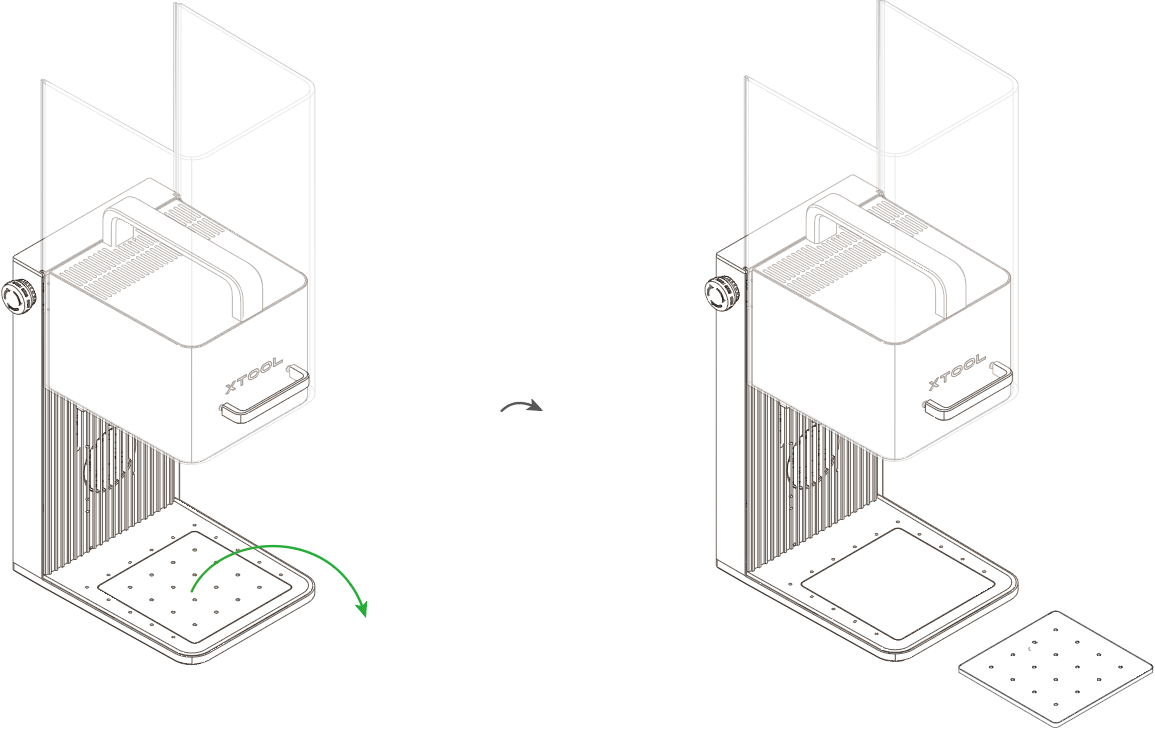
(3) Lift the protective enclosure of xTool F1, and take out the removable baseplate.
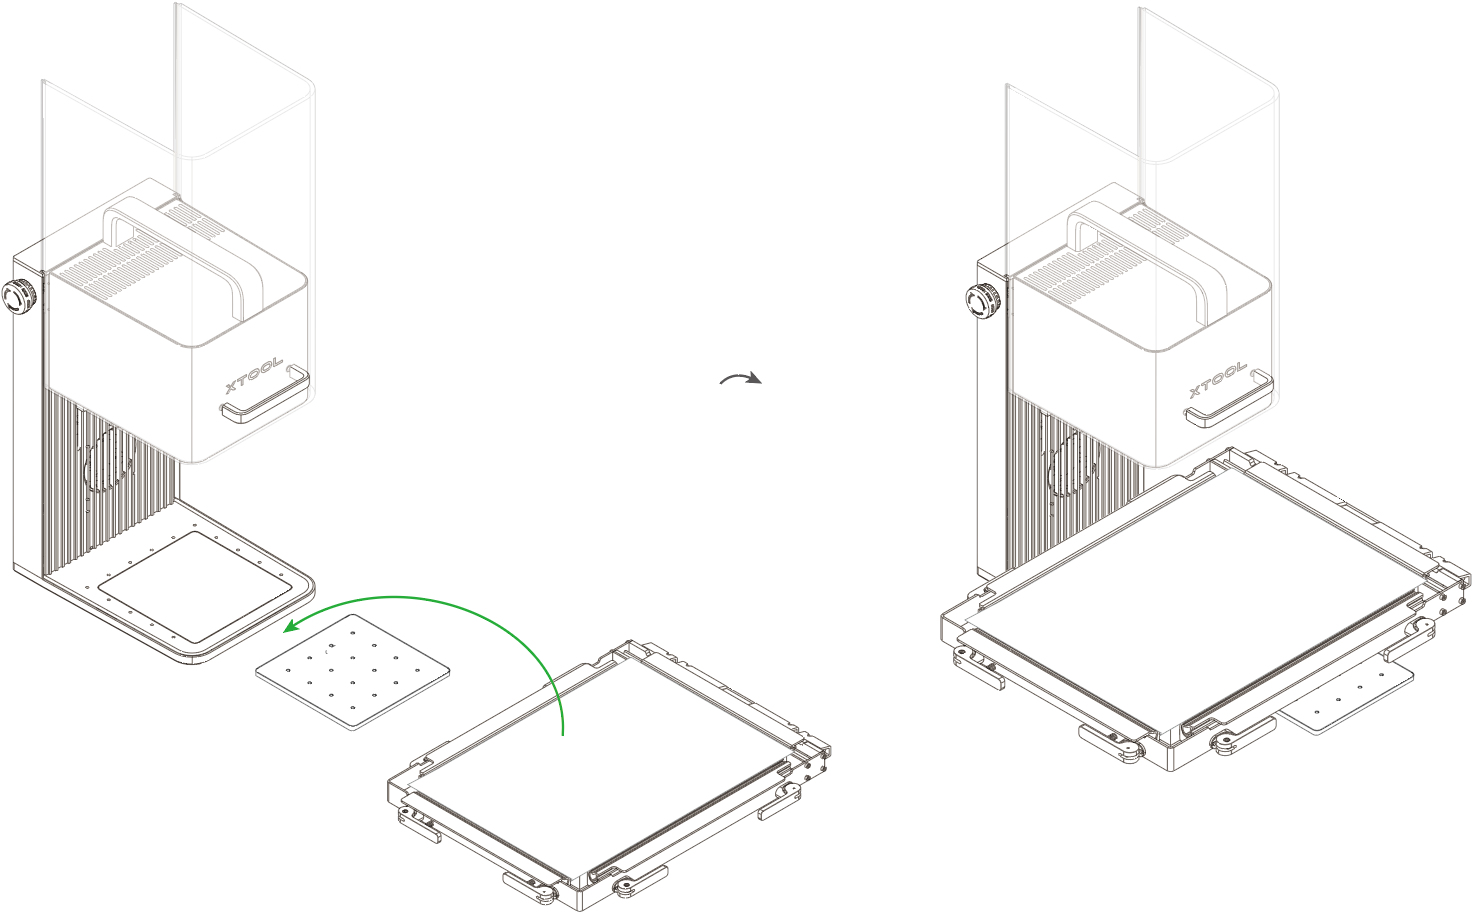
(4) Put the mounted screen on the baseplate.
2. Open or create a project
You can open a project to start processing or create a new project. If you create a new project, you need to design patterns and set parameters from scratch.
Open a project
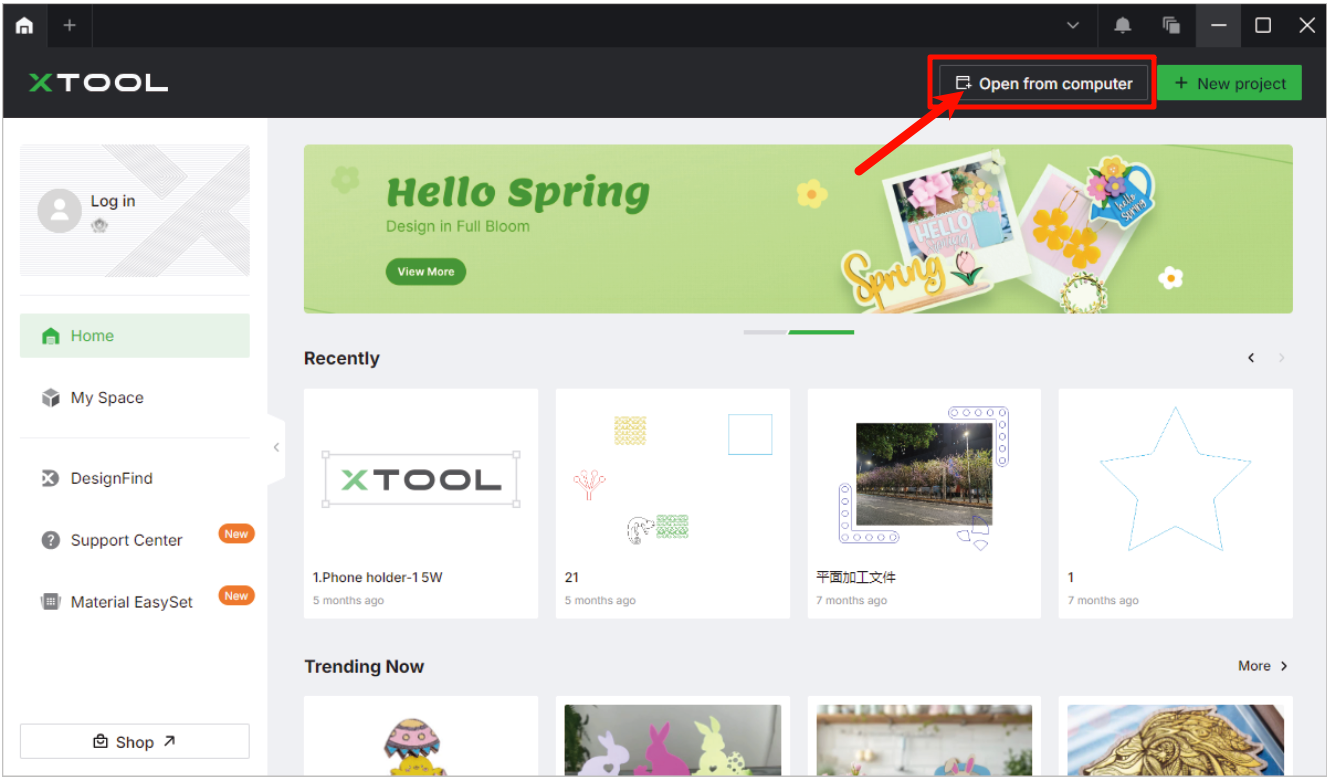
On the home screen of xTool Creative Space (XCS), click Open from computer. In the pop-up window, select a file of the xTool Creative Space Project (. xcs) type and click Open.
Create a new project
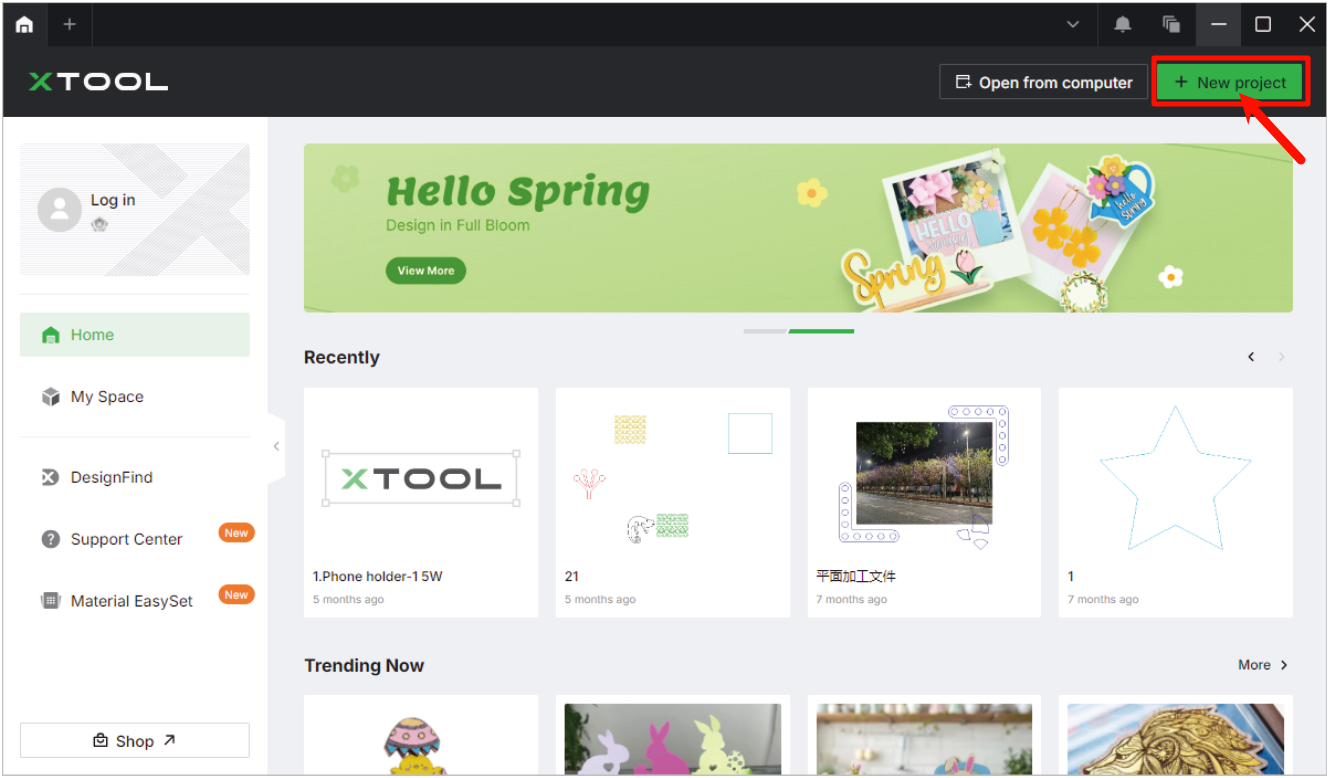
On the home screen of XCS, click + New project.
3. Select the processing mode and material name
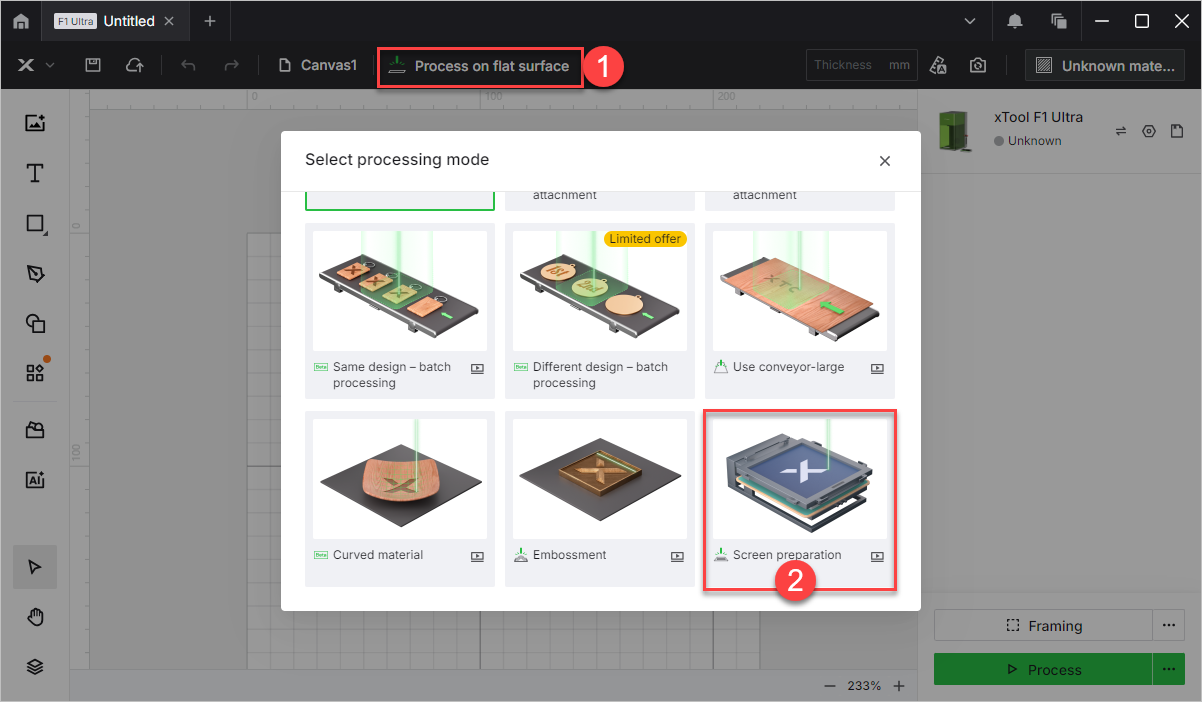
(1) On the top of XCS, click the name of the current processing mode, and then select Screen preparation as the processing mode.
(2) In the top-right corner, click User-defined material. Then, depending on the material you have purchased, select 200 Mesh Coated Screen. And click Confirm.

4. Set the laser focus
xTool F1 supports manual focusing and autofocusing. You can choose the focus way you like.
Manual focus setting
Turn the knob to move the laser module up and down. When the red and blue light spots coincide, the focus is successfully set.


Auto focus setting
(1) Measure the material thickness.

(2) On the top-right corner of XCS, enter your measurement in the top-right corner. And then, the machine will automatically focus.


5. Design objects for processing
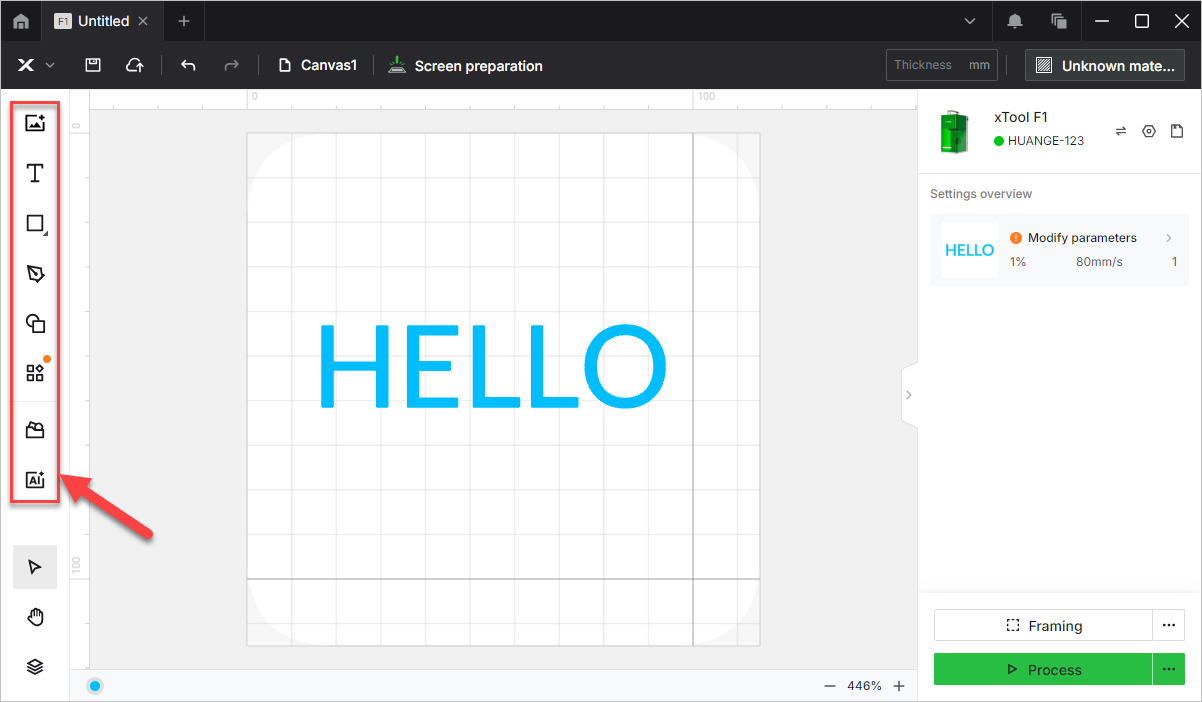
(1) Use the tools to the left side of the canvas to create objects. You can import images, insert shapes, enter text, or draw vector graphics.
(2) Reflect the pattern horizontally or vertically.
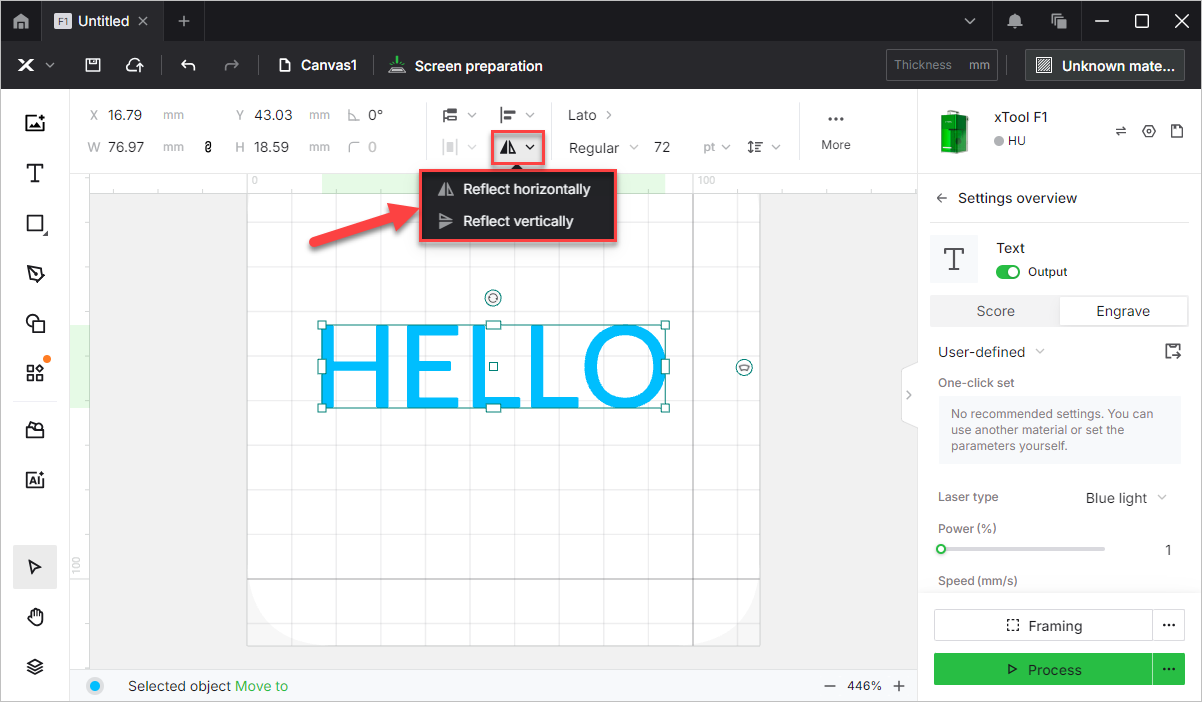
xTool F1 will engrave on the back of the screen, so you need to reflect the pattern horizonally or vertically.
For example, a T-shirt is usually slid onto the working platform for printing, so you need to rotate the pattern by 90 degrees. The rotating direction depends on how you place the screen assembly in the working area of xTool F1.

Note: XCS provides recommended processing parameters for coated screens, you only need to select the fast-engrave screen as the material, and XCS will automatically set processing parameters for the screen.
6. Preview the processing area
(1) At the bottom right corner of the software, click the icon next to the Framing button to set the parameters for framing.
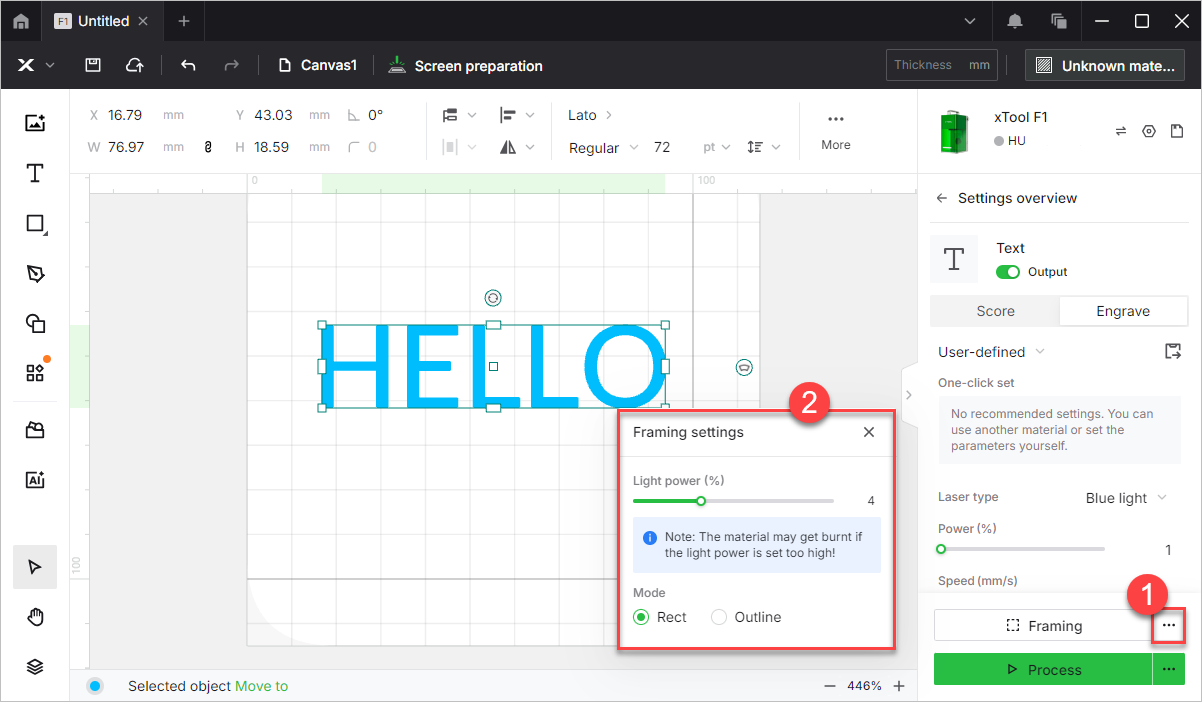
If you select Rect, you can preview the rectangular border of the processing area.
If you select Outline, you can preview the outline of the processing objects.

(2) Close the protective enclosure, and then click Framing in the software or press the framing button on xTool F1 to start framing.
The laser spot will move along the boundary of the processing pattern on the material so that you can preview the processing area.
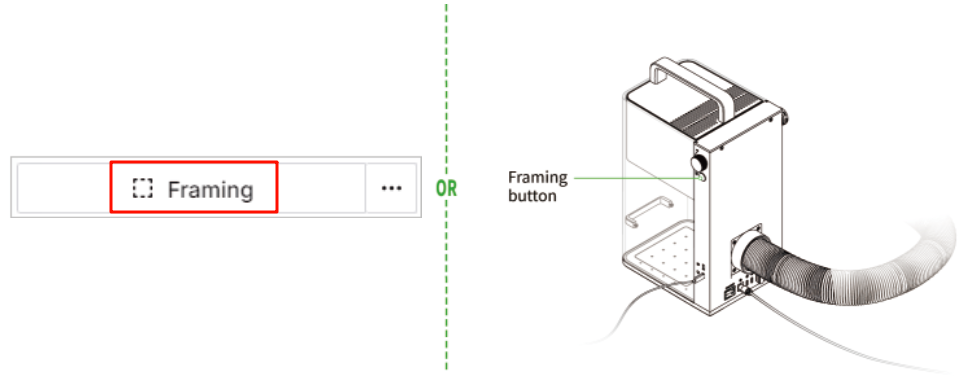
By default, xTool F1 performs framing for all the elements to be processed. To preview the boundary of one or more particular elements, you can select the elements on the canvas of XCS during framing. The laser spot will move along the boundary of the selected elements, as illustrated by the following pictures.
- Default framing:

- Selected elements framing:

If the area is not ideal, you can adjust the element positions in XCS during framing. xTool F1 will adjust the framing area accordingly, allowing you to preview the processing area in real time.
7.Set the processing path
In the bottom-right corner of XCS, click the icon next to Process.
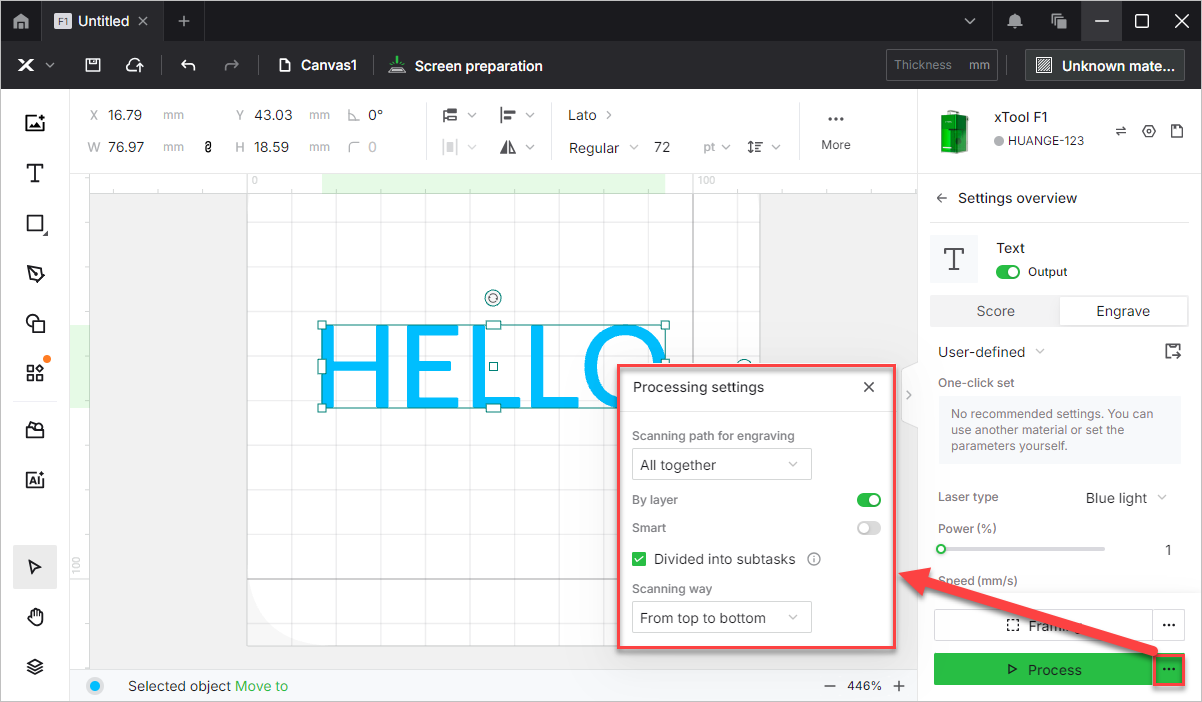
(1) Setting the Scanning path for engraving, which applies only to vector engraving.
- All together: Engraves multiple objects at the same time in the set sequence and direction. The laser module travels a longer distance since it needs to travel across the empty space between each object over and over again. Therefore, the processing time is usually longer.

- One by one: Engraves objects one by one in the set sequence and direction. The laser module travels a shorter distance since it can finish engraving one object before moving to the next. Therefore, the processing time is usually shorter.

(2) Turn on or off engraving by layer.
- By layer: If this feature is turned on, xTool S1 will engrave the objects layer by layer.
- Divided into subtasks: If this feature is turned on, XCS will pause processing each time when xTool S1 finishes engraving a layer and remind you to replace the screen for the processing of next layer.
(3) Set the Scanning way, which applies to vector and bitmap engraving.
- From top to bottom: Engrave a pattern from the top to the bottom.

- From bottom to top: Engrave a pattern from the bottom to the top.

8. Start processing
(1) On the bottom right corner of the software, click Process.
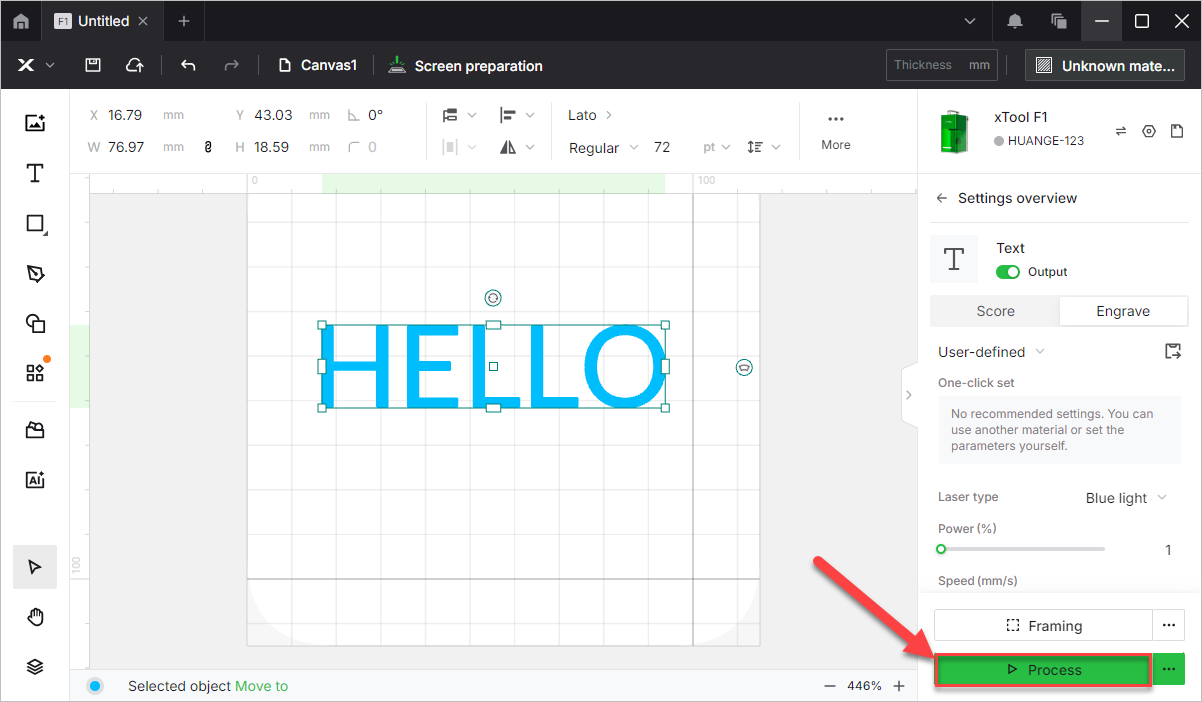
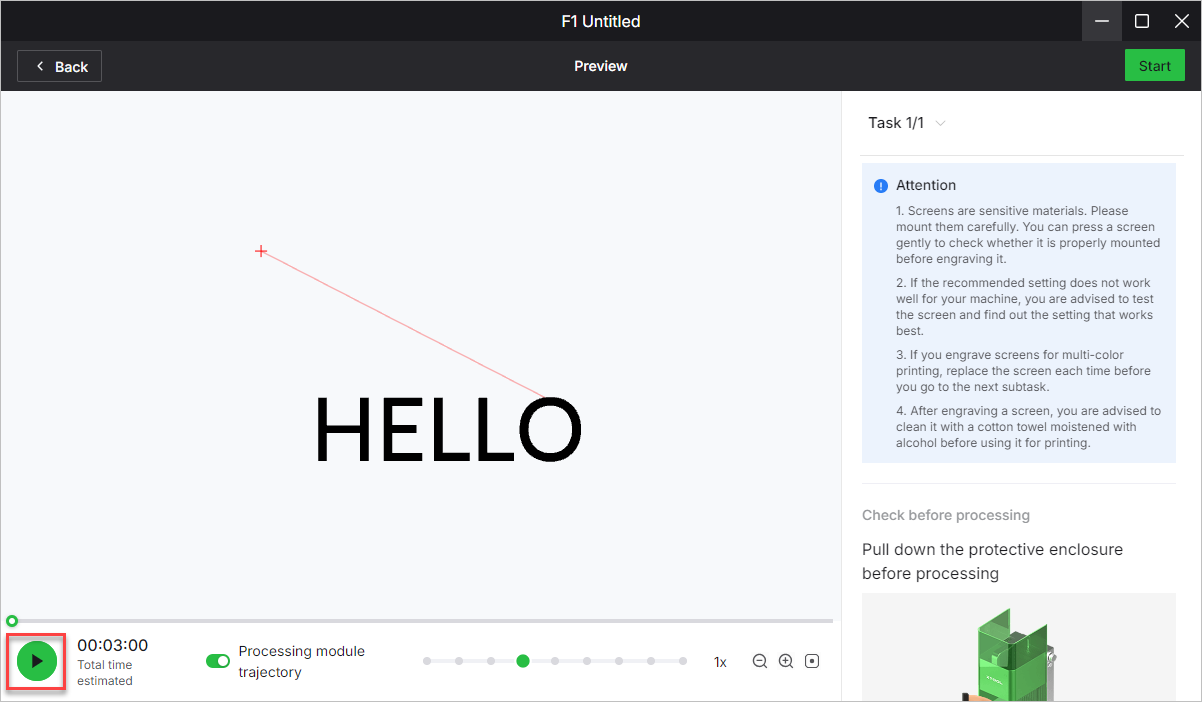
(2) Preview the processing pattern and path.
On the bottom-left corner, click the button, and XCS will show you the processing path.
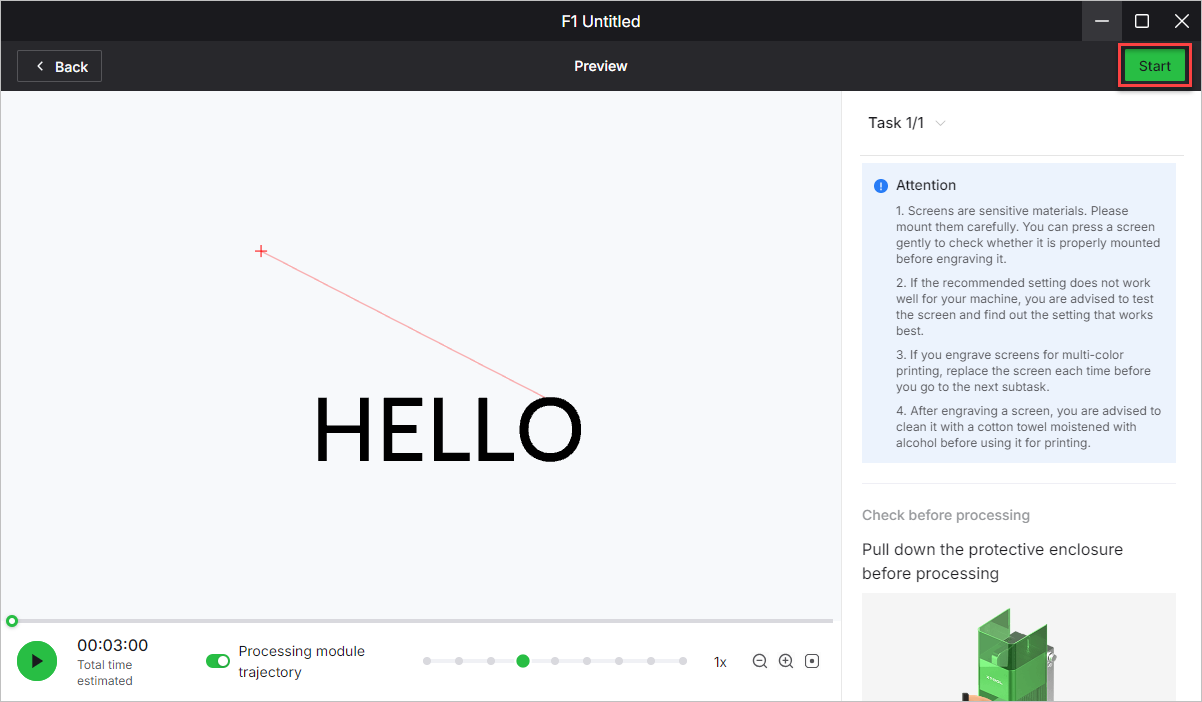
(3) In the upper right corner of the software, click Start.
(4) Close the protective enclosure. Then, press the knob on xTool F1 to start processing.