To engrave cylindrical or irregular materials, you can use xTool D1 Pro with Rotary Attachment 2 (RA2).
*The usage of RA2 and RA2 Pro is the same.
1. Install RA2
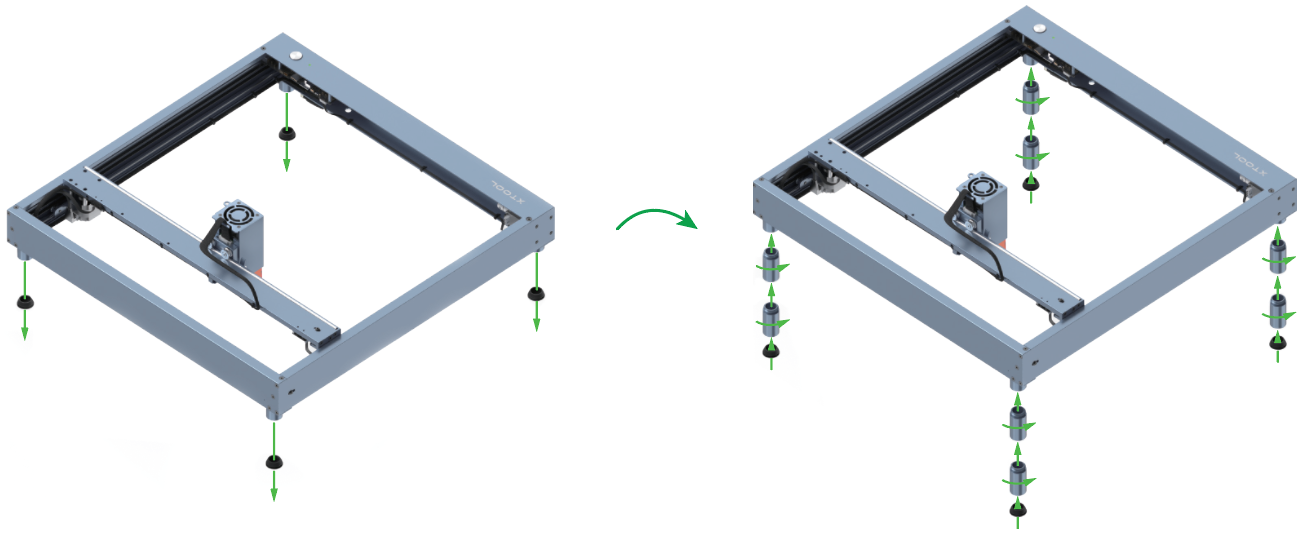
(1) Install risers.

Note: No riser is included in the pack. You need to purchase risers before using them.
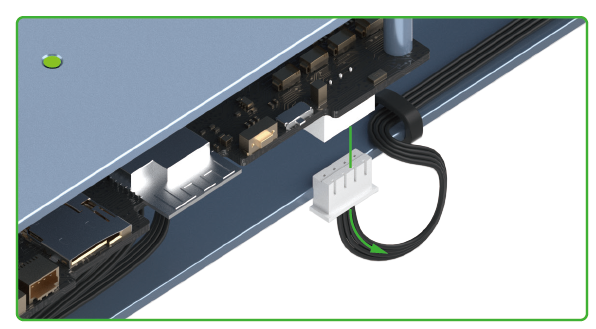
(2) Disconnect the motor on the left plate from the main control board.
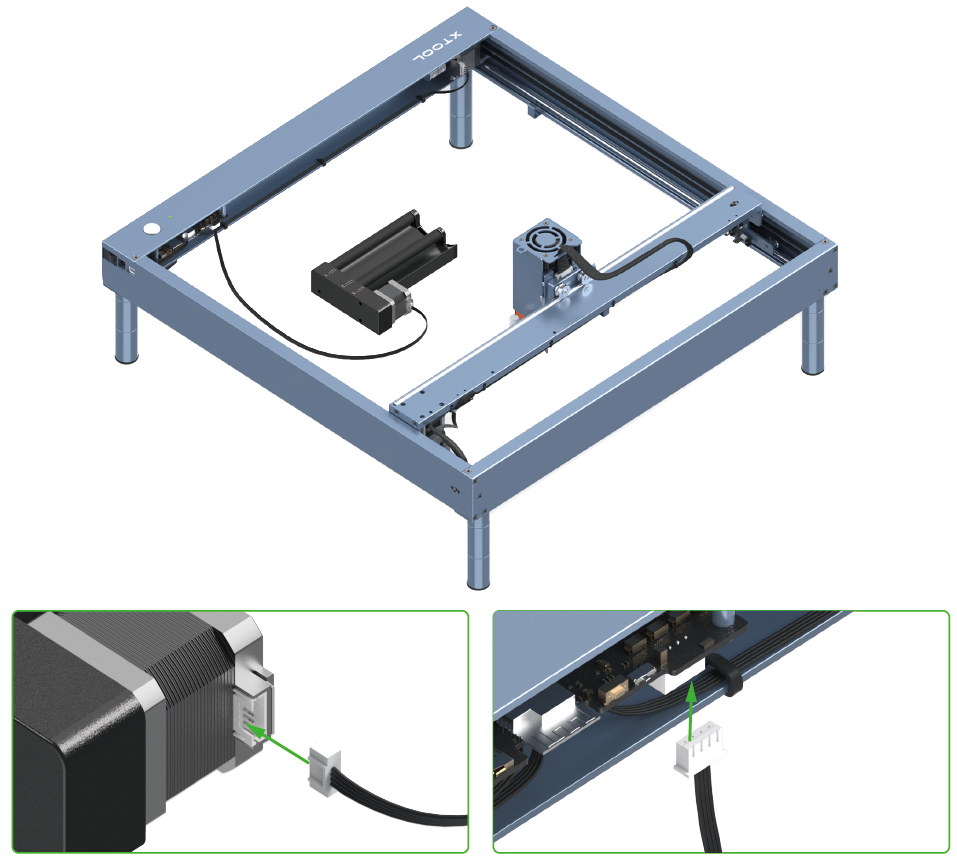
(3) Connect RA2 to the main control board, and place RA2 in the working area of xTool D1 Pro.
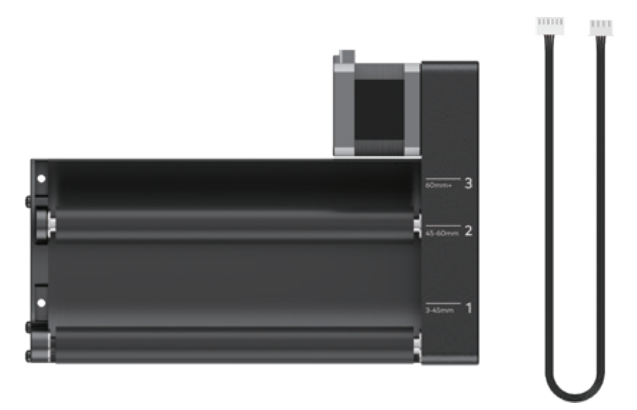
Before connecting RA2 to xTool D1 Pro, you can set the level of RA1 based on the diameter of a material to be processed. If you've purchased the RA2 Pro kit, you can also use its components and modules. For details about how to set the level and use its components and modules, see User Manual for Rotary Attachment 2 (RA2).
2. Use RA2
(1) Connect xTool D1 Pro to a power supply and turn it on.
(2) Connect xTool D1 Pro and your computer by using the USB cable.
(3) Open XCS and connect xTool D1 Pro to XCS.
(4) Select the Laser cylindrical processing type.
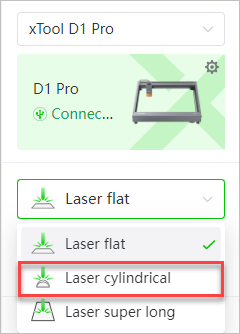
(5) Select the Roller or Catch mode according to the components or modules you are using.
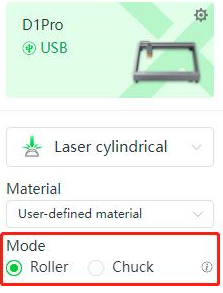
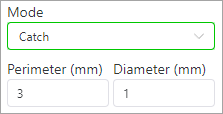
If you use the jaw chuck components, select Catch, and enter the perimeter or diameter of the material to be processed.
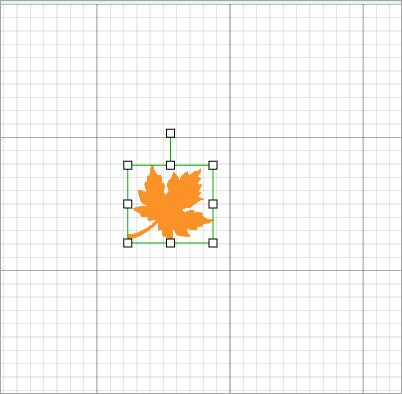
(6) Import a project file, insert an element, or draw your artwork on the canvas. For example:
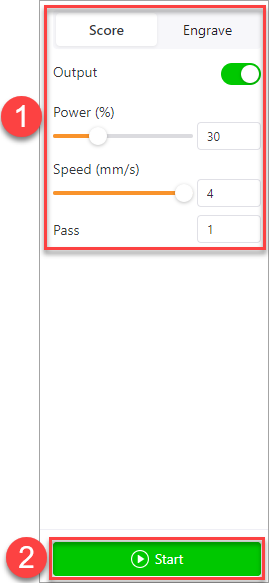
(7) Set the parameters, and click the Start.
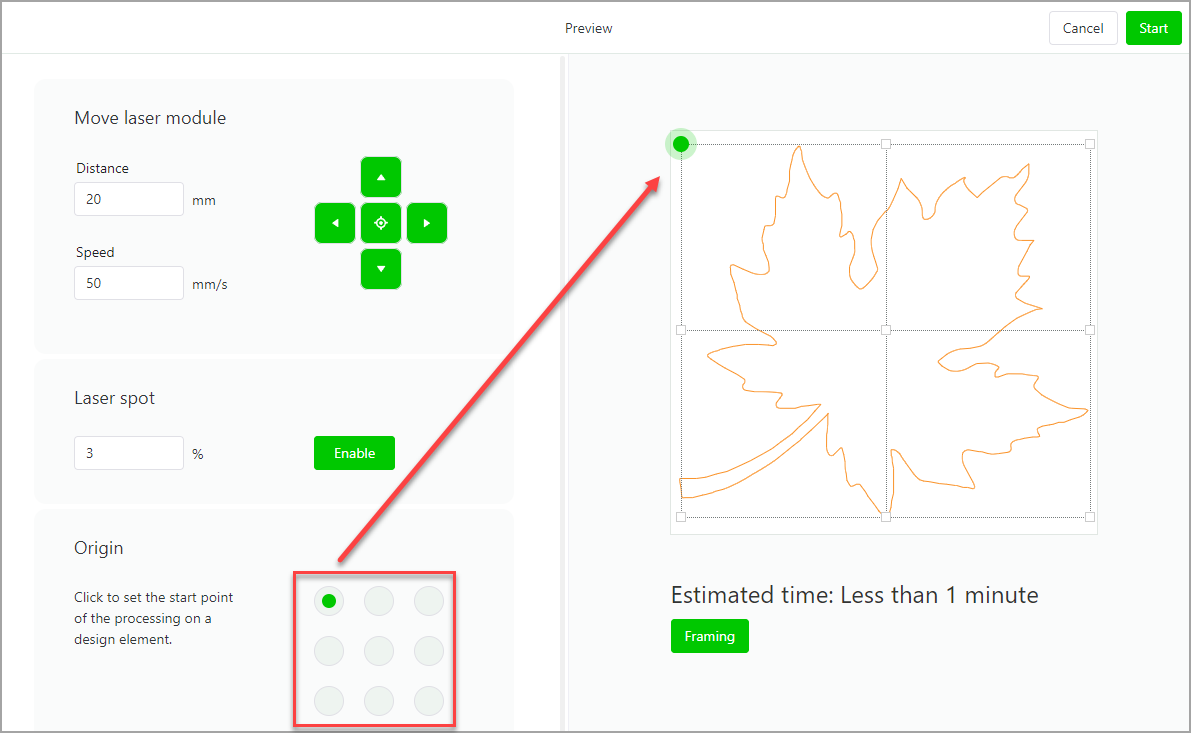
(8) Set start point for processing.
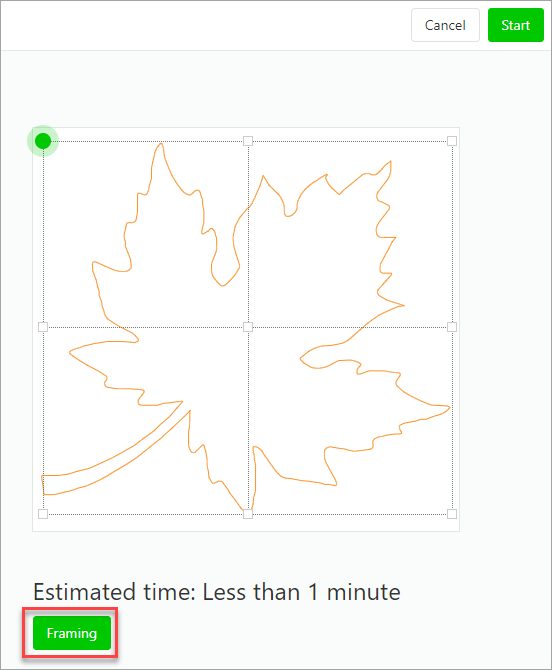
(9) Click Framing to preview the processing area on the material. Make sure the design elements are to be processed on the material.
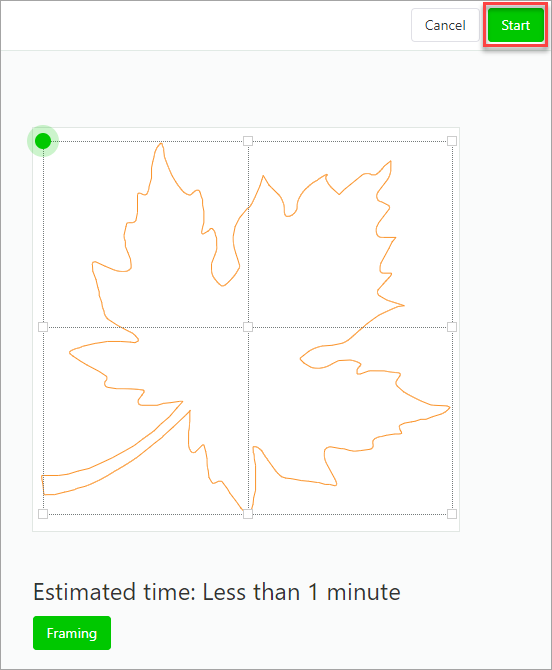
(10) Click the upper right button Start.
(11) Wait for the processing to complete.

Services & Help
Learn & Community
Copyright © 2025 xTool All Rights Reserved.