In XCS v2.0, you can redraw any vector graphics. This means that you can modify lines, add or remove elements, and make other changes to suit your needs.
Step-by-Step Guide
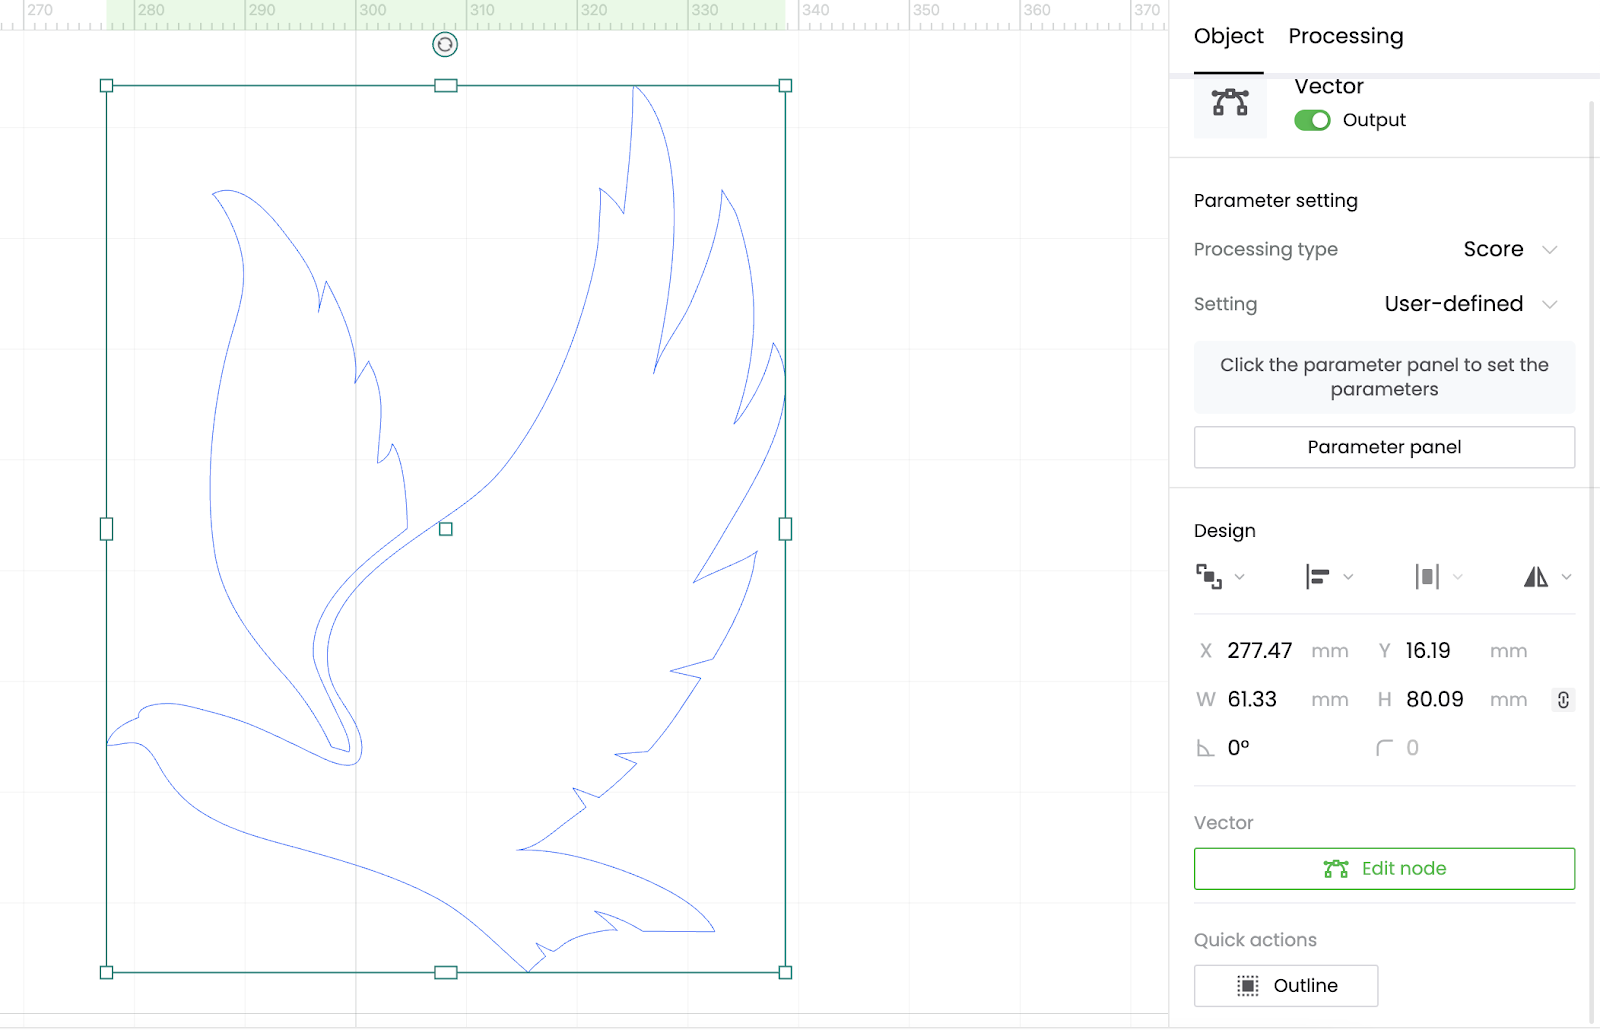
- Start by importing a vector graphic into your workspace. We recommend svg. file for better compatibility.
- To enter vector editing mode, double-click the left mouse or click the edit node button on the right-side panel.
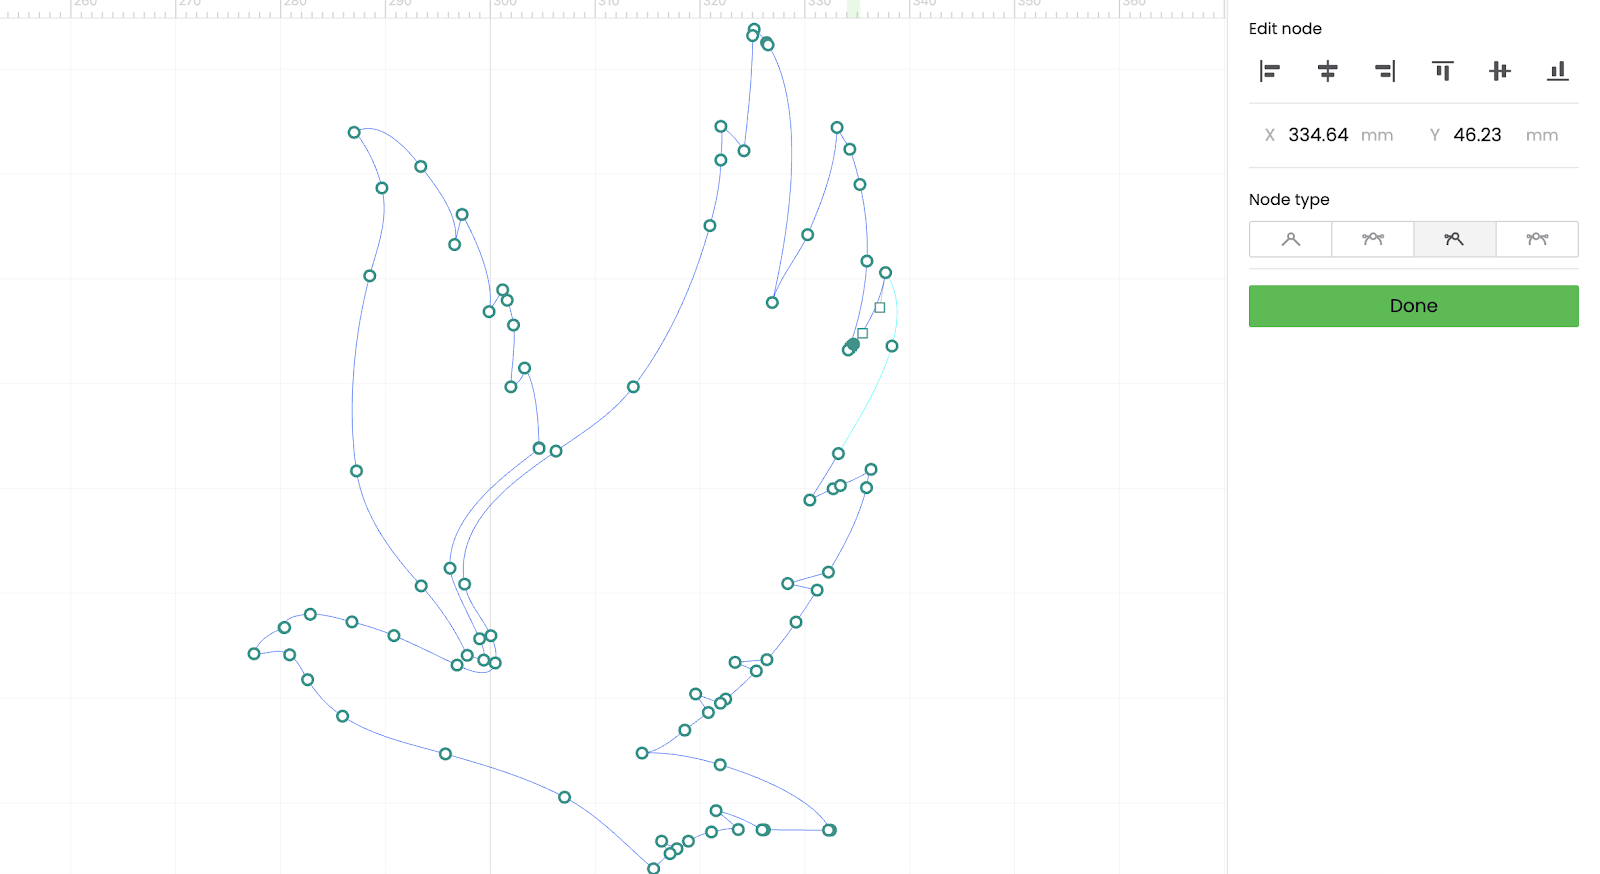
In vector editing mode, you can add, delete, or drag nodes. These actions will alter the shape of your vector accordingly.
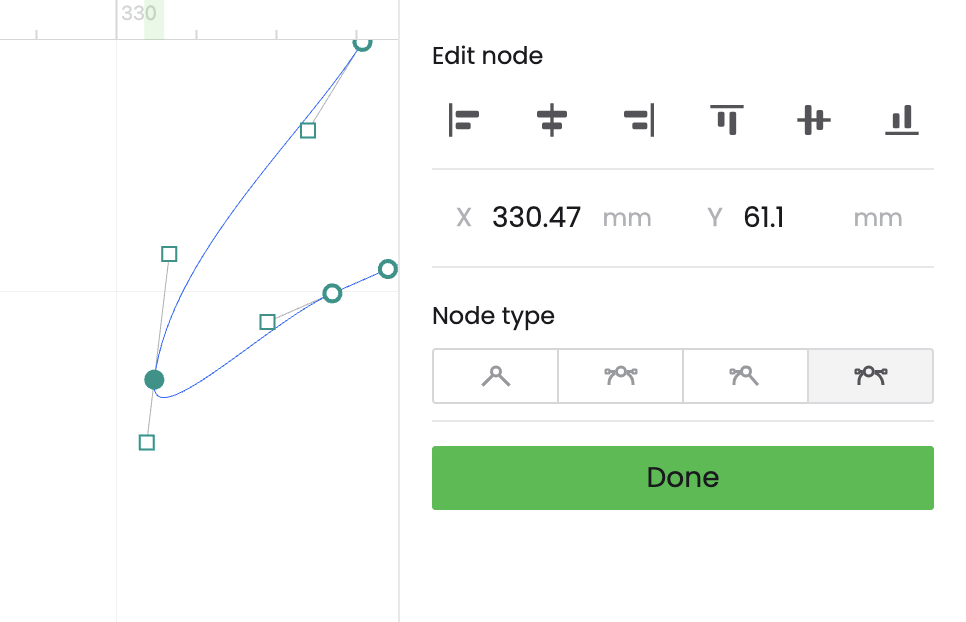
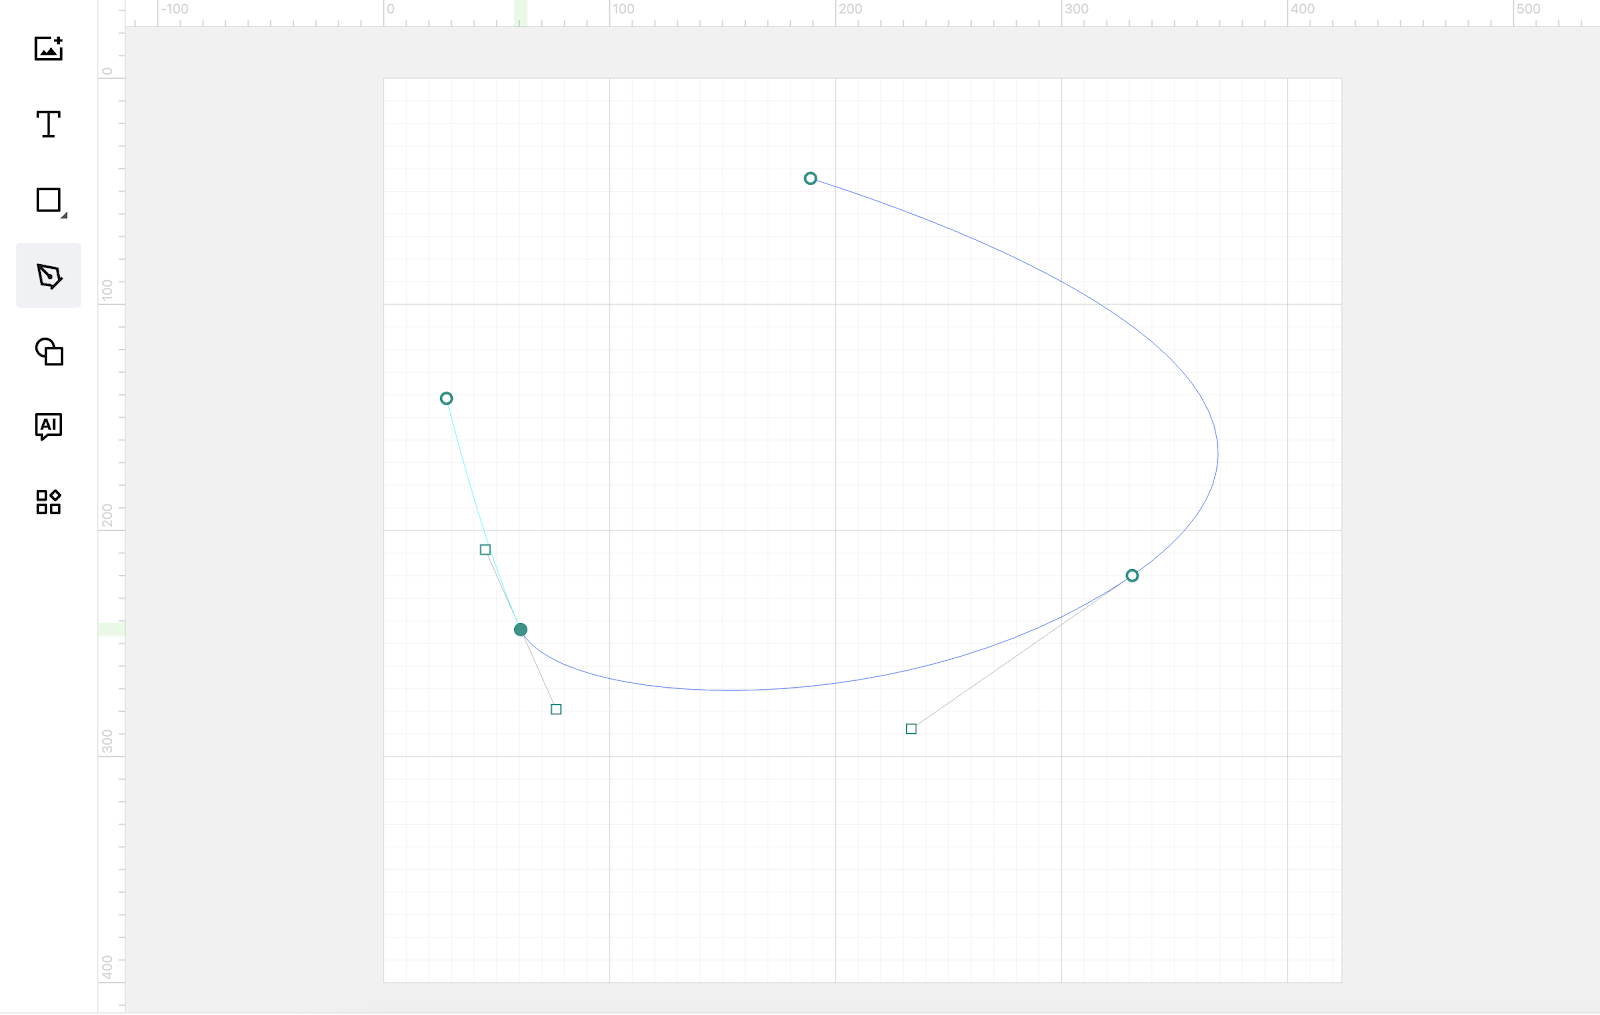
Adjust Node Types
Once a node is selected, you can change its type in the right-side panel. This adjustment allows you to switch between straight lines and curves, giving you control over the path's shape.
Exit Node Editing Mode
To exit node editing mode, click "done" on the right-side panel or right-click anywhere on the canvas and select "exit node editing."
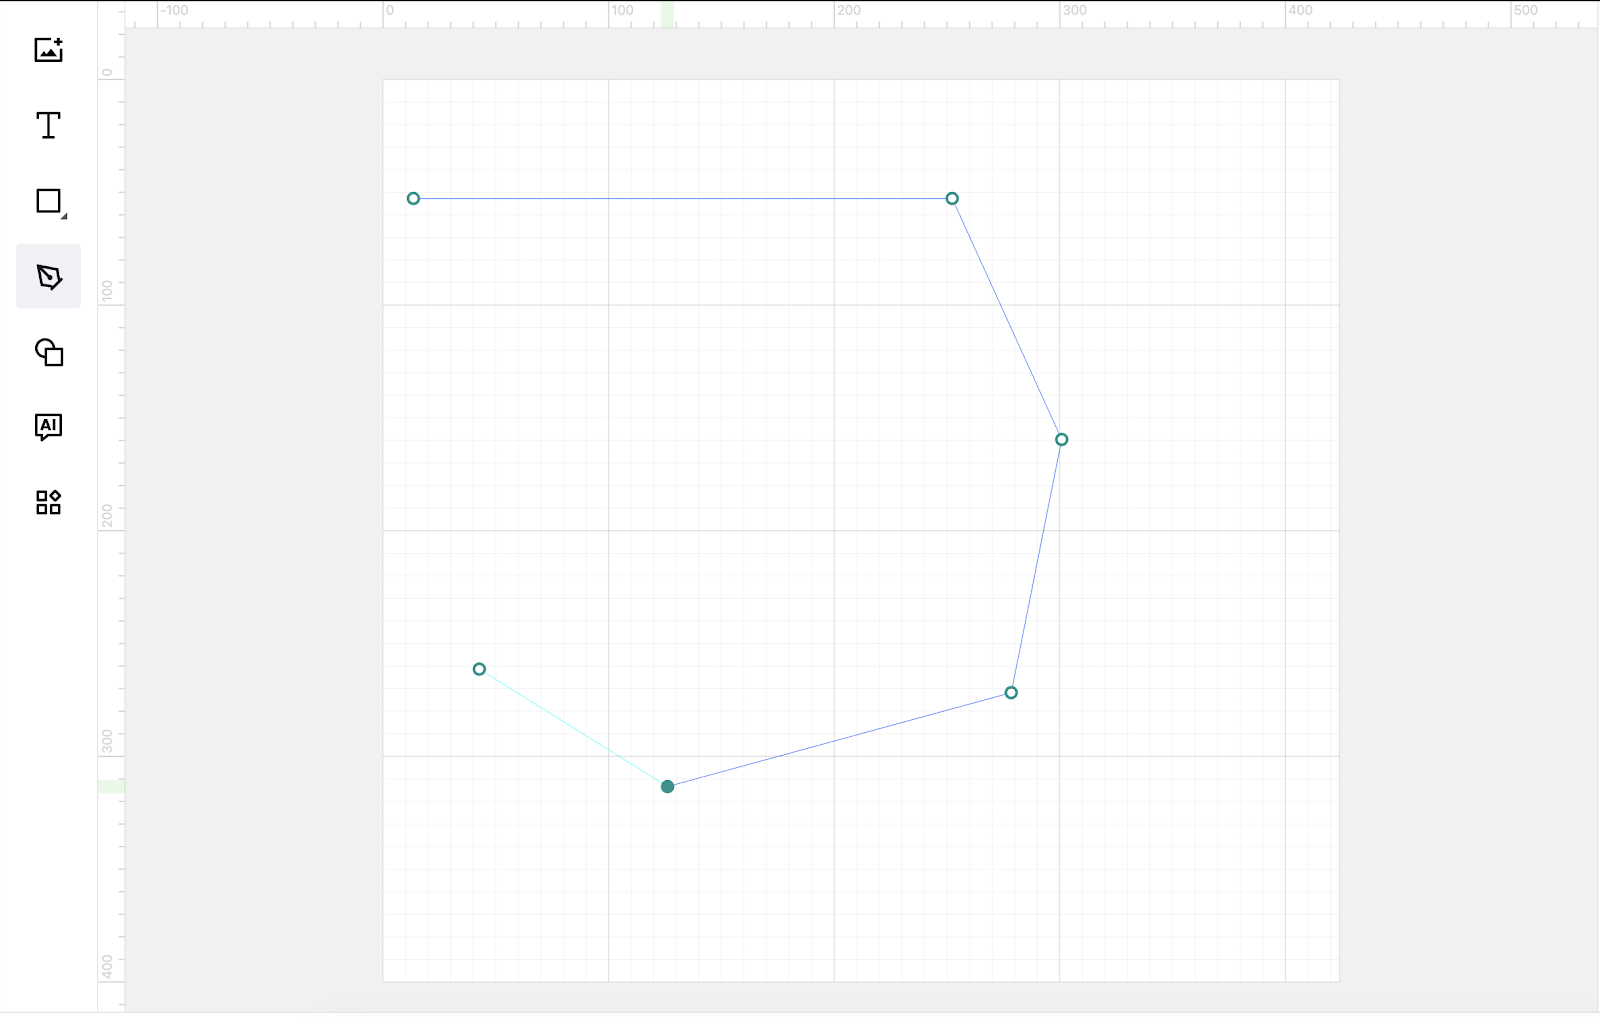
Using the Pen Tool
Draw a straight line:
Select the pen tool from the left toolbar. Click on an empty space to create a new node. Releasing the mouse and clicking again will generate a straight path.
Draw a curve line:
For curves, click and hold on the canvas, then drag the mouse. This action creates a control handle for the curve. Releasing the mouse button will set the curve's vector path.
Note on Auto-Snaping Switch
If you have enabled the smart snapping feature, the minimum node movement is 3mm. For more detailed editing, consider turning off smart snapping to achieve finer control over your node placements.
