Use Rotary Attachment 2 (RA2) with xTool P2/P2S
xTool Rotary Attachment allows you to process regular and irregular cylindrical materials. You are advised to use the rotary attachment with the xTool P2/P2S riser base, which raises the height of xTool P2/P2S and allows you to process a wider range of materials. Here, the xTool P2/P2S is taken as an example for illustration.
*The usage of RA2 and RA2 Pro is the same.
Scenario 1
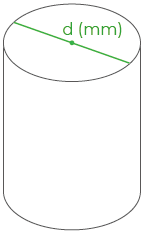
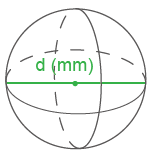
xTool P2 + Rotary attachment: applicable to cylinders with a diameter of less than 42 mm
| Level A: 3 ≤ d < 38 |
|
Level B: 38 ≤ d ≤ 42 |
|

Example: process a cylinder with a diameter of 35 mm
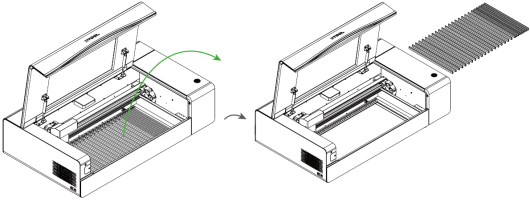
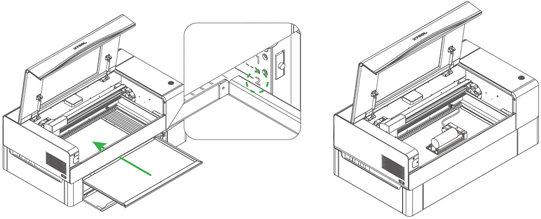
- Remove the slats from xTool P2/P2S.
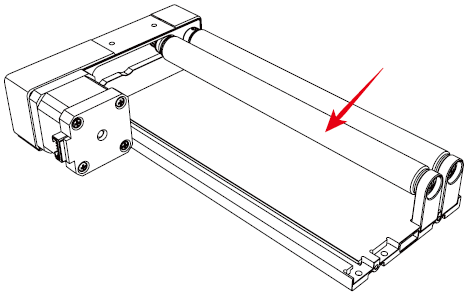
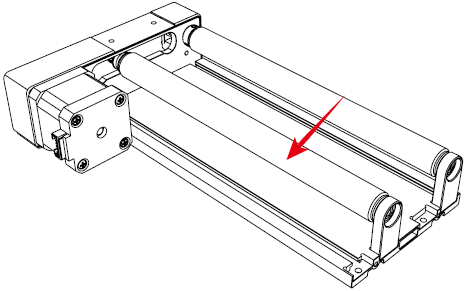
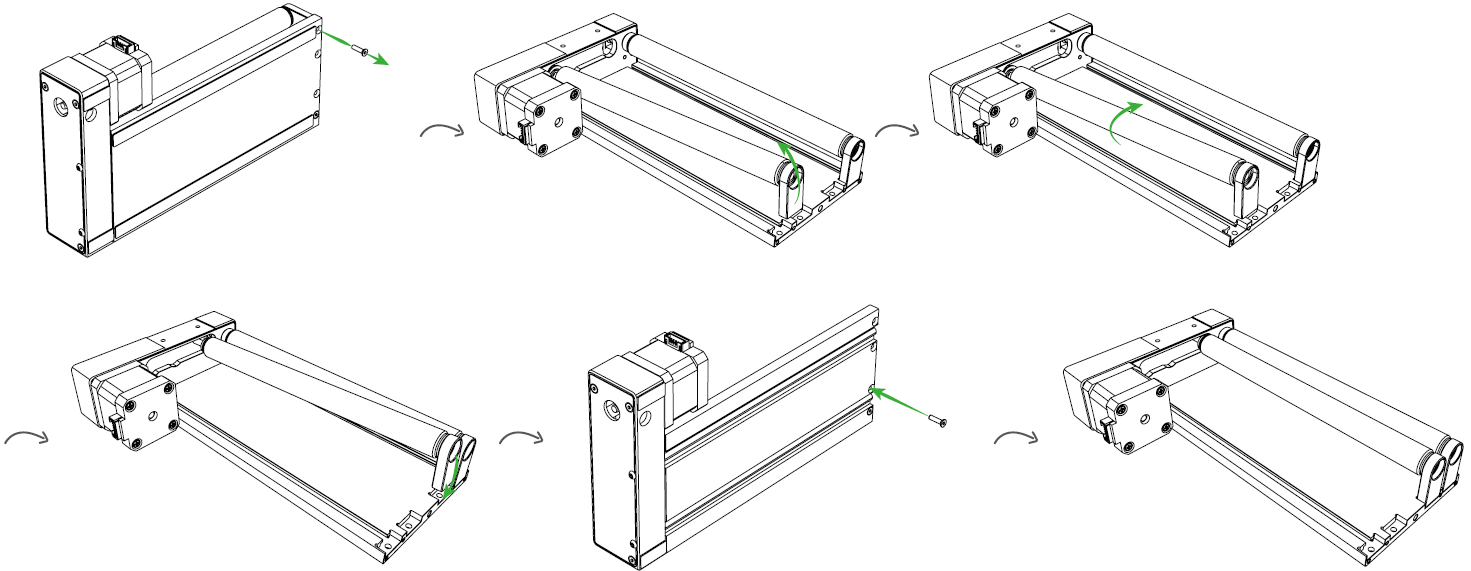
- Set the roller to level A.
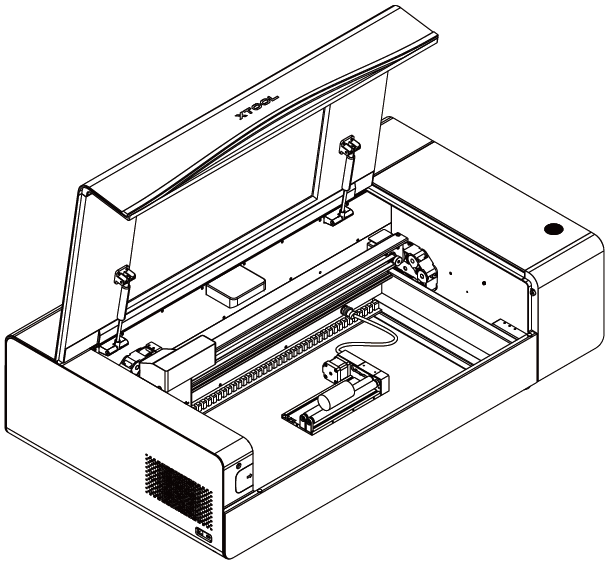
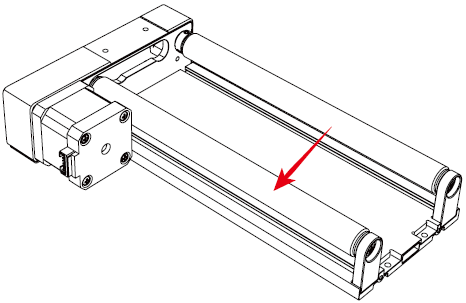
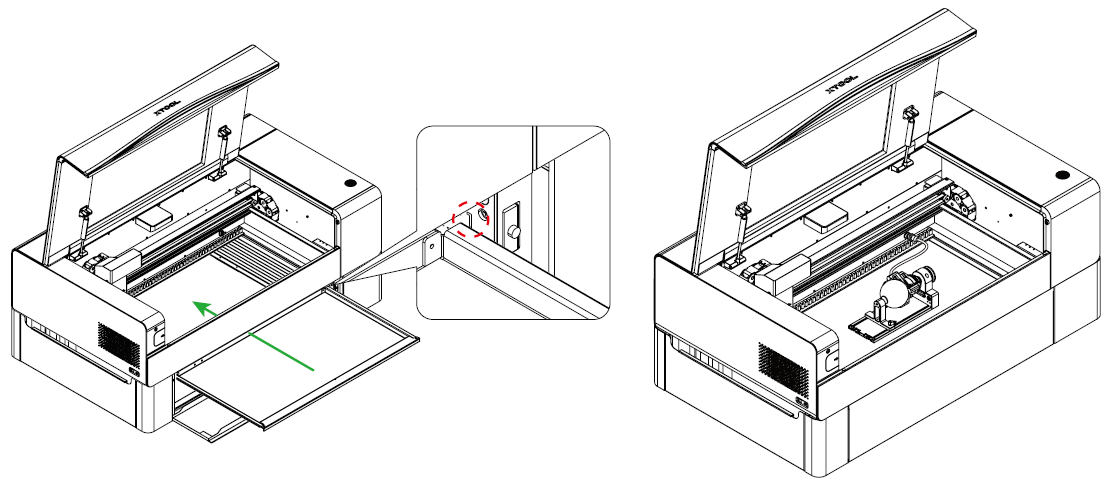
- Place the rotary attachment on the baseplate and connect it to xTool P2/P2S.
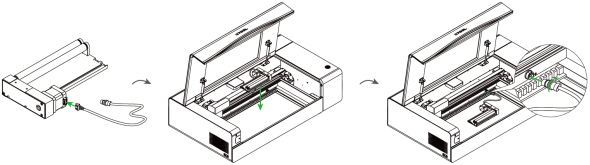
- Place the material on the rotary attachment.
- On the top of the canvas, select Roller - Use rotary attachment as the processing mode.

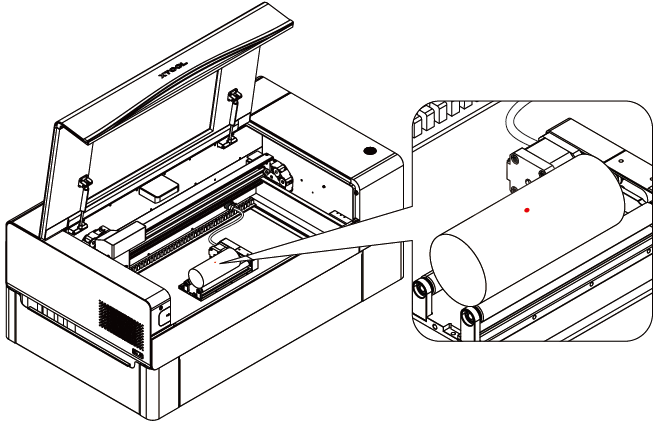
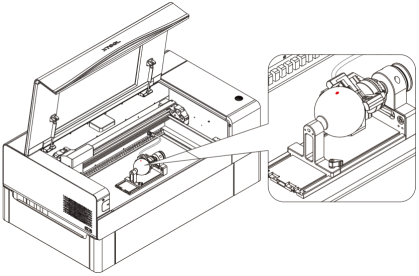
6. Move the rotary attachment to allow the red spot to fall at the highest point of the material.
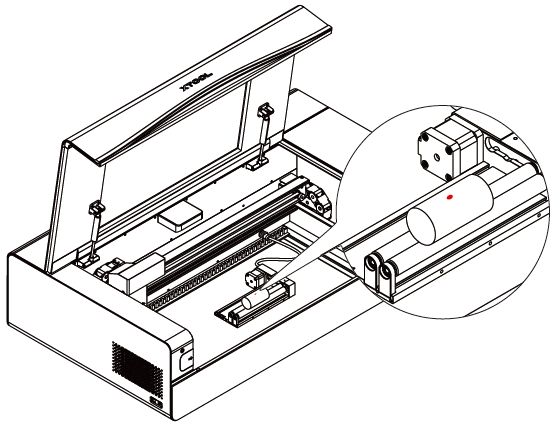
- Close the lid and refresh the image captured by the camera.

8. Click Quick-measure to start automatic distance measurement.

9. Use the left-side tools to create objects on the canvas.

10. Set the processing parameters for the object.

11. Move the object to the right side of the yellow line, and align its left side with the yellow line.

12. Click Process and complete the processing as prompted.

- Preview the object and click Start.

- Press the button on xTool P2/P2S to start processing.

Scenario 2
xTool P2/P2S + Riser base + Rotary attachment: applicable to cylinders with a diameter of 42 mm or larger, and irregular cylindrical materials
You need to determine the level at which the baseplate is to be placed based on the diameter of the material, as described in the following table.
Roller mode | Chuck mode | ||||
| 1 | 42 ≤ d ≤ 83 |
| 1 | 0< d ≤ 90 |
1a | 54 ≤ d ≤ 94 | 1a | 90 ≤ d ≤ 100 | ||
2 | 67 ≤ d ≤ 104 |
|
| ||
2a | 79 ≤ d ≤ 115 |
|
| ||
3 | 92 ≤ d ≤ 126 |
|
| ||
3a | 104 ≤ d ≤ 139 |
|
| ||
4 | 117 ≤ d ≤ 150 |
|
| ||
4a | 129 ≤ d ≤ 163 |
|
| ||
5 | 142 ≤ d ≤ 174 |
|
| ||
In roller mode, you need to set the level of the adjustable roller.
| Level A: 3 ≤ d ≤ 50 |
|
Level B: 45 ≤ d ≤ 60 |
| |
Level C: d > 60 |
|
Example 1:roller mode—process a cylinder with a diameter of 90 mm
(1) Place the baseplate at level 2 and then place the rotary attachment and material on the baseplate.
(2) On the top of the canvas, select Roller - Use rotary attachment as the processing mode.

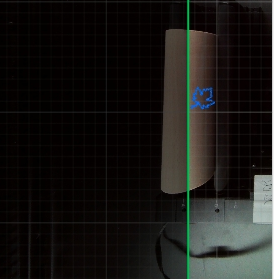
(3) Move the rotary attachment to allow the red spot to fall at the highest point of the material.
(4) Close the lid and refresh the image captured by the camera.

(5) Click Quick-measure to start automatic distance measurement.

(6) Move the object to the right side of the yellow line, and align its left side with the yellow line.
Tips: Pay attention to the direction of the object. You may need to reflect it to get what you want.
(7) Click Process to complete the processing as prompted.

(8) Preview the object and click Start.

(9) Press the button on xTool P2/P2S to start processing.

Example 2:chuck mode—process a sphere with a diameter of 75 mm
(1) Place the baseplate at level 1 and then place the rotary attachment and material on the baseplate.
You need to install the chuck parts and tail module on the rotary attachment to hold the sphere. For details about how to install and use the chuck parts of the rotary attachment, see this article: Rotary Attachment 2 (RA2) User Guide.
(2) On the top of the canvas, select Chuck - Use rotary attachment as the processing mode.

(3) Move the rotary attachment to allow the red spot to fall at the highest point of the material.
(4) You need to enter the Perimeter or Diameter of the material on the top of XCS by measuring you material.

(5) Close the lid and refresh the image captured by the camera.

(6) Click Quick-measure to start automatic distance measurement.

(7) Move the object to the right side of the green line, and align its left side with the green line.
Tips: Pay attention to the direction of the object. You may need to reflect it to get what you want.

(8) Click Process to complete the processing as prompted.

(9) Preview the object and click Start.

(10) Press the button on xTool P2/P2S to start processing.

