Issue description
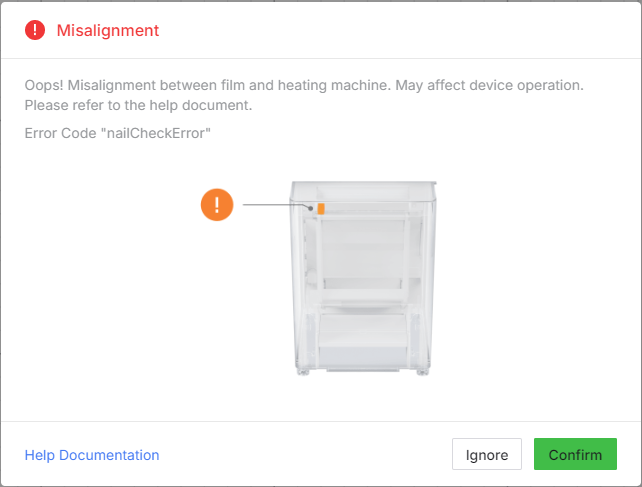
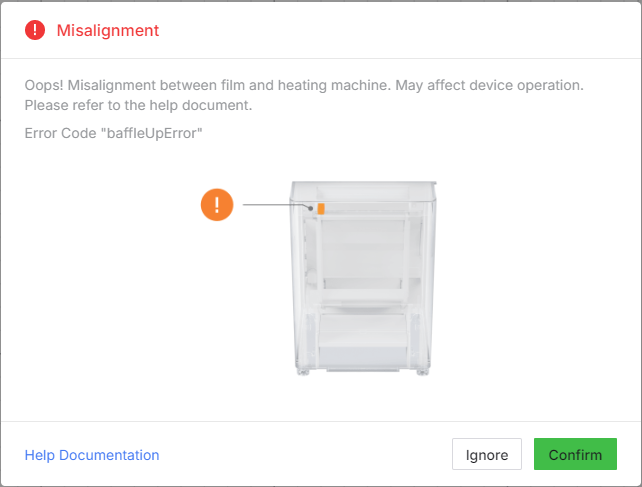
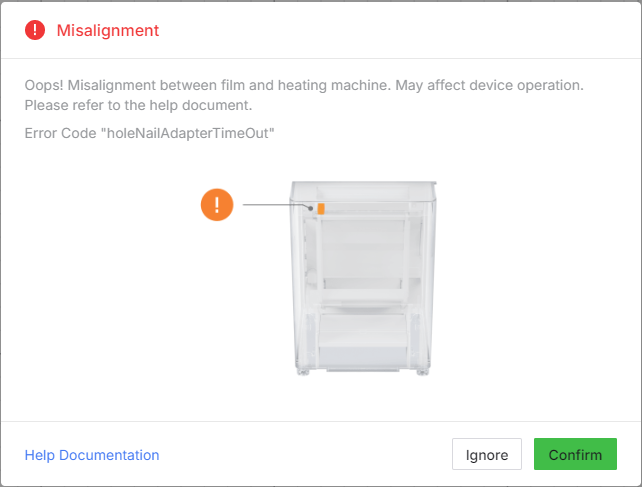
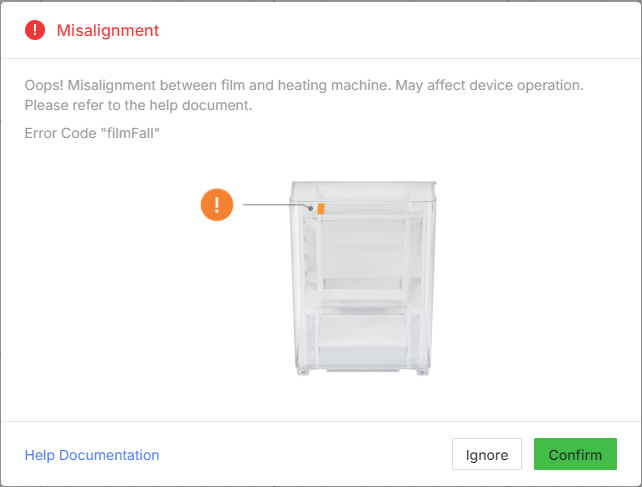
When operating the xTool Apparel Printer, you may encounter a "Misalignment" error message displayed on either the xTool Creative Space (XCS) software or the printer's LCD panel. This error indicates an installation failure of the printer onto xTool OS1 Automatic Shaker Oven Machine (OS1) or film hand-off process between the printer and the oven.
This issue may be accompanied by one of the following specific error codes: nailCheckError, baffleUpError, filmArriveError, holeNailAdapterTimeOut, or filmFall.
- This comprehensive guide will help you diagnose and resolve this issue efficiently.
|
|
|
|
|

Possible causes
- Wrinkled or misaligned film interfering with sensor detection.
- An issue with the Film Detection Sensor.
- Incorrect signal detection by the Encoder Sensor (located inside xTool OS1).
- Incorrect detection by the Powder-Shaking Motion Sensor.
- Film Fork-Lifter not raising/lowering correctly.
- Alignment calibration not performed
Troubleshooting
Step 1: Check & prepare the film
Proper film condition and alignment are critical for a successful film hand-off process between the printer and the oven.
1. Film inspection:
- Carefully examine the PET film currently loaded or the section about to be loaded. Look for any wrinkles, creases, folds, or damaged edges.
|
|
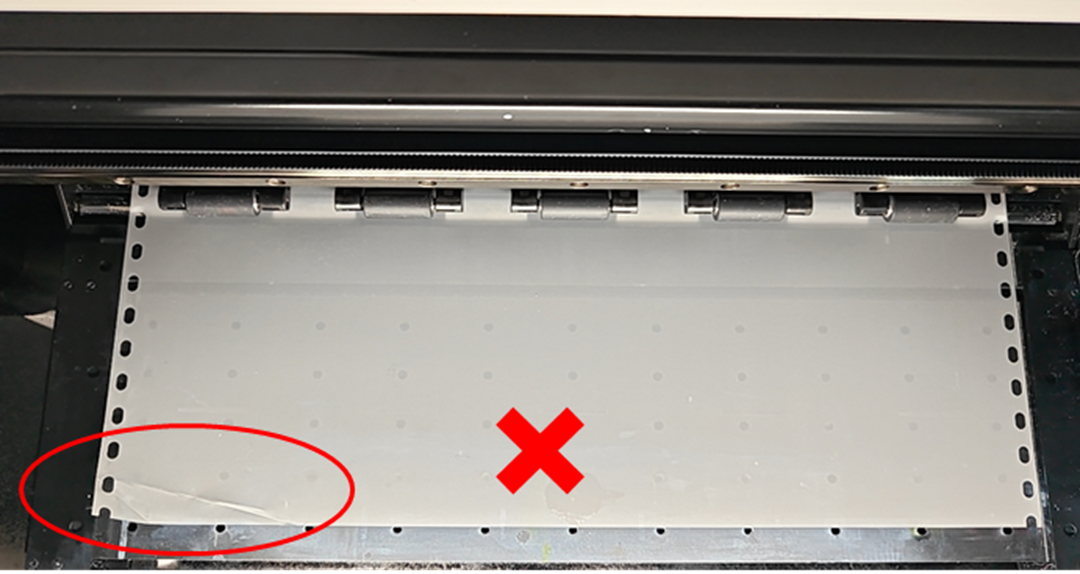
2. Remove wrinkled film
- Use scissors or a cutter to carefully remove any wrinkled sections of the film.
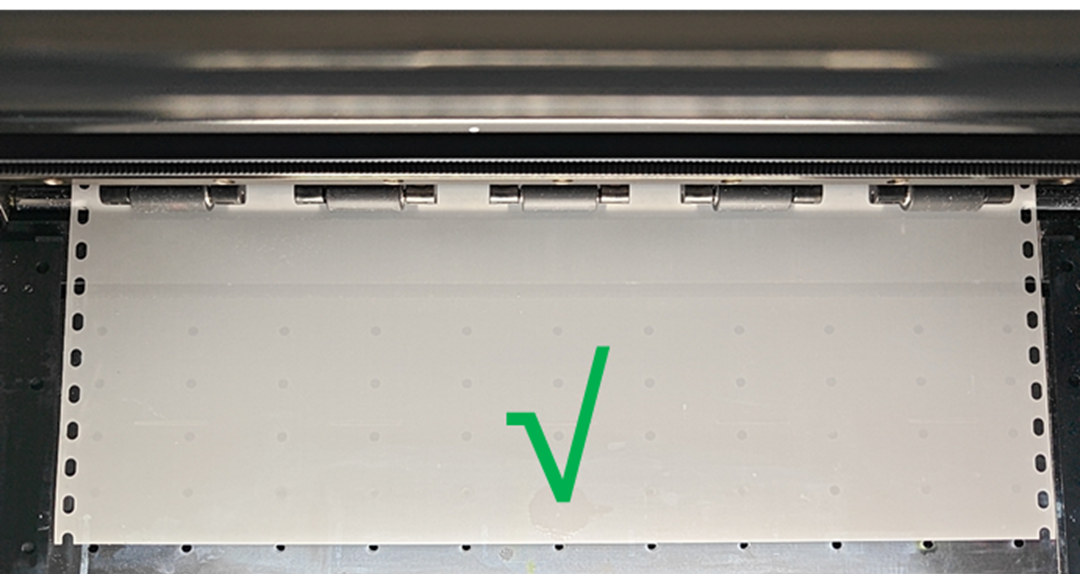
- Ensure the remaining film is completely free of wrinkles or creases.
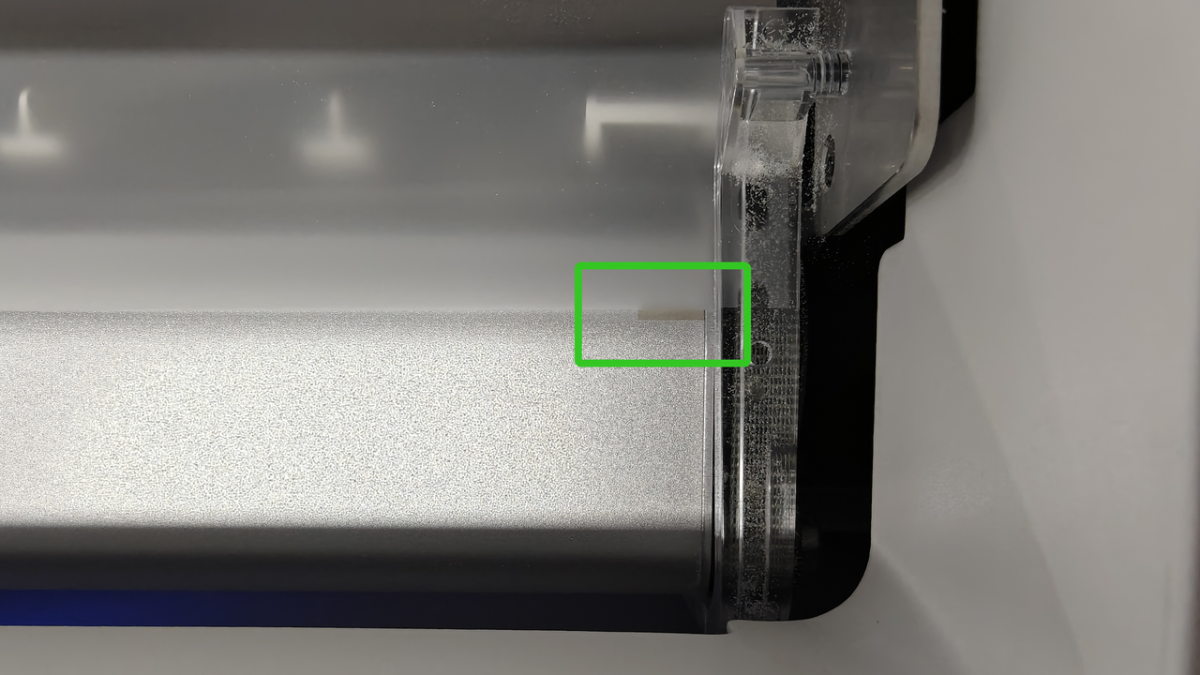
3. Align the film correctly:
- Apply tension: Gently pull the film taut (tight) as you guide it. Ensure it is not loose or slack during alignment.
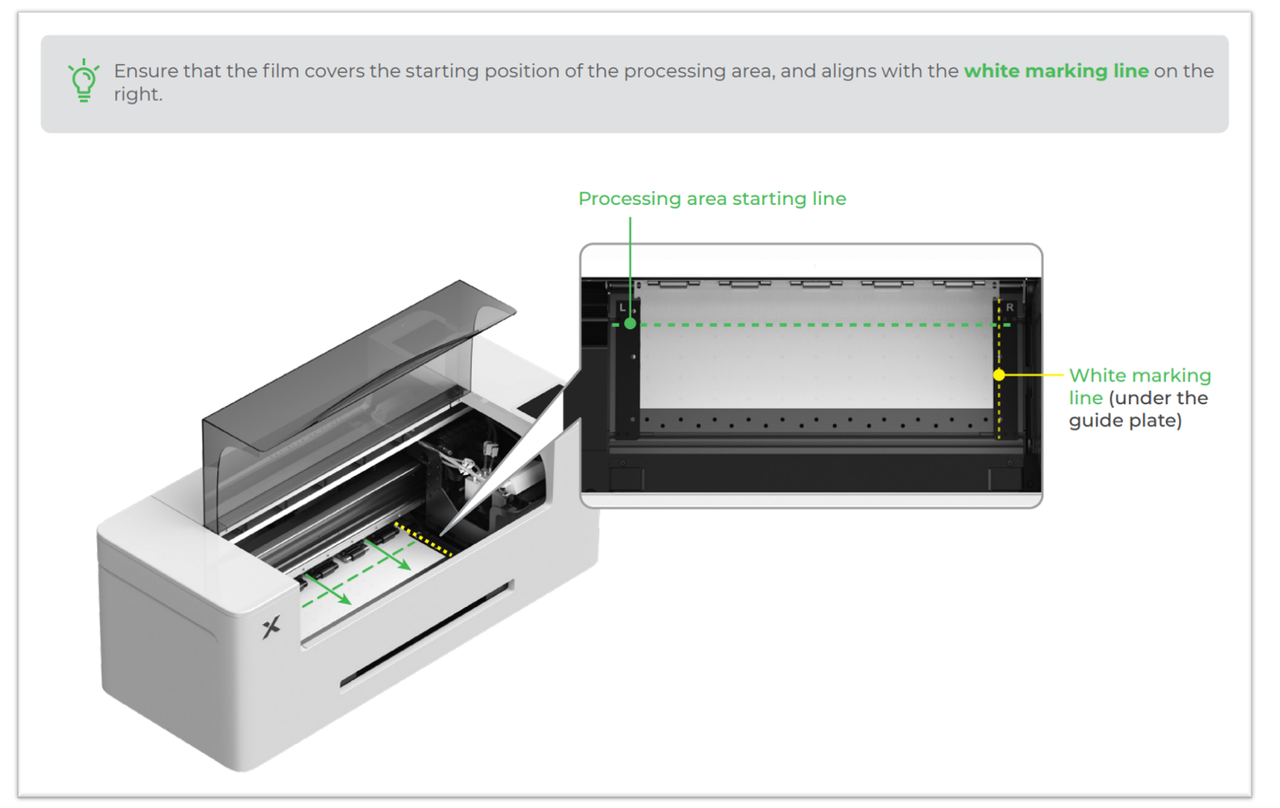
- Position on guide line: Align the film edge precisely with the white marking line.
- The film must not overlap the white marking line.
- The film edge must remain within ≤1 mm of the line (not shifting left or right).
Video reference: For visual guidance on proper PET film adjustment, refer to the video tutorial: Replace the Brackets & Adjust the Ball Bearings on xTool Apparel Printer
- Specific section: 1:20-1:40 minutes
4. If the issue persists, proceed to the next step.
Step 2: Clean the oven's film detection sensor
Powder buildup can interfere with the sensor that detects the film entering the oven.
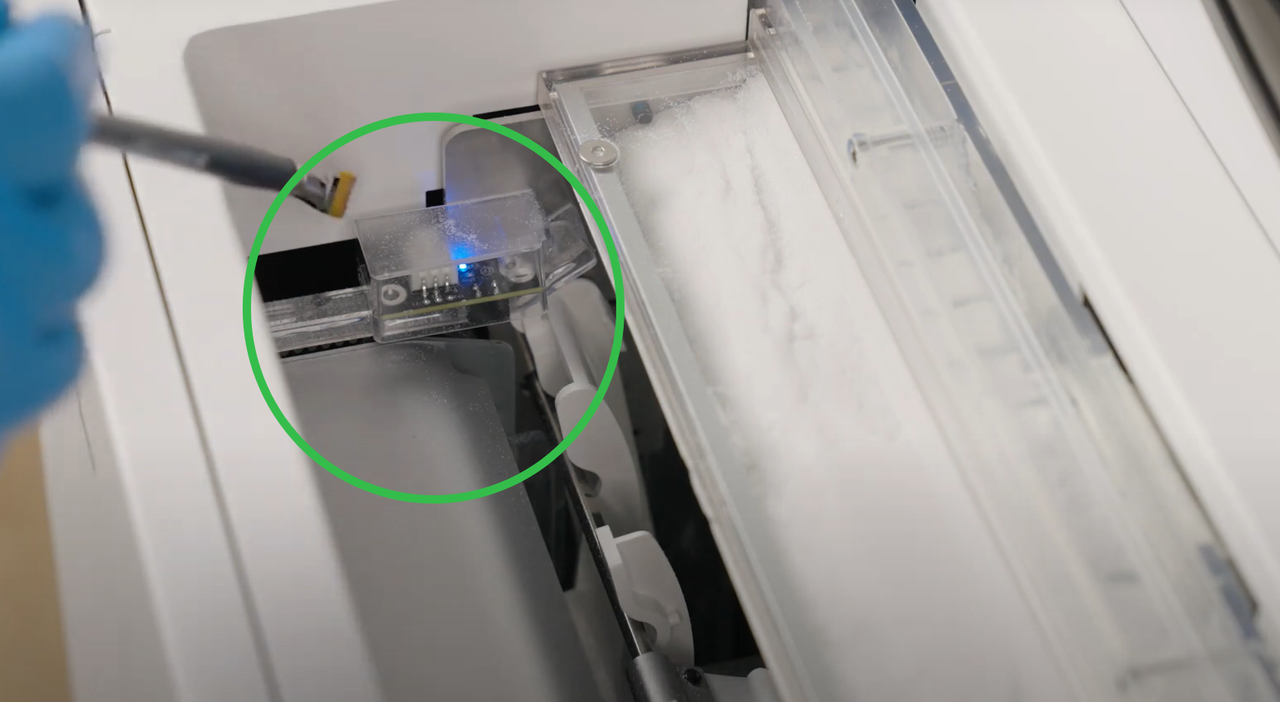
1. Access & clean the sensor:
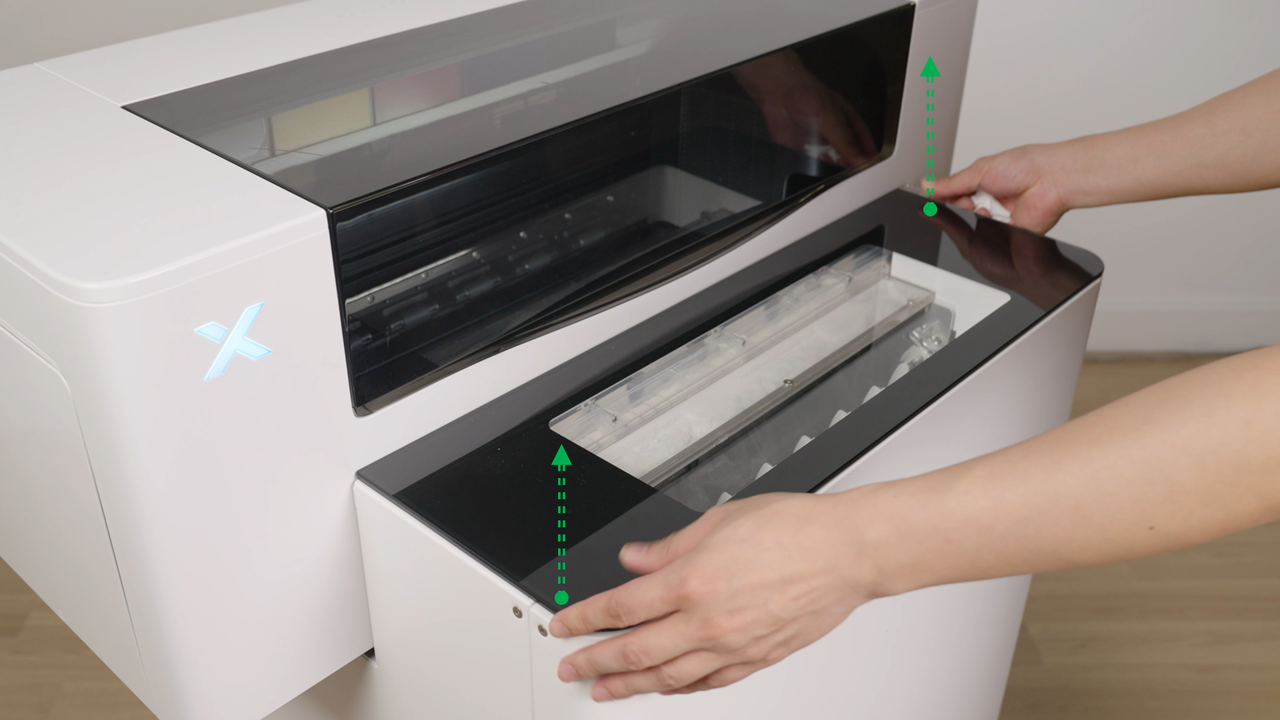
- Detach the magnetic cover of the xTool OS1 Shaker Oven.
- With the cleaning brush included in your OS1 package, gently clean the film detection sensor.
- Video guide: For a clear demonstration of this process, please refer to: Routine Cleaning & Care for xTool OS1 Shaker Oven
2. Remove powder interference:
- Gently tap the sensor's housing to dislodge any compacted powder that may be inside.
- Additionally, use the brush to clean any powder buildup from the area around the sensor. This helps prevent light reflections that can interfere with sensor readings and cause a delivery process failure.
|
|
3. Issue persists?
If the issue is not resolved, proceed to the next step.
Step 3: Perform “Device self-check”
1. Restart both devices:
- Power off the printer and oven; await 30 seconds before rebooting.
2. Run “Device self-check”:
- On the control panel of the printer, tap Maintenance > Device self-check > Start and follow on-screen prompts.
3. If the detection test fails:
- Refer to: Troubleshoot "Device Self-Check" Failure for xTool Apparel Printer & xTool OS1 for troubleshooting.
- If the error remains unresolved after following the previous steps, proceed to the next step.
Step 4: Perform alignment calibration
- Initiate calibration:
- On the printer’s control panel, tap the temperature icon.
- Locate the Alignment calibration tab.
- Tap Start up to begin the calibration process.
Important notes:
- Before calibration begins, the printer will automatically cut off a short section of PET film. Remove this piece from the machine.
- During calibration, tap Feed slowly while observing the film position.
- The film holes must align with the deep grey marker on the right side of the oven. Only when this alignment is achieved should you tap Continuous to confirm calibration.
- If the film advances past the deep grey marker, calibration must be restarted. The film cannot be retracted; you will need to reset and repeat the process.
- To avoid overshooting, feed the film in small increments by tapping Feed slowly.
Reference: For a visual demonstration, see the video tutorial below from 5:27 to the end.
Still experiencing issues?
Should the issue persist after completing the preceding steps, submit a ticket via the "Submit a Ticket" button in the "Help Ticket" section below. The standard response time for xTool Customer Service is one business day.
For a prompt resolution, please
include the following details:
- Issue Description: A detailed explanation of the observed problem.
- Video Evidence: Attach a video demonstrating the issue, where applicable.
- Troubleshooting Performed: Any troubleshooting steps you have already attempted, along with their results.
This information is crucial for xTool technical support engineers to provide timely assistance.
Documentation feedback
Help improve this content by providing feedback. If this content did not meet your requirements, select "No" in the "Was this page helpful?" section below. Include specific details about what was unclear or missing in the pop-up suggestion box. Feedback submissions are reviewed by xTool technical writers to enhance future documentation.
Services & Help
Learn & Education

Copyright © 2025 xTool All Rights Reserved.